Watch it draw itself · tap to replay
How to Draw a X-Ray
Draw a x-ray in 11 easy steps, about 8 minutes. Free, with a printable worksheet.
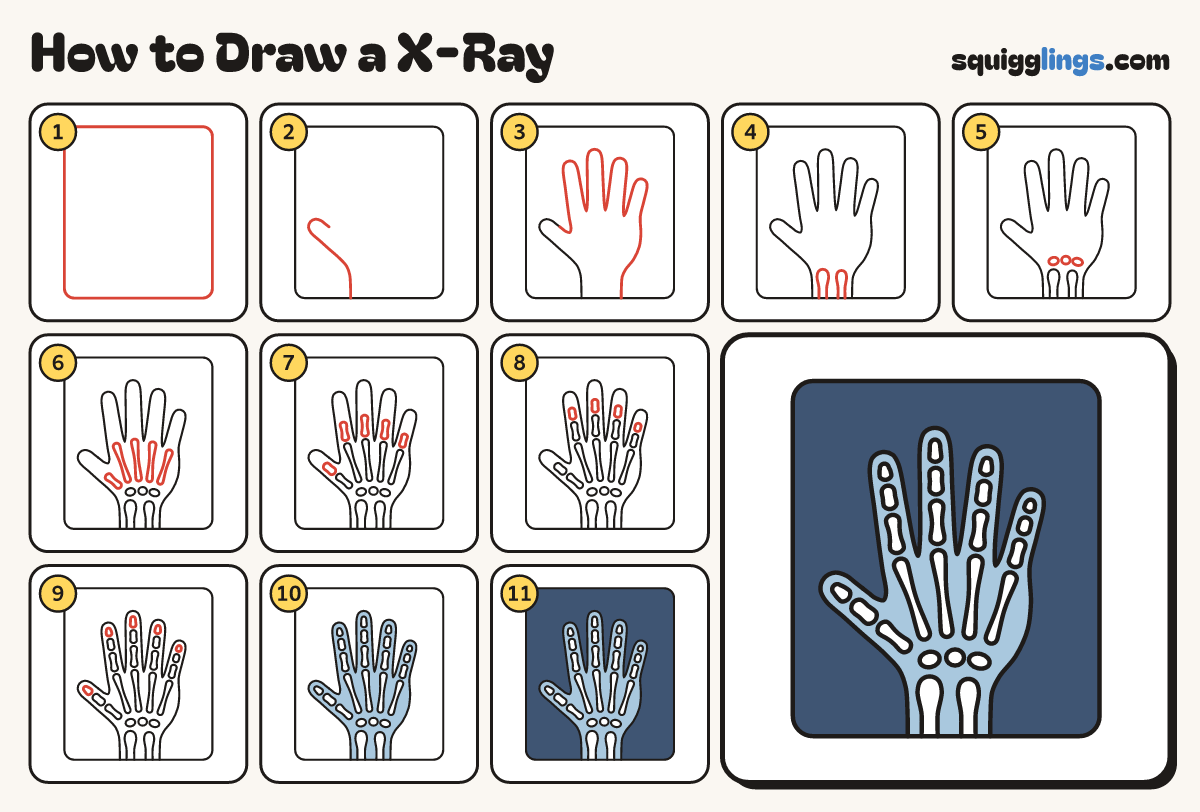
Each picture adds one red line. Draw that line, then scroll to the next picture. Rub out any dashed helper lines at the end. First up: the film.
Step 1: The film
Draw a big tall rectangle with rounded corners, filling most of your paper. This is the X-ray picture.
Step 2: Wrist and thumb
Start on the bottom edge, left of the middle. Go up, out and round a fat thumb, then stop.
Tip The thumb leans out to the side like a hitchhiker's.
Step 3: Four fingers
From there, draw 4 long fingers side by side, then go down the palm and stop on the bottom edge.
Tip Middle finger tallest, little finger shortest, with a small U between fingers.
Step 4: Arm bones
From the bottom edge, draw 2 long bones side by side up to the wrist, each with a round top.
Step 5: Wrist bones
Just above the arm bones, draw 3 small pebbles in a row. These are the wrist bones.
Tip Leave a little gap around every bone.
Step 6: Palm bones
Draw 5 long thin bones fanning up from the wrist, one pointing at each finger and the thumb.
Tip Each bone is a thin stick with a round knob at both ends.
Step 7: First finger bones
At the bottom of each finger and the thumb, draw a bone with round ends, like a tiny dog bone.
Step 8: Middle finger bones
Above each of the 4 finger bones, leave a small gap and draw a shorter bone.
Step 9: Fingertip bones
Draw one last little bone in the tip of each finger and the thumb, narrower at the top.
Step 10: Light blue hand
Colour the hand light blue, going around every bone. Leave all the bones white.
Step 11: Dark blue film
Colour the film dark blue around the hand. Go over your lines. Your X-ray is done!
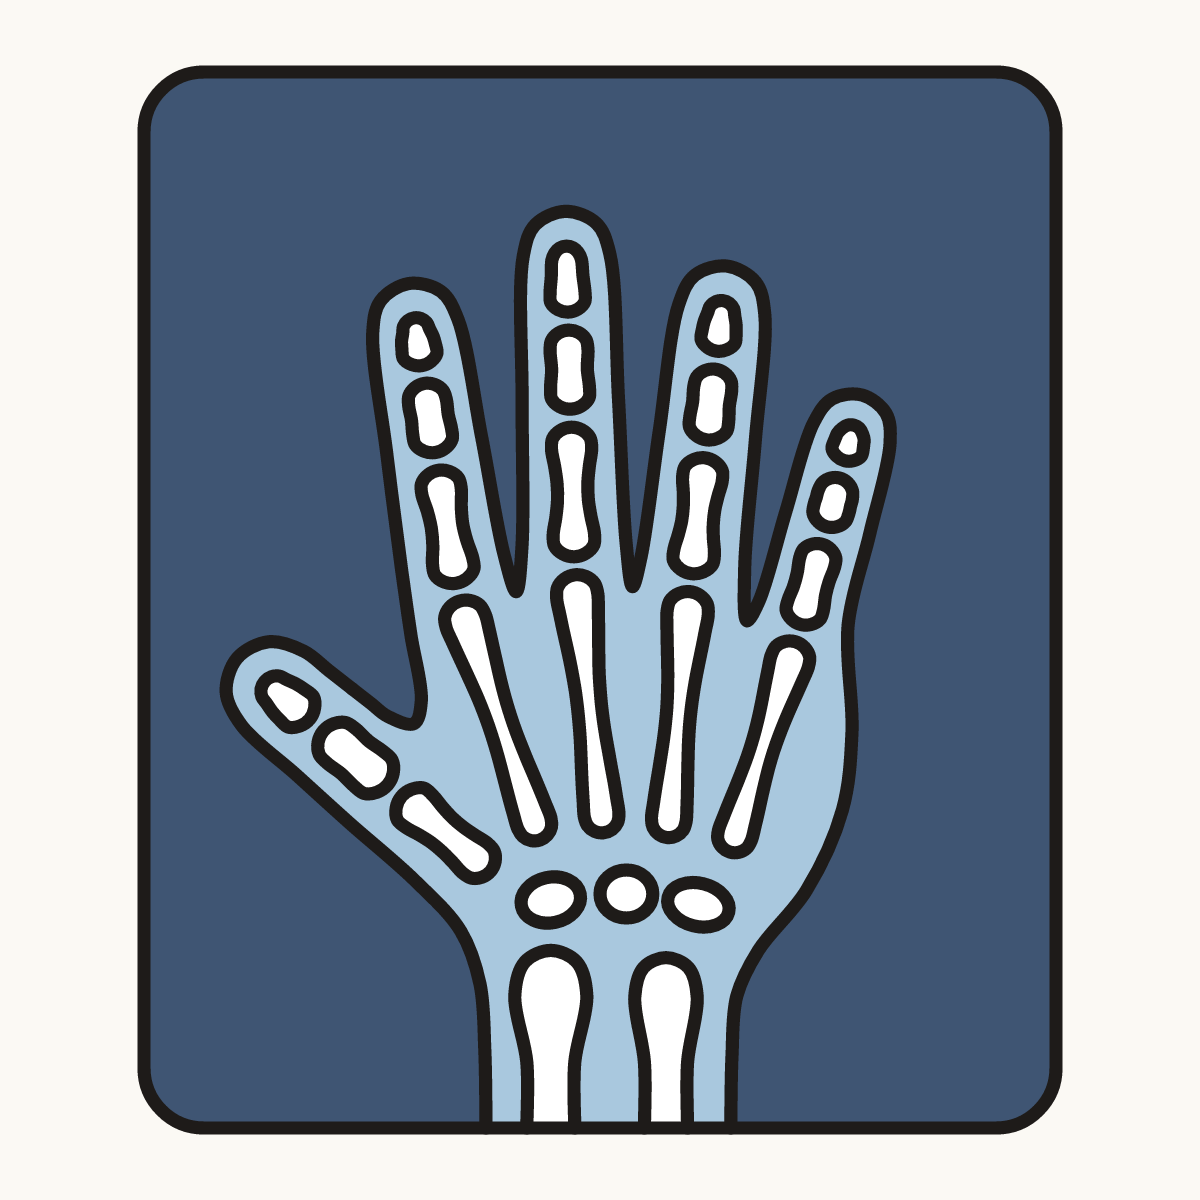
Your finished drawing
Follow the steps above and this is where you end up: a x-ray, drawn by you.
Every step in one picture