Watch it draw itself · tap to replay
How to Draw a Wisconsin Flag
Draw a wisconsin flag in 11 easy steps, about 8 minutes. Free, with a printable worksheet.
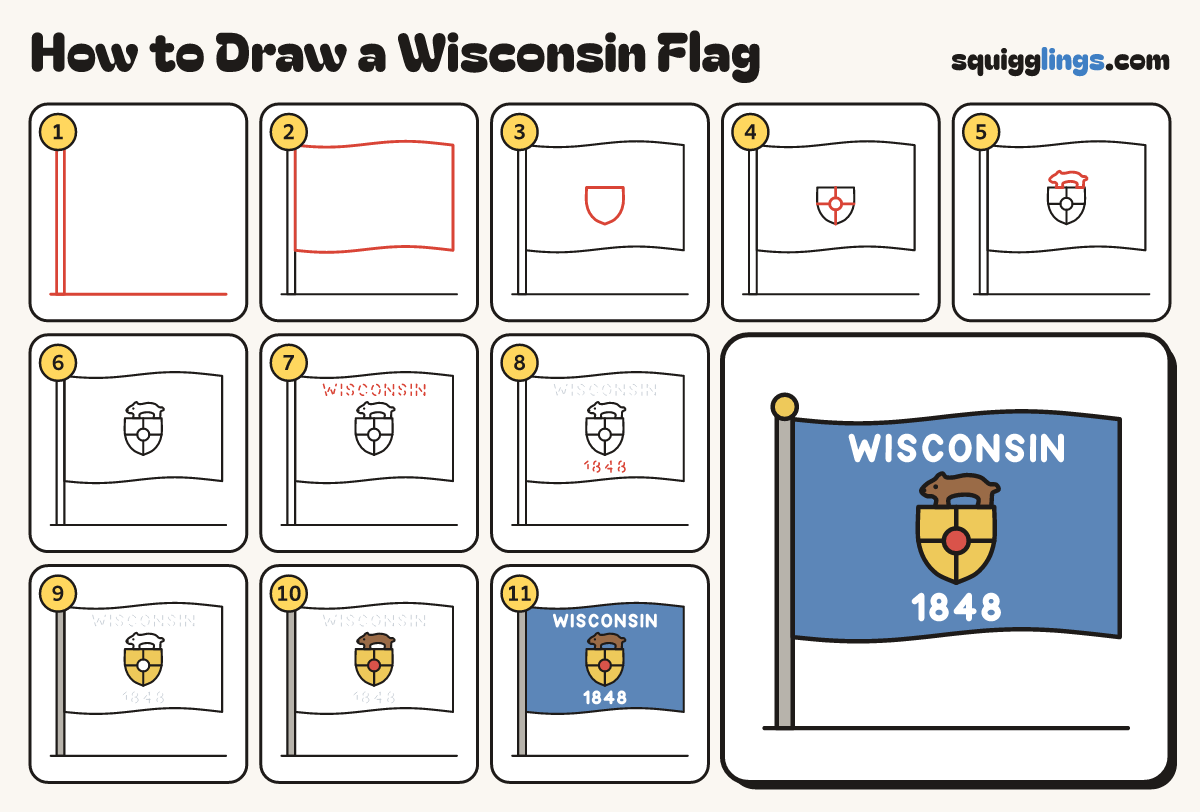
Each picture adds one red line. Draw that line, then scroll to the next picture. Rub out any dashed helper lines at the end. First up: pole and ground.
Step 1: Pole and ground
Draw a tall thin pole on the left, a ball on top, and a ground line from edge to edge.
Step 2: The waving flag
Start on the pole below the ball. Draw a wavy top edge, a straight right side, a wavy bottom edge.
Tip Make the flag big. It has to hold a shield, a word and a number.
Step 3: The shield
In the middle of the flag draw a shield: a flat top, 2 straight sides, a pointed bottom.
Step 4: Four parts
Draw a circle in the middle of the shield. Rule 4 lines from it: up, down, left and right.
Tip Each line stops at the edge of the shield.
Step 5: The badger
Draw a badger standing on the shield: pointed nose, small ear, long back, stubby tail, 2 short legs.
Tip The badger is the animal of Wisconsin. It looks towards the pole.
Step 6: Badger's face
Colour a small black dot for the badger's eye and a black tip on its nose.
Step 7: The word
Above the badger, lightly write WISCONSIN in big capital letters. Press softly: this is only a guide.
Tip Count the letters as you go: there are 9.
Step 8: The year
Under the shield, lightly write the number 1848, as big as the letters.
Tip Wisconsin became a state in 1848.
Step 9: Yellow and grey
Colour the ball and the 4 parts of the shield yellow. Colour the pole grey.
Step 10: Red and brown
Colour the circle in the middle of the shield red. Colour the badger brown.
Step 11: Blue flag
Colour the flag blue, but leave each letter and number as a fat white line. Rub out the pencil.
Tip Colour slowly round the letters. On the real flag they are white.
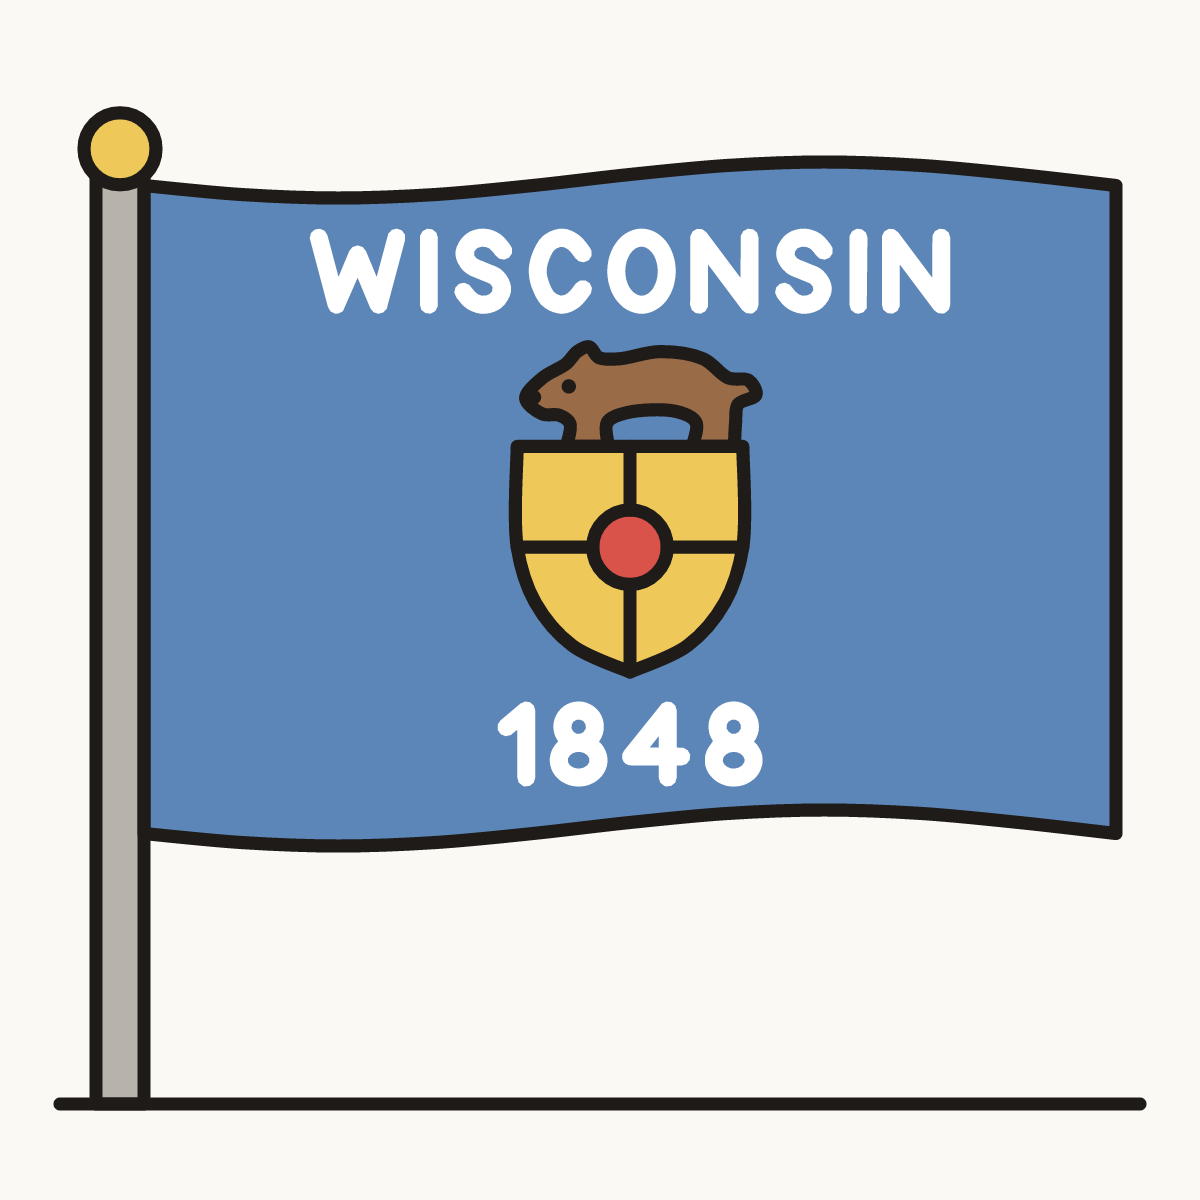
Your finished drawing
Follow the steps above and this is where you end up: a wisconsin flag, drawn by you.
Every step in one picture