Watch it draw itself · tap to replay
How to Draw a Whirlpool
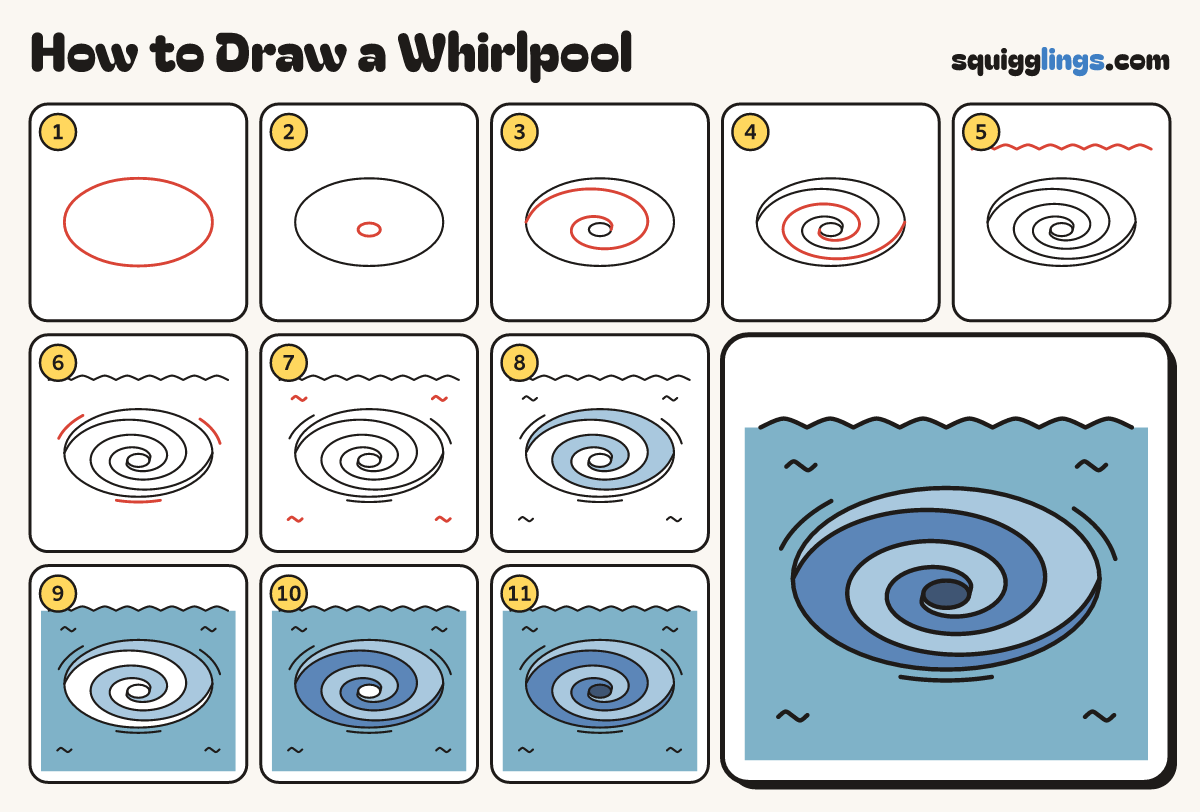
Draw a whirlpool in 11 easy steps, about 8 minutes. Free, with a printable worksheet.
Each picture adds one red line. Draw that line, then scroll to the next picture. Rub out any dashed helper lines at the end. First up: the big oval.
Step 1: The big oval
In the middle of your paper draw a big wide oval, like a plate seen from the side.
Tip Make it much wider than it is tall.
Step 2: The dark hole
Just below the middle of the big oval draw a small flat oval for the hole.
Step 3: First swirl
Start at the oval's left end. Curl a line round inside, like a snail shell, until it reaches the hole.
Tip Go over the top first. Keep an even gap as you curl in.
Step 4: Second swirl
Now start at the oval's right end. Curl a matching line round inside until it reaches the hole.
Tip Go under the bottom first, halfway between the lines you drew.
Step 5: The sea
Above the oval draw a row of 8 low wave bumps, from the left side to the right side.
Step 6: Swoosh lines
Outside the oval draw 3 short curved lines that follow its edge, to show it spinning.
Step 7: Little waves
In the sea around it draw 4 little wiggly waves, one near each corner.
Step 8: Pale blue swirl
Colour the swirl band that starts at the top left pale blue, all the way into the hole.
Tip Follow one band round and round. Leave the band next to it white for now.
Step 9: Blue sea
Colour the sea light blue, from the waves down to the bottom, going around the whirlpool.
Step 10: Darker blue swirl
Colour the other swirl band a darker blue, all the way into the hole.
Step 11: Deep dark hole
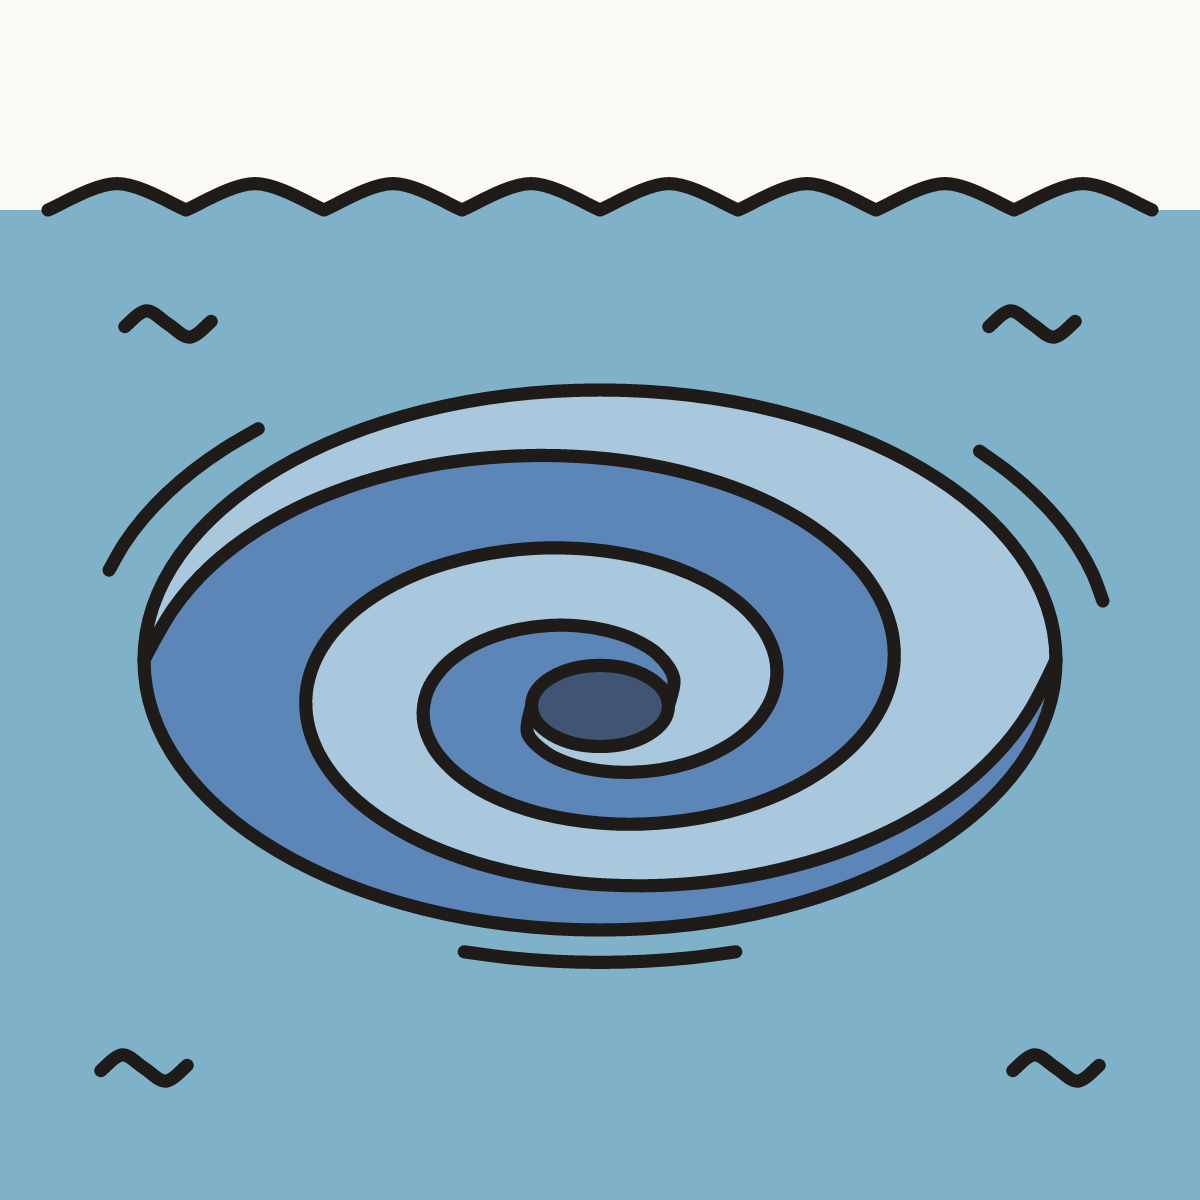
Colour the hole in the middle dark navy blue. Go over your lines, and your whirlpool is spinning!
Your finished drawing
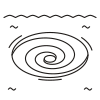
Follow the steps above and this is where you end up: a whirlpool, drawn by you.
Every step in one picture