Watch it draw itself · tap to replay
How to Draw a Weather Map
Draw a weather map in 11 easy steps, about 8 minutes. Free, with a printable worksheet.
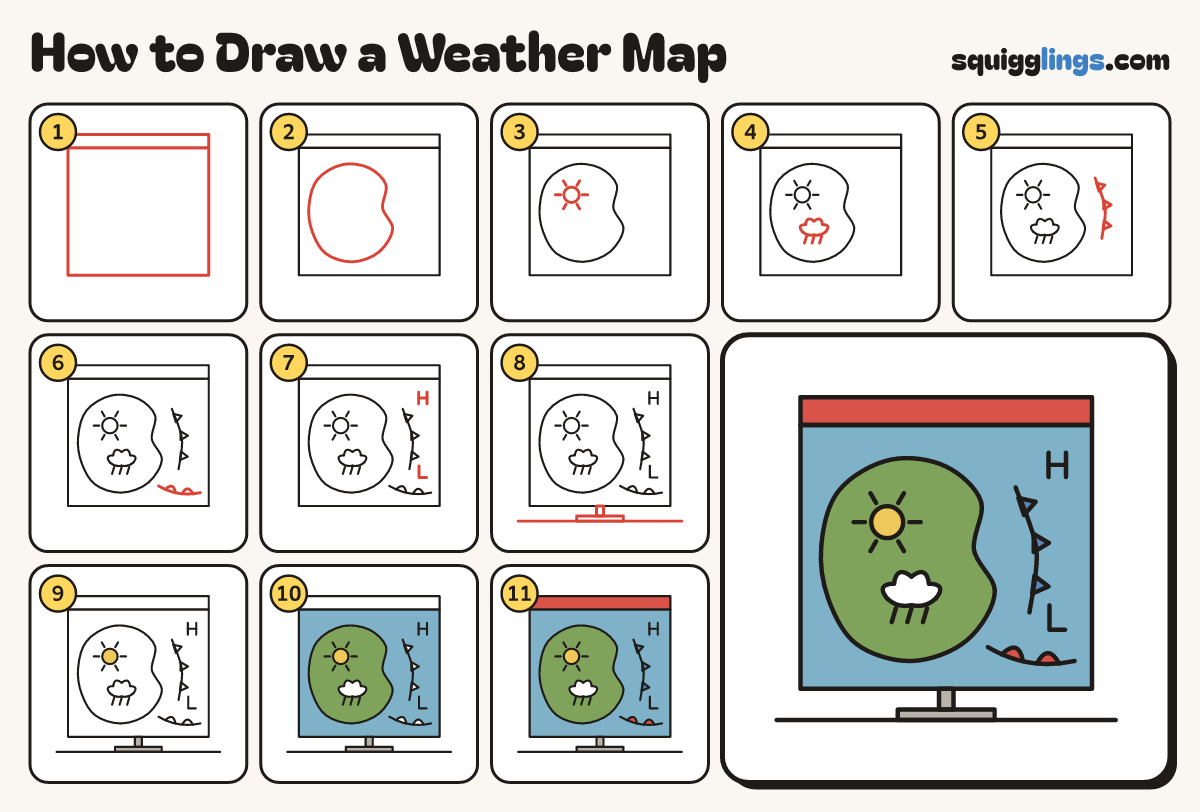
Each picture adds one red line. Draw that line, then scroll to the next picture. Rub out any dashed helper lines at the end. First up: map board.
Step 1: Map board
Draw a big box for the map board, with a flat title strip along its top edge.
Step 2: The land
Left of the middle draw a big soft potato blob for the land, with a bay scooped into one side.
Tip A weather map shows land and sea from above, with little weather pictures.
Step 3: Sun icon
Inside the land, near its top, draw a small sun: a circle with 6 short rays, away from the coast.
Step 4: Rain icon
Lower down inside the land draw a small puffy cloud with 3 short slanting rain lines under it.
Step 5: Cold front
Right of the land draw a long curved line down the sea, with 3 small triangles on its right side.
Tip The triangles point the way the front is moving.
Step 6: Warm front
Start right of the land's bottom. Sweep a short curve right, stopping before the edge, with 2 bumps on top.
Step 7: H and L
Write a big H in the top right corner of the sea, and a big L below it.
Step 8: The stand
Under the board draw a short leg and a flat foot, standing on a floor line wider than the board.
Step 9: Sun, cloud and stand
Colour the sun icon yellow, the cloud icon white and the stand grey.
Step 10: Blue sea, green land
Colour the sea blue, going round the fronts and letters, and the land green around the sun and cloud.
Step 11: Fronts and strip
Colour the triangles blue, and the bumps and title strip red. Your weather map is done!
Your finished drawing
Follow the steps above and this is where you end up: a weather map, drawn by you.
Every step in one picture