Watch it draw itself · tap to replay
How to Draw a Seamount
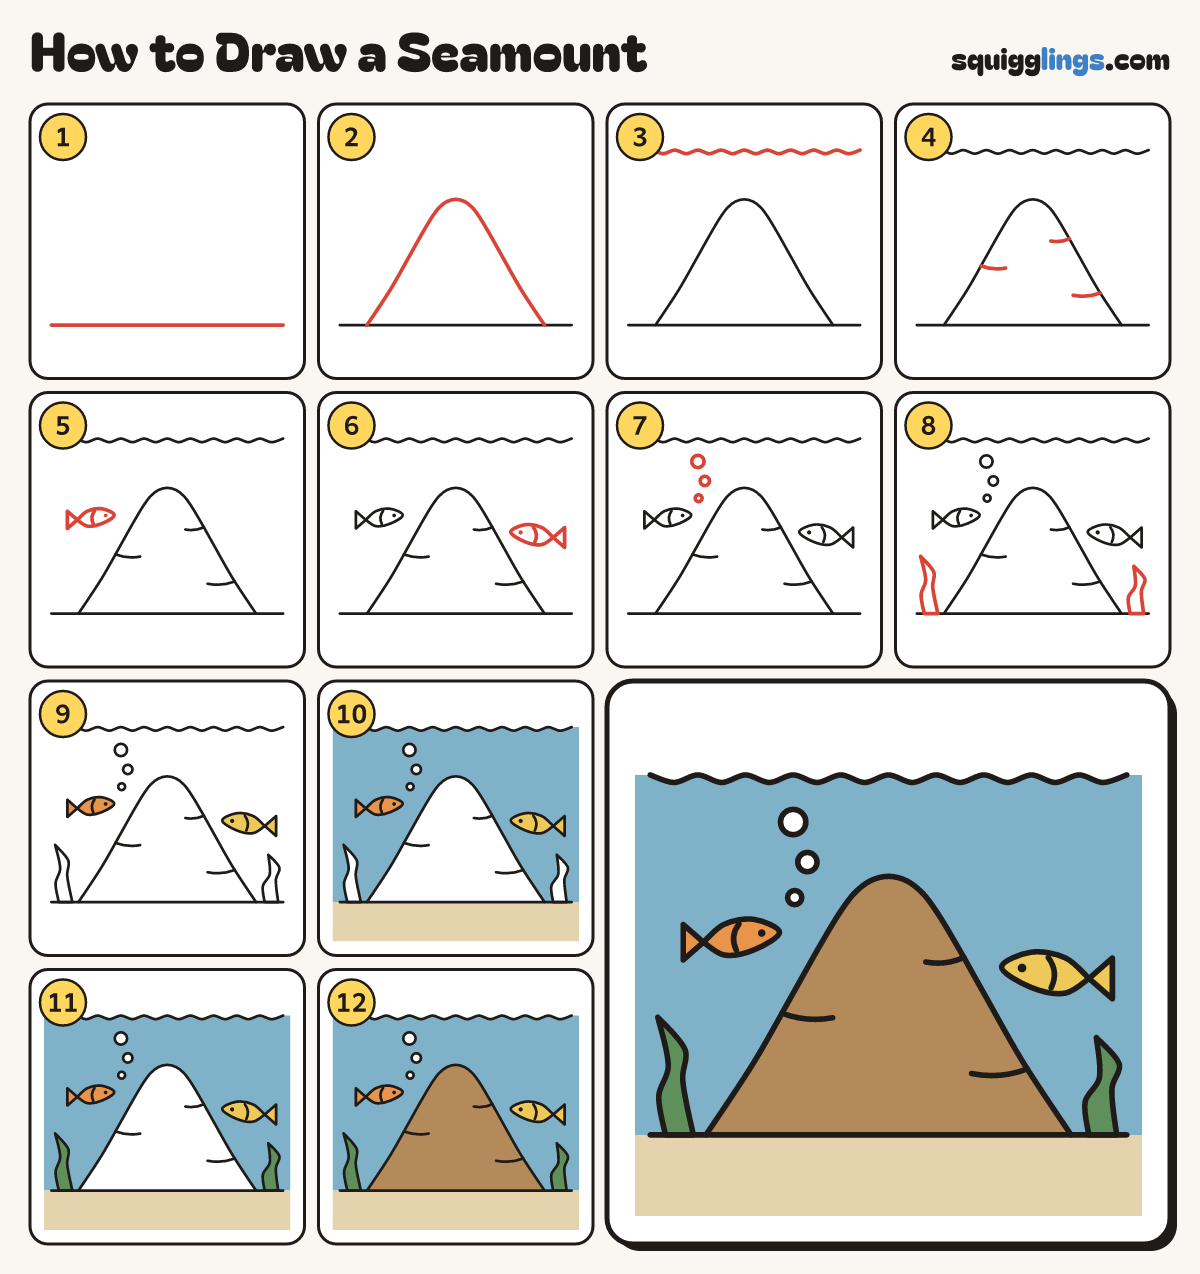
Draw a seamount in 12 easy steps, about 9 minutes. Free, with a printable worksheet.
Each picture adds one red line. Draw that line, then scroll to the next picture. Rub out any dashed helper lines at the end. First up: the sea floor.
Step 1: The sea floor
Low on your paper, draw a long straight line from edge to edge.
Step 2: The mountain
Start on the line at the left. Draw a tall round-topped mountain. Stop on the line at the right.
Tip Make it wide at the bottom, like a volcano.
Step 3: The sea top
High up, start at the left edge. Draw a wavy water line across to the right edge.
Tip Leave a gap above the peak. A seamount never reaches the top of the sea.
Step 4: Rocky ledges
Draw 3 short ledge lines. Start each one on a slope and stop inside the mountain.
Step 5: First fish
Up on the left draw a little fish: a pointed egg, a triangle tail and a dot eye.
Tip Point its nose at the mountain.
Step 6: Second fish
Lower on the right draw a bigger fish swimming the other way.
Step 7: Bubbles
Above the first fish draw 3 round bubbles floating up: small, bigger, biggest.
Tip Bubbles always float up to the top.
Step 8: Seaweed
Start on the floor each side. Draw a wiggly seaweed blade up to a point, back to the floor.
Tip Seaweed sways in the water, so make it wiggly.
Step 9: Orange and yellow fish
Go over your lines. Colour the first fish orange and the second fish yellow.
Step 10: Sand and sea
Colour the floor sandy yellow. Colour the sea blue around the mountain, fish and seaweed. Leave the bubbles white.
Tip Colour right to the edges of your paper.
Step 11: Green seaweed
Colour both seaweed blades green.
Step 12: Brown mountain
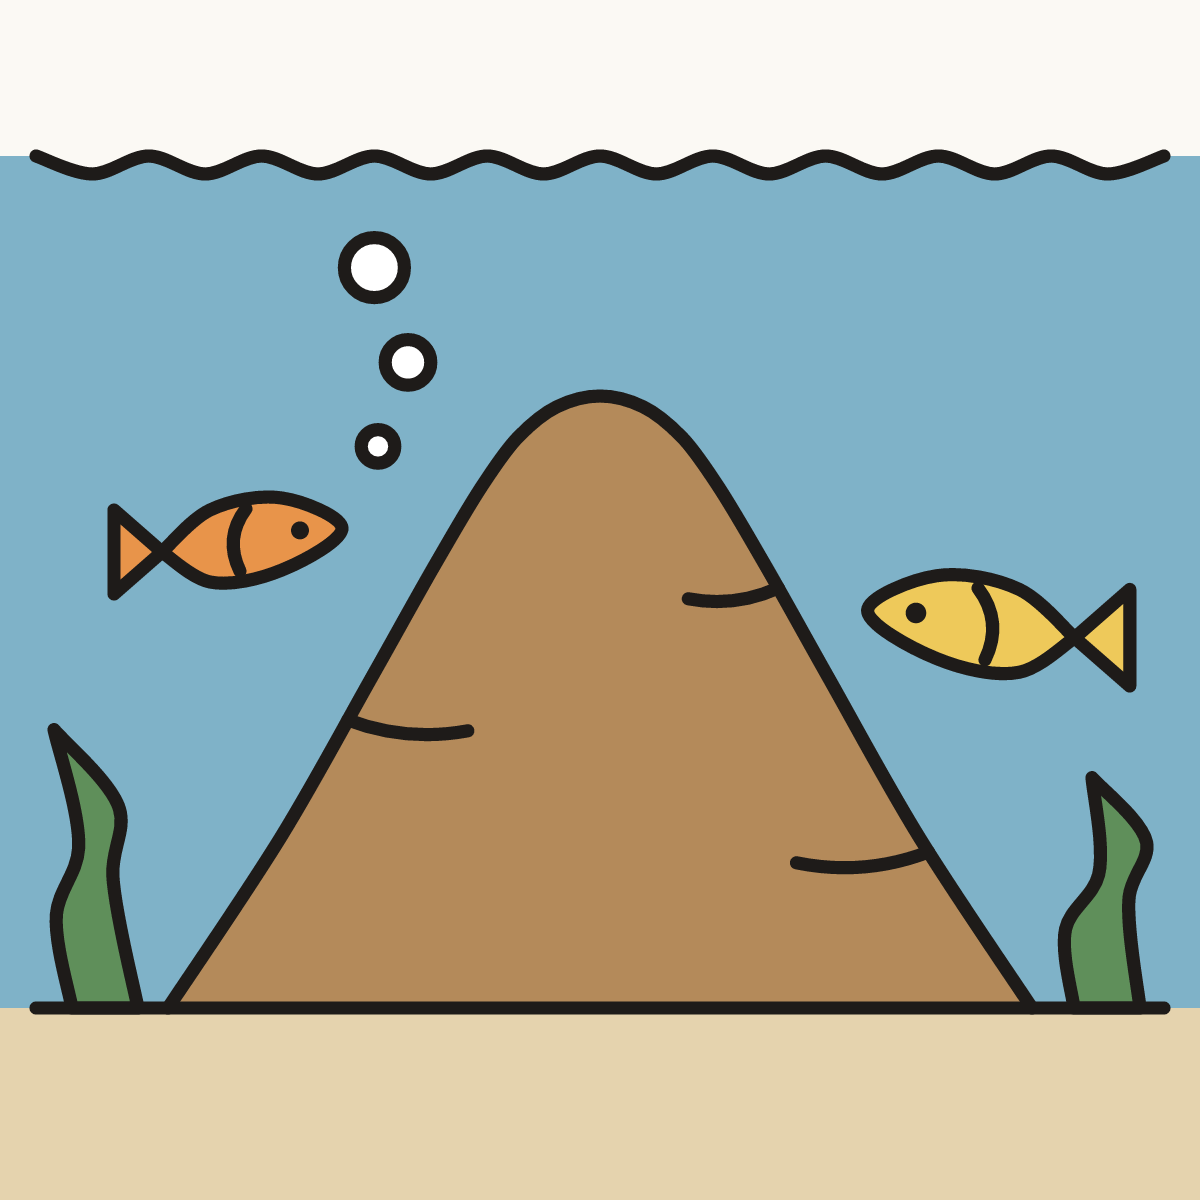
Colour the whole mountain brown, from the round peak down to the floor. Your seamount is done!
Your finished drawing
Follow the steps above and this is where you end up: a seamount, drawn by you.
Every step in one picture