Watch it draw itself · tap to replay
How to Draw Snowy Mountains
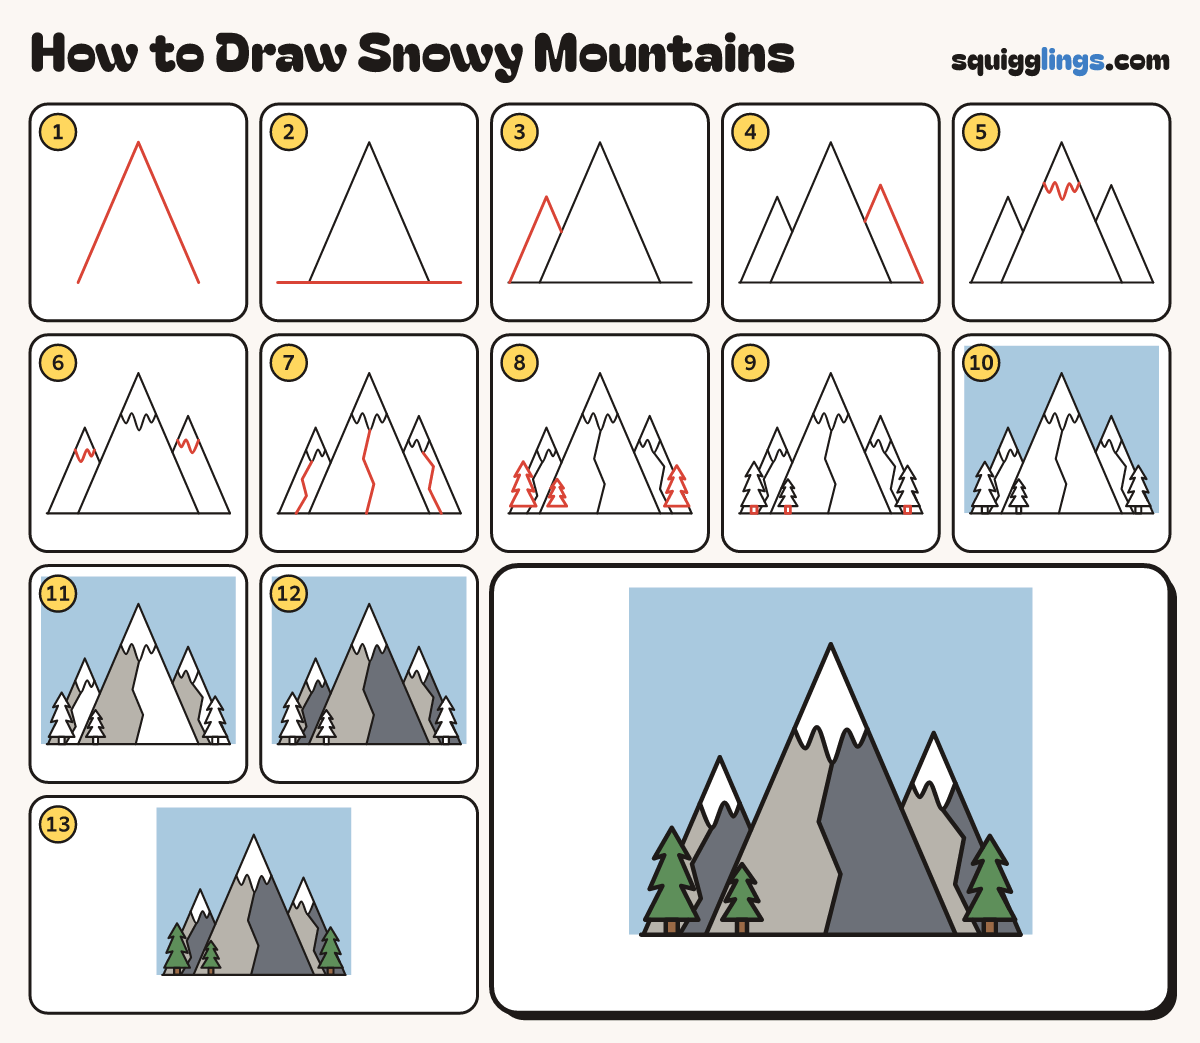
Draw snowy mountains in 13 easy steps, about 10 minutes. Free, with a printable worksheet.
Each picture adds one red line. Draw that line, then scroll to the next picture. Rub out any dashed helper lines at the end. First up: the big peak.
Step 1: The big peak
Start low on the left. Draw a line up to a sharp point near the top, then straight down again.
Tip Make both sides the same steepness, like a big tent.
Step 2: Snowy ground
Under the peak draw one long flat line, nearly from one edge of your paper to the other.
Step 3: Left peak
Start on the ground near the left edge. Go up to a lower point, then down to the big peak.
Step 4: Right peak
Start on the big peak's right side. Go up to a point, then straight down to the ground.
Tip The side peaks hide behind the big one, so they look further away.
Step 5: Big snow cap
Start on the big peak's left side, below the point. Draw 3 drippy bumps across to the right side.
Tip Make the middle drip the longest, like melting ice cream.
Step 6: Two small snow caps
On each side peak, draw 2 drippy bumps from one side across to the other.
Step 7: Ridge lines
From the longest drip on each cap, draw a zigzag line down to the ground.
Tip The ridge splits each mountain into a sunny side and a shady side.
Step 8: Three pine trees
At the foot of the mountains draw 3 pine trees. Zigzag down each side in 3 layers. Close the bottom.
Step 9: Tree trunks
Under each tree draw a short stubby trunk standing on the ground line.
Step 10: Pale blue sky
Go over your lines. Colour the sky pale blue, around the mountains and trees. Leave the snow white.
Step 11: Sunny sides
Colour the left side of each mountain light grey, from the snow down to the ground.
Step 12: Shady sides
Colour the right side of each mountain dark grey, up to the ridge line.
Step 13: Green trees
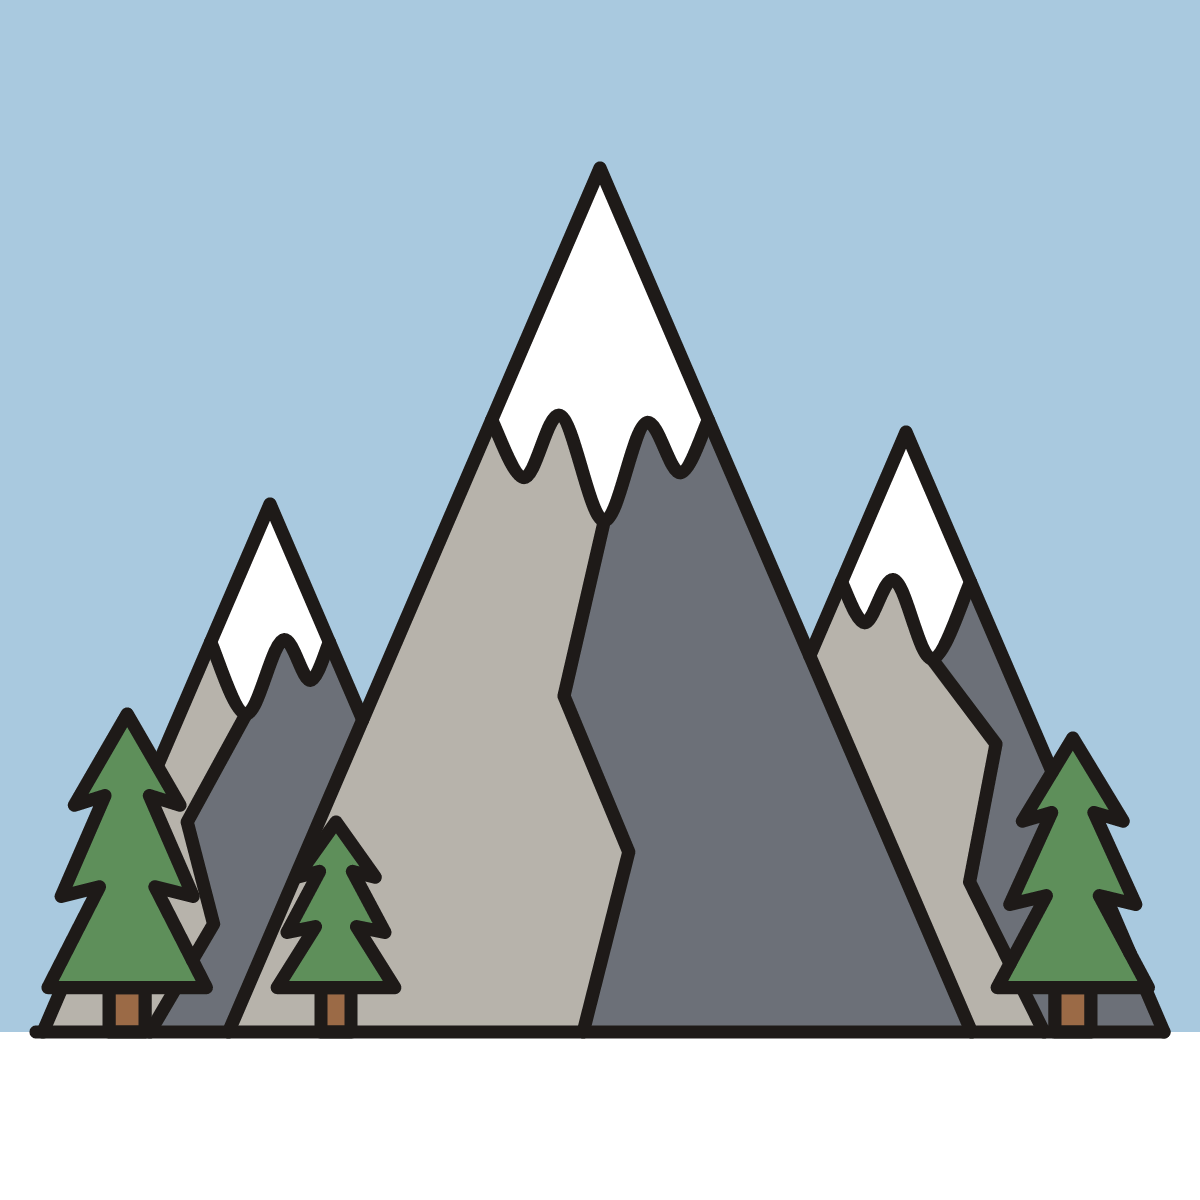
Colour the 3 pine trees green and their trunks brown. Your snowy mountains are done!
Your finished drawing
Follow the steps above and this is where you end up: snowy mountains, drawn by you.
Every step in one picture