Watch it draw itself · tap to replay
How to Draw a Walrus
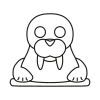
Each picture adds one red line. Draw that line, then scroll to the next picture. Rub out any dashed helper lines at the end. First up: the head.
Step 1: The head
Near the top of your paper, draw a big squashy head, wider than tall, with fat cheeks low down.
Tip The head is half the walrus; the low cheeks are the widest part.
Step 2: Whisker pads
Low on the head, draw a fat peanut on its side for the whisker pads, poking below the chin.
Tip Big and puffy: they are the walrus's moustache. Add 3 dots on each pad.
Step 3: Two tusks
Under each whisker pad, draw a tusk hanging down: fatter at the top, curving in to a soft rounded point.
Tip About as long as one pad is wide: not a needle, not a blob.
Step 4: Eyes and nose
Above the pads, draw 2 big eyes with black dots. Add a black triangle nose in the pads' top dip.
Step 5: A little smile
Under the whisker pads, between the tusks, draw a gentle smile from the left tusk to the right tusk.
Step 6: The blubbery body
From each cheek, draw a huge C for the body, swelling wider than the head, meeting under the fat tummy.
Tip A bag of blubber: narrow under the cheeks, fattest low down.
Step 7: Two flippers
From each side of the body, draw a wide paddle flipper out and down, its fan tip on the ice.
Step 8: Finger grooves
On each fan, draw 3 short soft grooves going up from near the bottom edge, not touching the outline.
Step 9: Ice floe
Draw a thick ice slab under the walrus from flipper to flipper, with rounded ends, running under the tummy.
Tip The tummy and flippers hang a little over the front of the ice.
Step 10: Cream tusks, blue ice
Colour the tusks cream and the ice floe light blue.
Step 11: Tan pads, brown walrus
Colour the whisker pads tan. Colour the walrus brown, around the pads and tusks. Leave the eyes white.
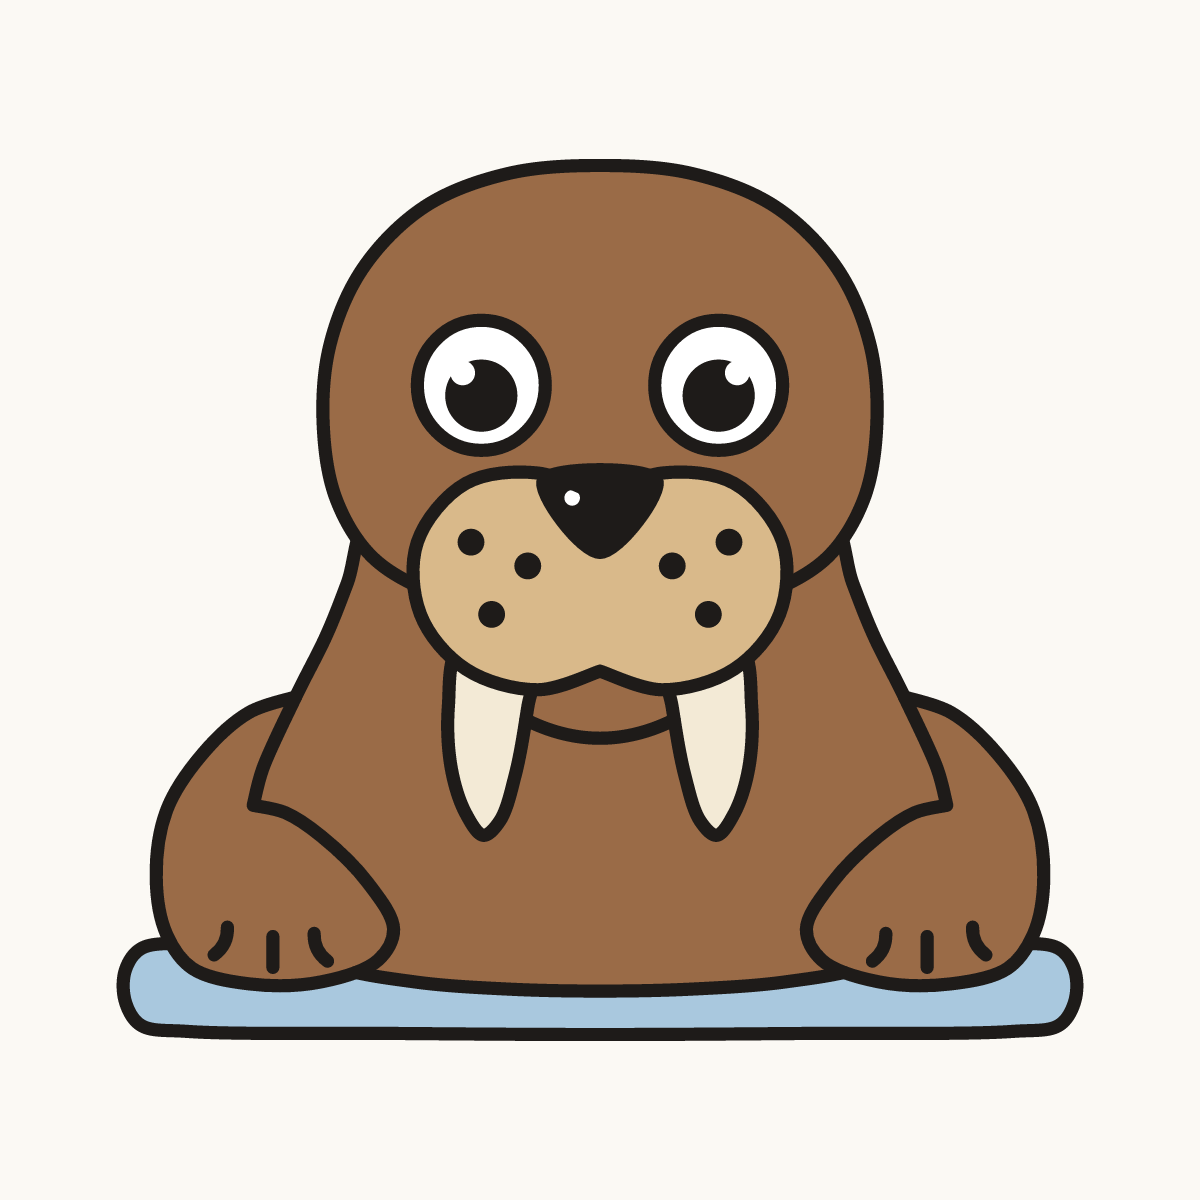
Your finished drawing
Follow the steps above and this is where you end up: a walrus, drawn by you.