Watch it draw itself · tap to replay
How to Draw a Wagon Wheel
Draw a wagon wheel in 12 easy steps, about 9 minutes. Free, with a printable worksheet.
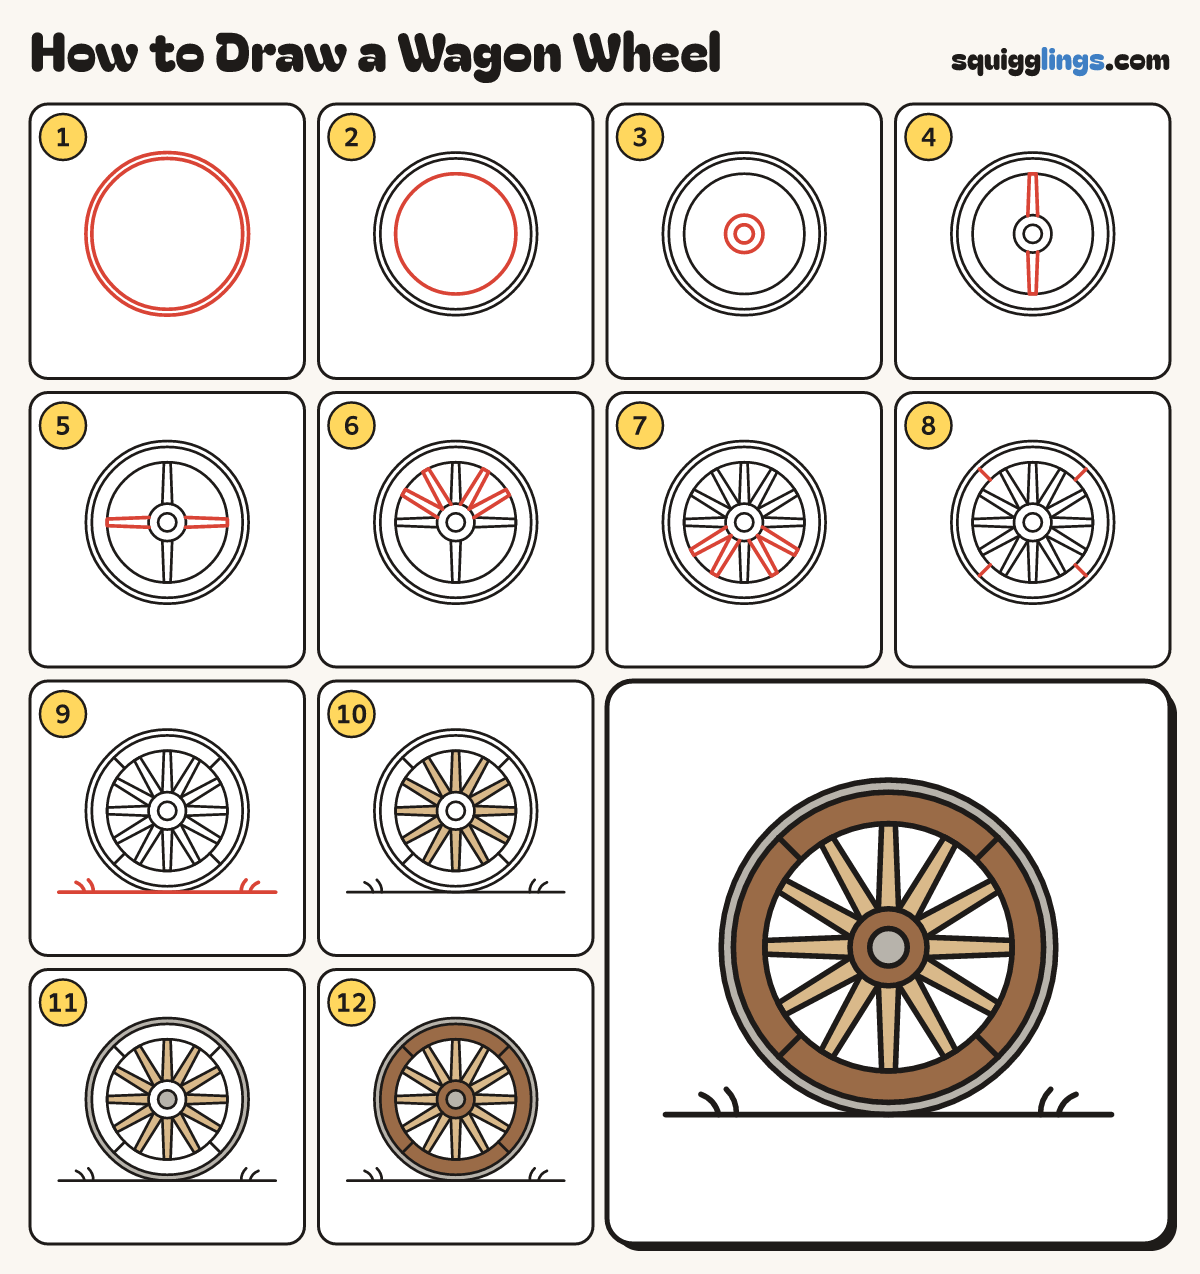
Each picture adds one red line. Draw that line, then scroll to the next picture. Rub out any dashed helper lines at the end. First up: the iron tyre.
Step 1: The iron tyre
In the middle of your paper draw 1 big circle. Draw a second circle just inside it.
Tip A plate can help you trace the big circle.
Step 2: The wooden rim
Draw another circle a finger-width inside, to make a thick wooden ring.
Step 3: The hub
In the very middle draw a small circle for the hub, and a tiny circle inside it.
Step 4: Up and down spokes
From the hub draw a spoke straight up to the wooden ring and 1 straight down.
Tip Make each spoke a little thicker at the hub end.
Step 5: Side spokes
Draw a spoke from the hub straight out to the ring on the left and on the right.
Step 6: Top spokes
In the top half, draw 2 more spokes in each gap, from the hub to the ring.
Step 7: Bottom spokes
Do the same in the bottom half: 2 more spokes in each gap. That makes 12.
Step 8: Rim joints
Draw 4 short lines across the wooden ring, in the slanted corners, where its pieces join.
Step 9: Ground and grass
Draw a ground line under the wheel from left to right. Flick up 2 grass blades at each end.
Step 10: Tan spokes
Colour all 12 spokes tan.
Step 11: Grey iron
Colour the thin outside ring and the tiny middle circle grey.
Step 12: Brown wood
Colour the wooden ring and the hub brown. Leave the gaps white. Your wagon wheel is ready to roll!
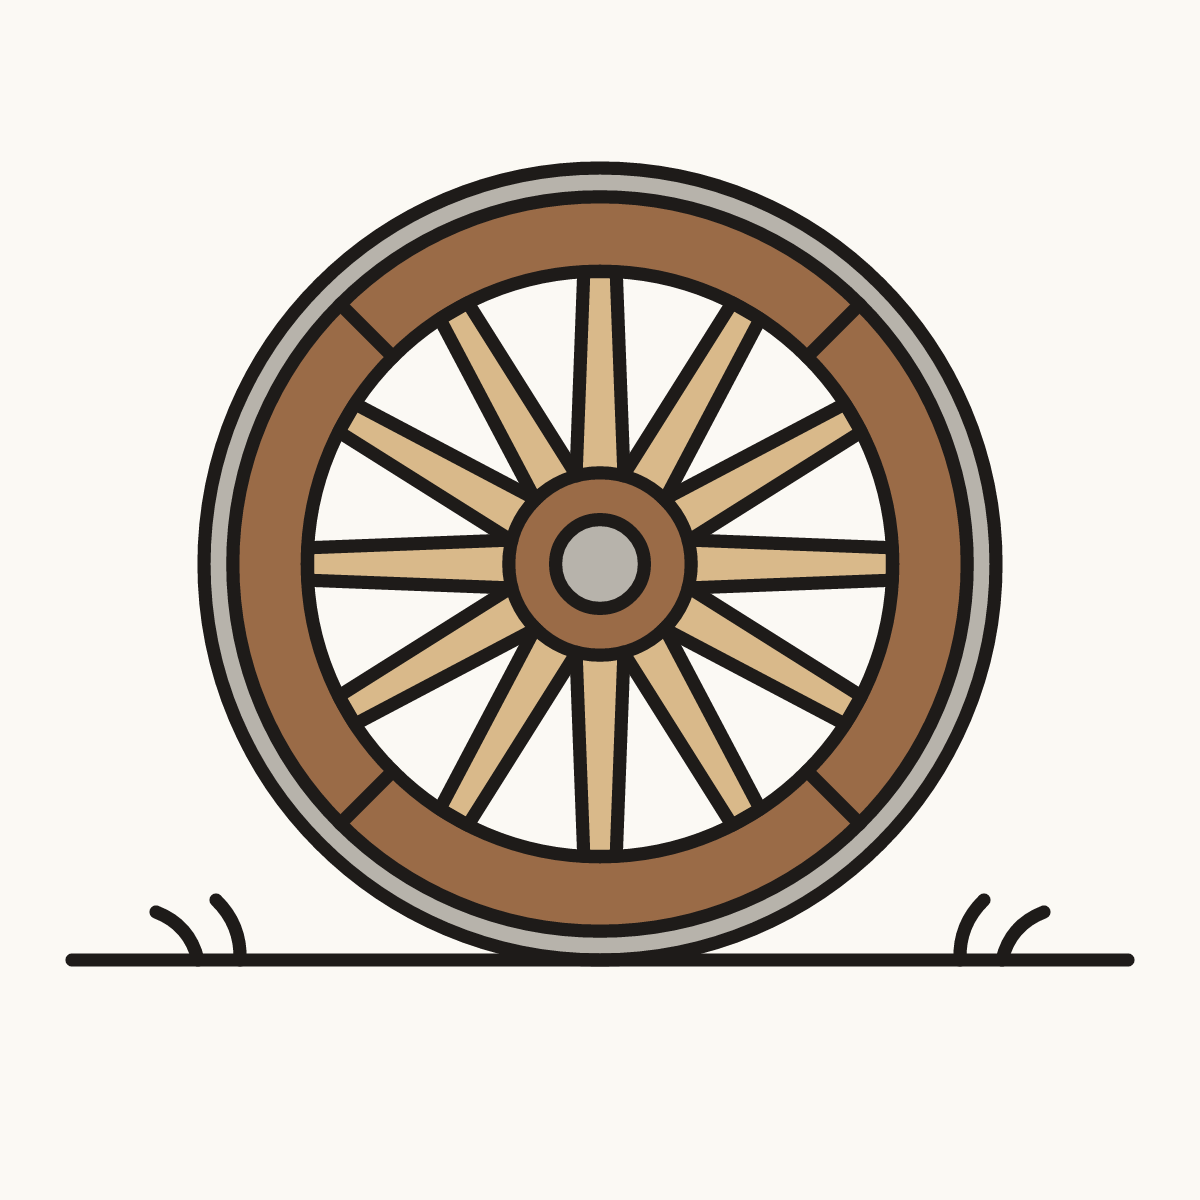
Your finished drawing
Follow the steps above and this is where you end up: a wagon wheel, drawn by you.
Every step in one picture