Watch it draw itself · tap to replay
How to Draw a Venice Gondola Bridge
Draw a Venice gondola bridge in 13 easy steps, about 10 minutes. Free, with a printable worksheet.
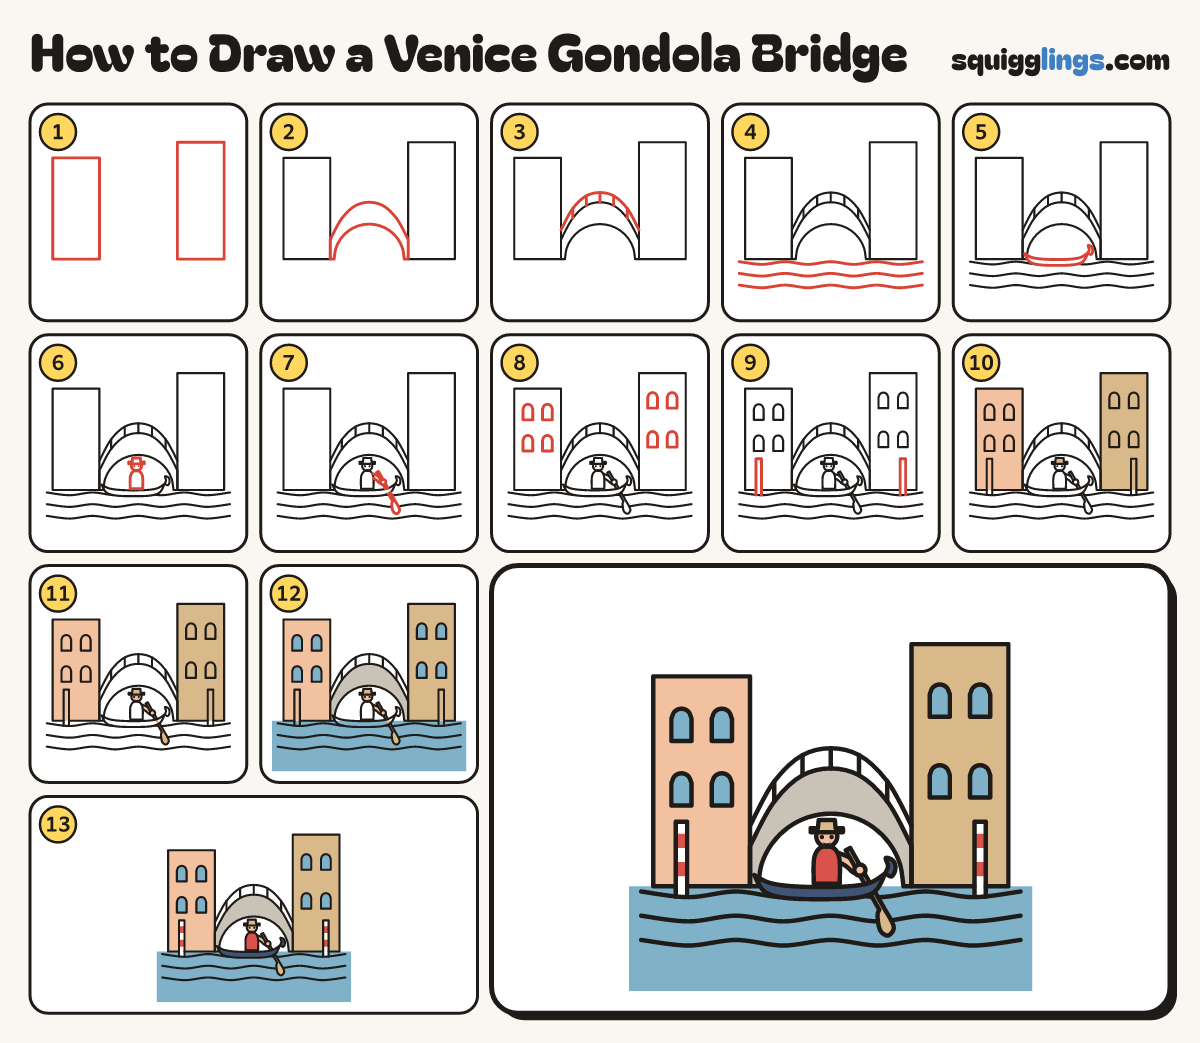
Each picture adds one red line. Draw that line, then scroll to the next picture. Rub out any dashed helper lines at the end. First up: 2 houses.
Step 1: 2 houses
Draw a tall box house on each side of your paper, a shorter one left and a taller one right.
Step 2: The bridge
Start low on the left house. Draw a smooth hump over to the right house, with an arch underneath.
Tip Venice bridges are little stone humps a gondola slips under.
Step 3: The railing
Start on the left house above the bridge. Draw a hand rail over the hump, ending on the right house.
Step 4: The canal
Draw 3 wavy water lines across the paper below the houses, from edge to edge.
Step 5: The gondola
Under the arch draw a long thin boat like a banana, pointed at each end. Add a curly comb.
Step 6: The gondolier
In the middle of the boat draw a body, a round head with a smiley face, and a straw hat.
Step 7: Arm and oar
From the right shoulder draw an arm down to a fist. Draw a long oar behind the fist, slanting down.
Step 8: Windows
Draw arched windows on the houses in rows, 2 in each row, 4 on each house.
Step 9: Striped poles
Start on the top wave in front of each house. Draw a tall thin pole up to below the windows.
Step 10: Peach and tan houses
Colour the left house peach and the right house and hat tan, going round the windows and poles.
Step 11: Peach face, tan oar
Colour the gondolier's face, arm and fist peach, and the oar tan.
Step 12: Stone bridge, blue canal
Colour the bridge grey. Colour the canal and windows blue, going around the boat, oar and poles.
Step 13: Navy gondola, red stripes
Colour the gondola navy, his shirt red and the poles in red and white stripes. Your Venice bridge is done!
Your finished drawing
Follow the steps above and this is where you end up: a Venice gondola bridge, drawn by you.
Every step in one picture