Watch it draw itself · tap to replay
How to Draw Tweezers
Draw tweezers in 10 easy steps, about 8 minutes. Free, with a printable worksheet.
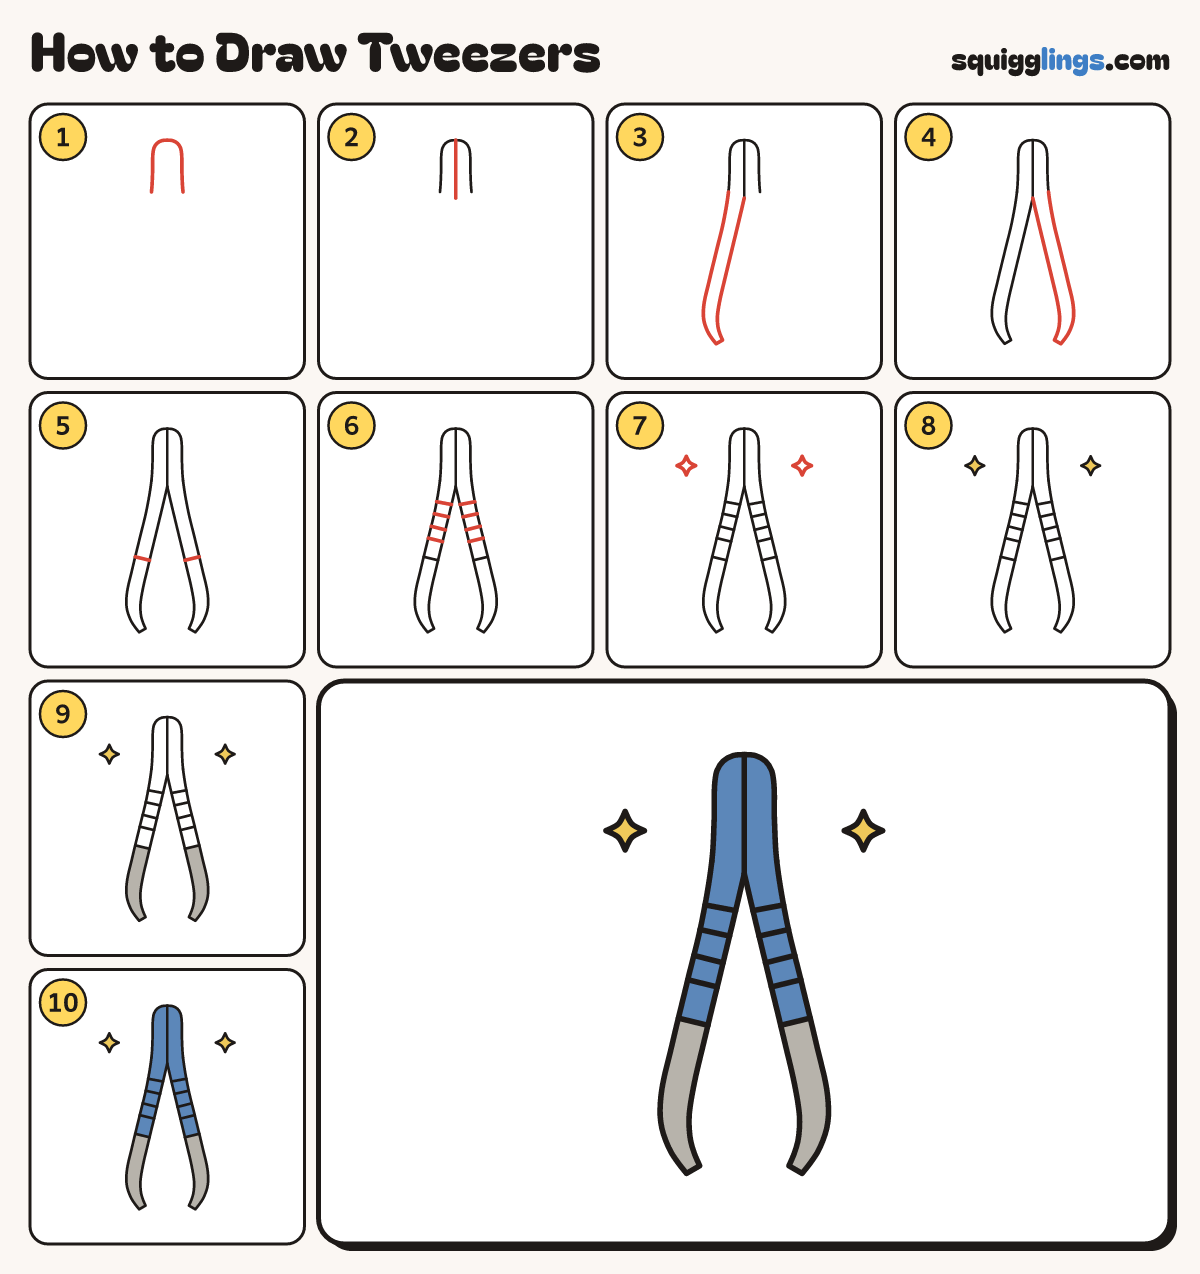
Each picture adds one red line. Draw that line, then scroll to the next picture. Rub out any dashed helper lines at the end. First up: the joined top.
Step 1: The joined top
At the top draw a tall thin upside-down U. Start at the bottom left and stop at the bottom right.
Tip Keep it thin. Tweezers are two slim strips of metal.
Step 2: The middle line
Start at the very top. Draw a straight line down the middle, stopping just below the ends.
Tip This is where the 2 strips are stuck together.
Step 3: The left arm
Start at the left end. Draw a long arm slanting down to a slanted tip. Stop at the middle line.
Step 4: The right arm
Start at the right end. Draw the same arm slanting the other way. Stop at the middle line.
Tip The gap between the arms is a tall upside-down V.
Step 5: Handle lines
Below the middle of each arm draw a short line across. Start at one edge, stop at the other.
Step 6: Grip lines
Above the handle line draw 4 short lines across each arm, from edge to edge, for your fingers to grip.
Step 7: 2 sparkles
Draw a small sparkle with 4 points on each side of the top, because the metal is shiny.
Step 8: Yellow sparkles
Go over your lines, then colour the 2 sparkles yellow.
Step 9: Grey metal tips
Colour the 2 tips grey, from the handle line down to the points.
Step 10: Blue handle
Colour the rest blue, from the handle lines up to the top. Your tweezers are ready to pick!
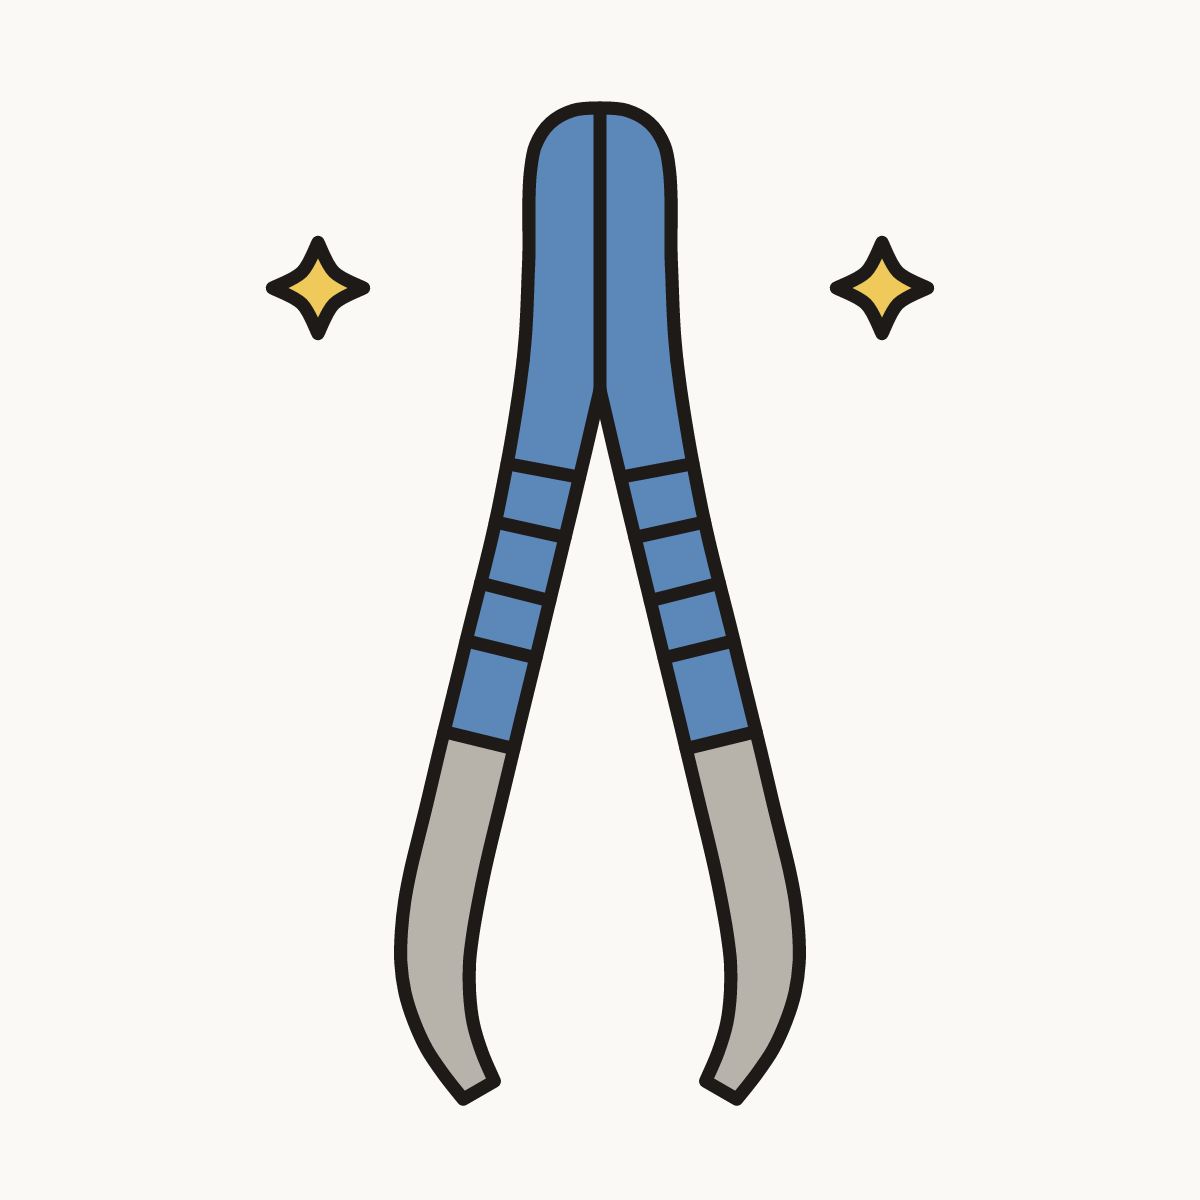
Your finished drawing
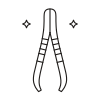
Follow the steps above and this is where you end up: tweezers, drawn by you.
Every step in one picture