Watch it draw itself · tap to replay
How to Draw an Oil Can
Draw an oil can in 11 easy steps, about 8 minutes. Free, with a printable worksheet.
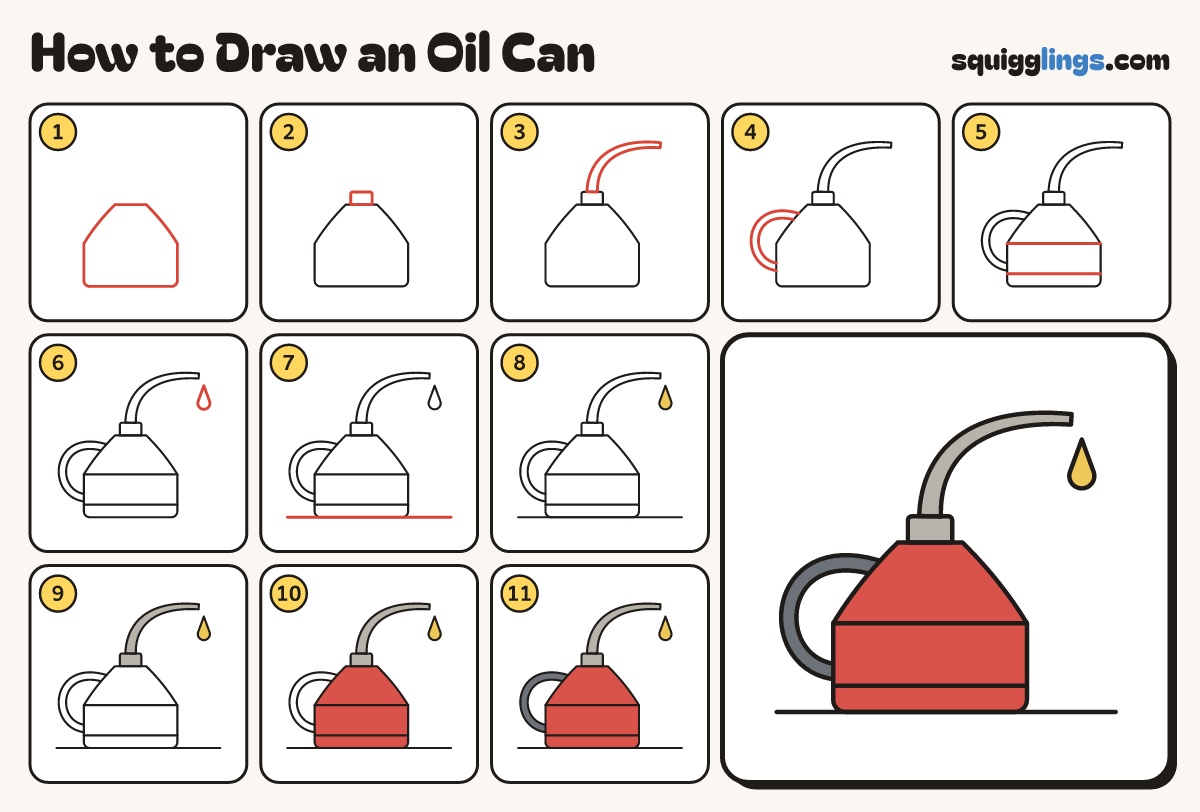
Each picture adds one red line. Draw that line, then scroll to the next picture. Rub out any dashed helper lines at the end. First up: the can.
Step 1: The can
Draw a wide low box with round bottom corners. Slant its top in to a short flat lid.
Tip It looks like a little house with a flat roof.
Step 2: The collar
On the middle of the flat lid draw a small block, a little narrower than the lid.
Tip Leave a little step of lid showing on each side of the block.
Step 3: The spout
From the block draw a long thin tube. It goes up, bends to the right and gets thinner.
Tip Draw one side first, then the other side close beside it.
Step 4: The handle
On the left draw a big C from the slanted top to the box. Add a second C inside it.
Tip Keep the two C lines the same distance apart all the way round.
Step 5: Two bands
Draw a line across where the slant starts. Draw another line across near the bottom.
Step 6: An oil drop
Under the tip of the spout draw a drop: a point at the top and a round bottom.
Step 7: Ground line
Draw a long flat ground line under the can, from the left side to the right side.
Step 8: Yellow oil
Colour the oil drop yellow.
Tip Yellow is the lightest colour, so it goes first.
Step 9: Grey spout
Colour the long spout and the small block light grey.
Step 10: Red can
Colour the whole can red, from the flat lid down to the ground.
Step 11: Dark handle
Colour the handle dark grey. Your oil can is done!
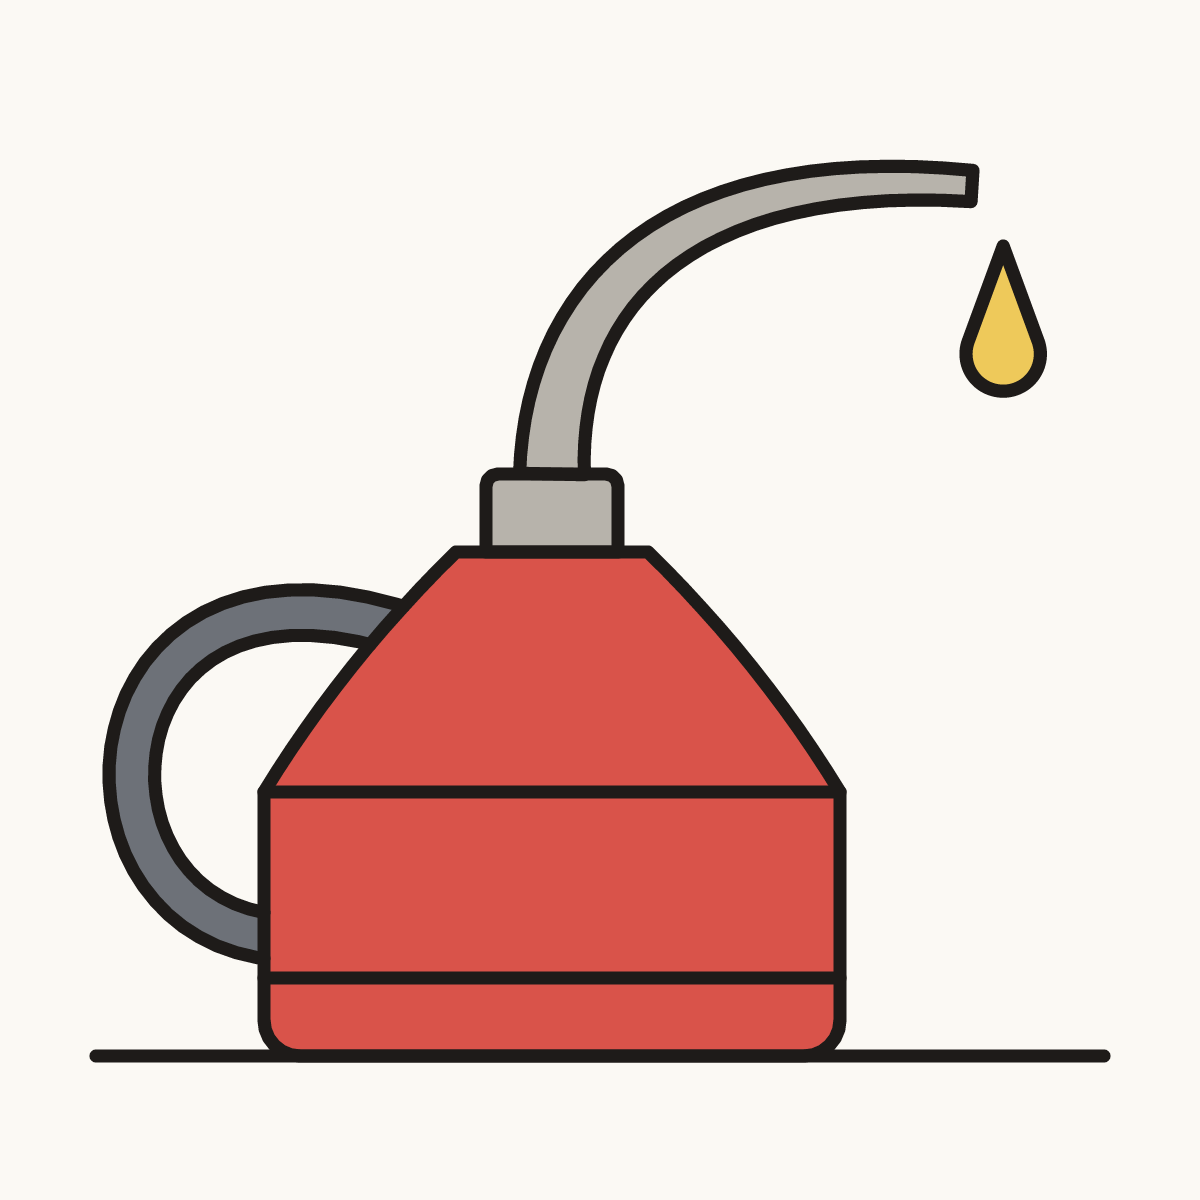
Your finished drawing
Follow the steps above and this is where you end up: an oil can, drawn by you.
Every step in one picture