Watch it draw itself · tap to replay
How to Draw a Truss Bridge
Draw a truss bridge in 13 easy steps, about 10 minutes. Free, with a printable worksheet.
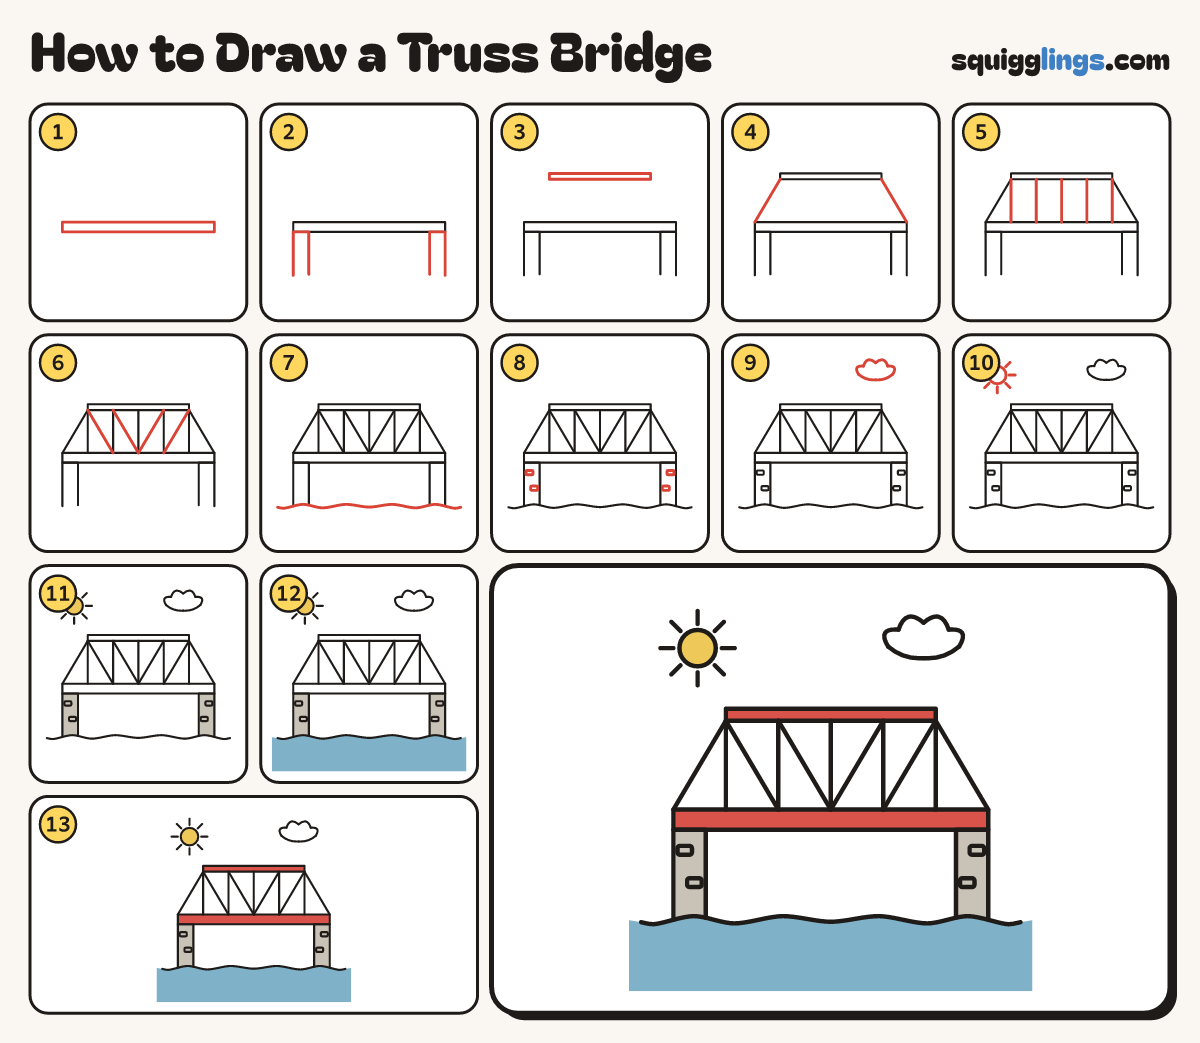
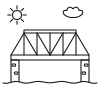
Each picture adds one red line. Draw that line, then scroll to the next picture. Rub out any dashed helper lines at the end. First up: the deck.
Step 1: The deck
Start near the left side. Draw a long flat box, a finger tall, and stop near the right side.
Tip Keep the top and bottom lines level, like a ruler.
Step 2: Two legs
Under each end of the deck draw a thick leg. Start on the deck, go straight down and stop low.
Step 3: The top beam
High above the deck draw a long thin box. Make it shorter than the deck and in the middle.
Tip Leave the same gap past each end of the beam.
Step 4: Sloping ends
Start on each end of the deck. Draw a straight line sloping up to the nearest end of the beam.
Step 5: Five posts
Draw 5 posts from the deck straight up to the beam: one at each end of the beam, 3 between.
Tip Space the posts evenly, like the bars of a gate.
Step 6: Slanted braces
From the top of each post, but not the middle one, draw a line down to the next post's foot.
Tip Every brace slopes down towards the middle of the bridge. The triangles make it strong.
Step 7: The river
Draw a long wavy line from edge to edge of the paper, touching the foot of each leg.
Tip Make soft little hills, not sharp zigzags.
Step 8: Stone blocks
On each leg draw 2 little rounded bricks, one above the other.
Step 9: A cloud
In the top right draw a small puffy cloud with a flat bottom.
Step 10: The sun
In the top left draw a round sun with 8 short rays around it.
Step 11: Yellow sun, grey legs
Colour the sun yellow. Colour the 2 legs grey like stone.
Step 12: Blue river
Colour the river blue, right to the edges of the paper.
Step 13: Red bridge
Colour the deck and the top beam red. Go over your lines. Your truss bridge is done!
Tip Colour right up to the lines, with no white gaps.
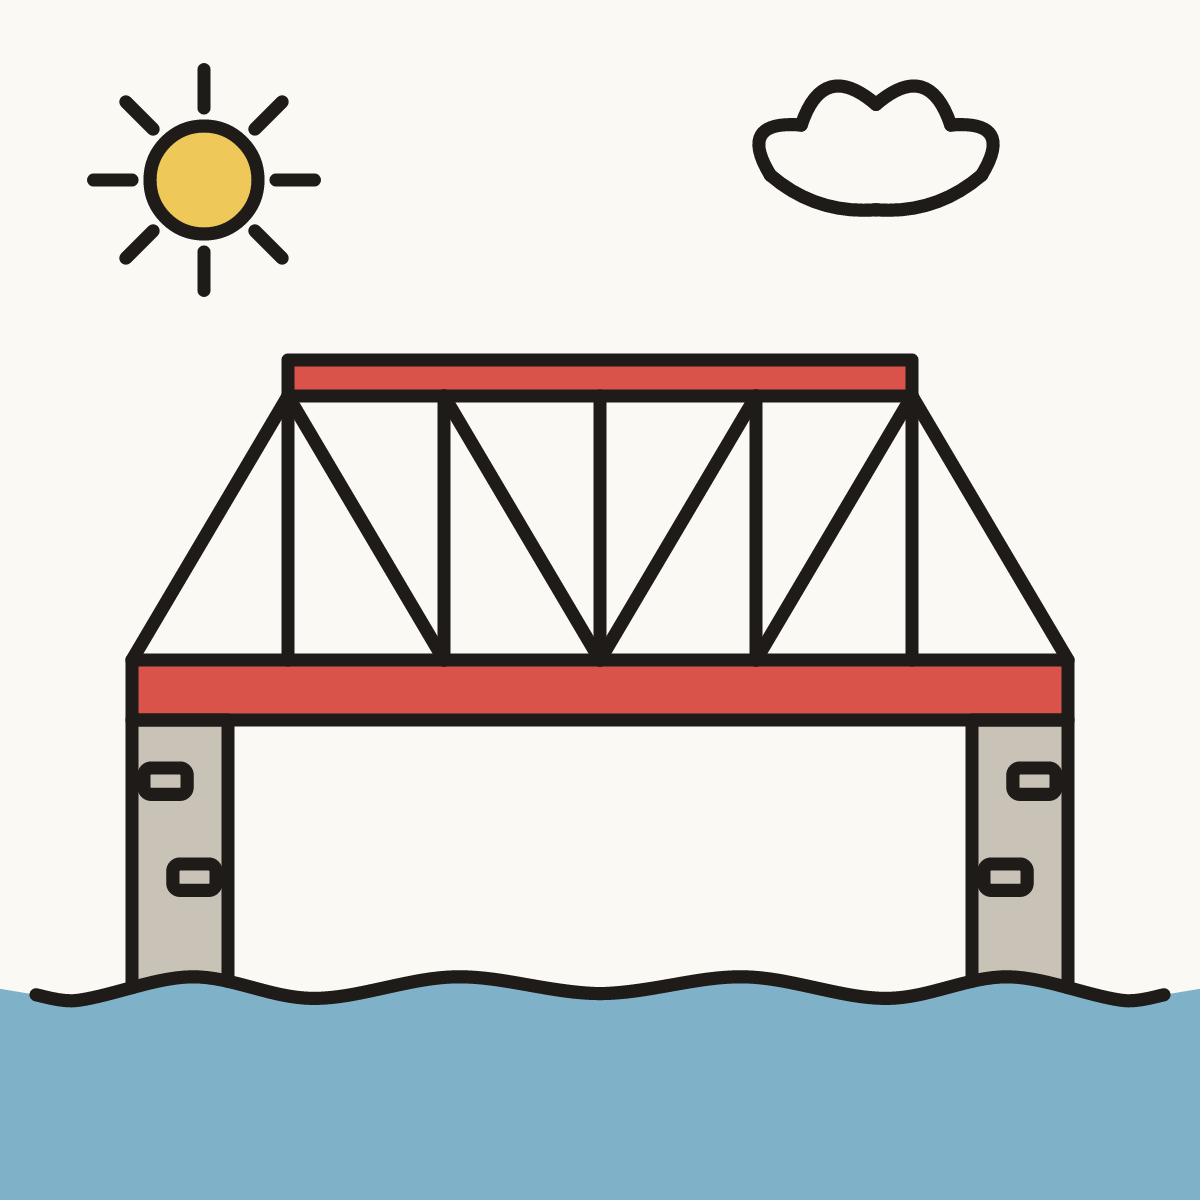
Your finished drawing
Follow the steps above and this is where you end up: a truss bridge, drawn by you.
Every step in one picture