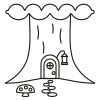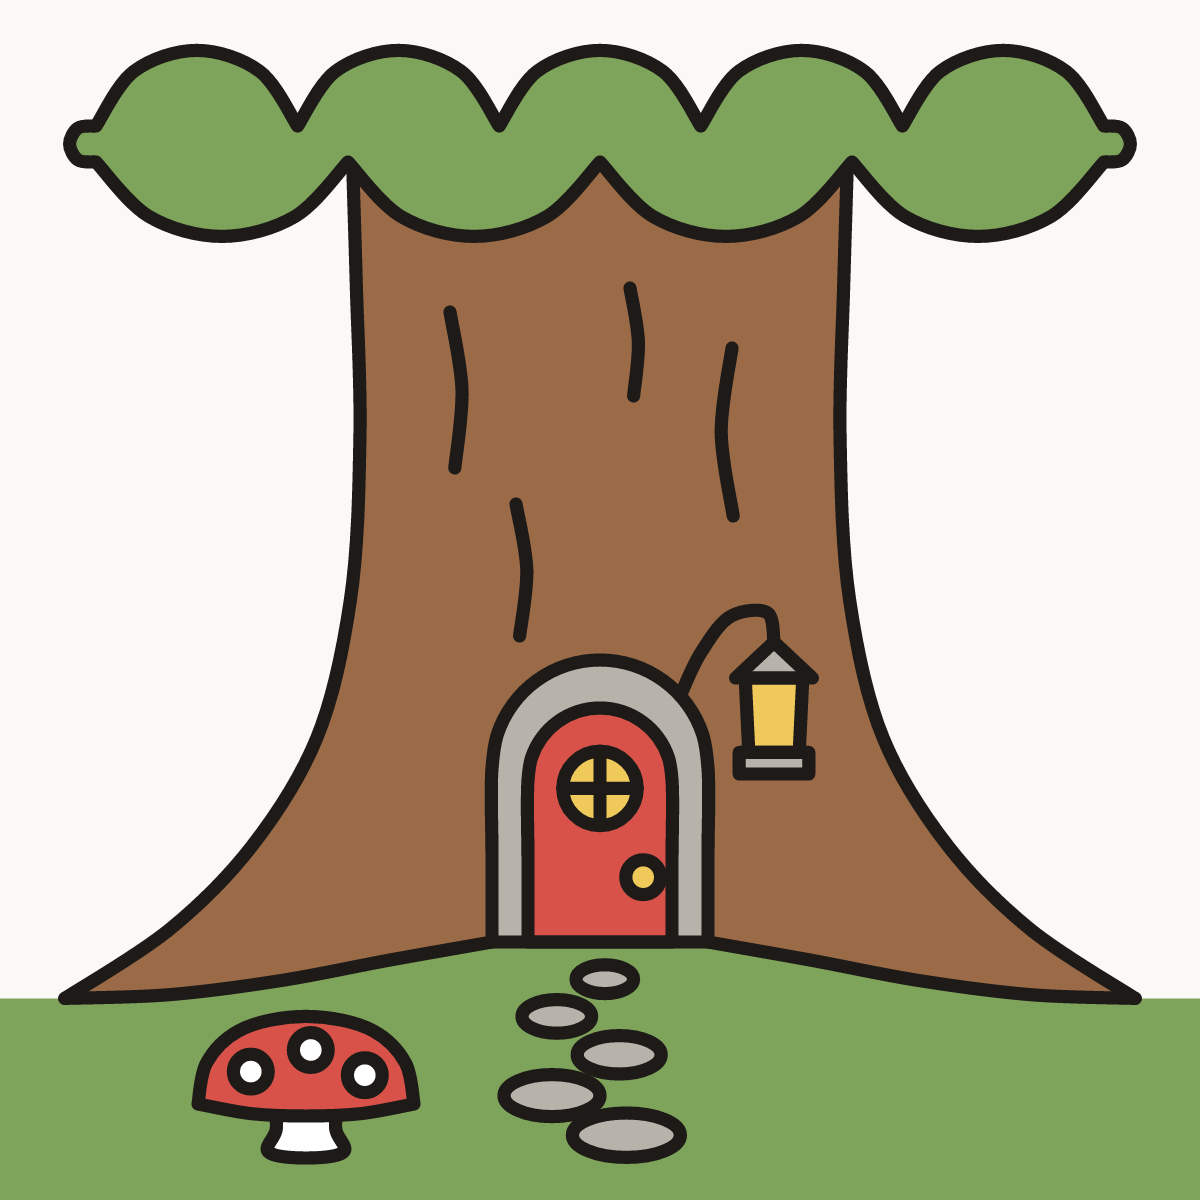
Watch it draw itself · tap to replay
How to Draw a Fairy Door in a Tree
Draw a fairy door in a tree in 14 easy steps, about 11 minutes. Free, with a printable worksheet.
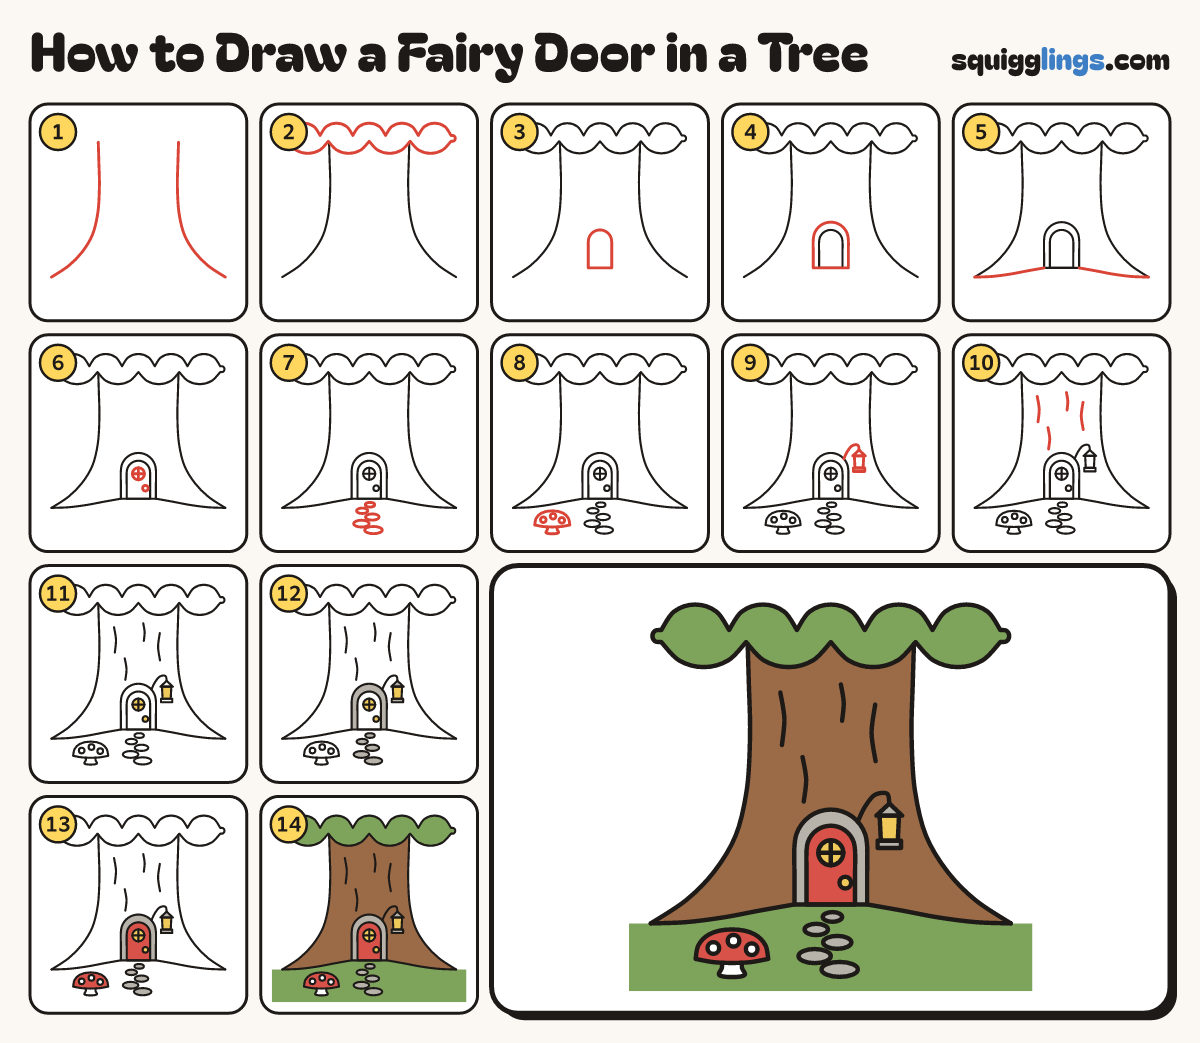
Each picture adds one red line. Draw that line, then scroll to the next picture. Rub out any dashed helper lines at the end. First up: the tree trunk.
Step 1: The tree trunk
Start near the top. Draw 2 tall lines down, then curve each one out to a pointed root tip.
Tip Keep the 2 lines wide apart: this is a very big tree.
Step 2: Leafy top
Across the top of the page draw a long leafy cloud sitting on the trunk: 5 bumps above, 4 below.
Step 3: A tiny door
Low down in the middle draw a small door: 2 short sides, a round top and a flat bottom.
Tip Keep the door small. The smaller it is, the bigger the tree looks.
Step 4: The door frame
Draw a bigger arch round the door for its frame, standing on the same flat line.
Step 5: Along the ground
Start at each root tip. Draw a line along the ground in to the bottom corner of the frame.
Tip The door now sits snugly between the 2 roots.
Step 6: Window and knob
Near the top of the door draw a round window with a cross inside. Add a round knob lower down.
Step 7: Pebble path
From the door draw a path of 5 flat pebbles coming towards you, each one a little bigger.
Tip Flat ovals look like stepping stones. Zigzag them a little.
Step 8: A toadstool
Left of the path draw a toadstool: a short stalk, a wide round cap on top and 3 spots.
Step 9: Hanging lantern
From the frame's top right draw a hook curling over to a lantern: a pointed lid, glass and a base.
Tip The lantern hangs straight down from the end of the hook.
Step 10: Bark lines
On the trunk above the door draw 4 short curved bark lines.
Step 11: Yellow glow
Colour the round window, the door knob and the lantern glass yellow.
Step 12: Grey stones
Colour the door frame and the 5 pebbles grey. Colour the lantern's lid and base grey too.
Step 13: Red door, red cap
Colour the door red around the window and knob. Colour the toadstool cap red around its 3 spots.
Tip Leave the spots and the stalk white.
Step 14: Brown tree, green grass
Colour the trunk brown around the door and lantern. Colour the leaves and the grass green, around the pebbles.
Your finished drawing
Follow the steps above and this is where you end up: a fairy door in a tree, drawn by you.
Every step in one picture