Watch it draw itself · tap to replay
How to Draw a Tree Monster
Draw a tree monster in 12 easy steps, about 9 minutes. Free, with a printable worksheet.
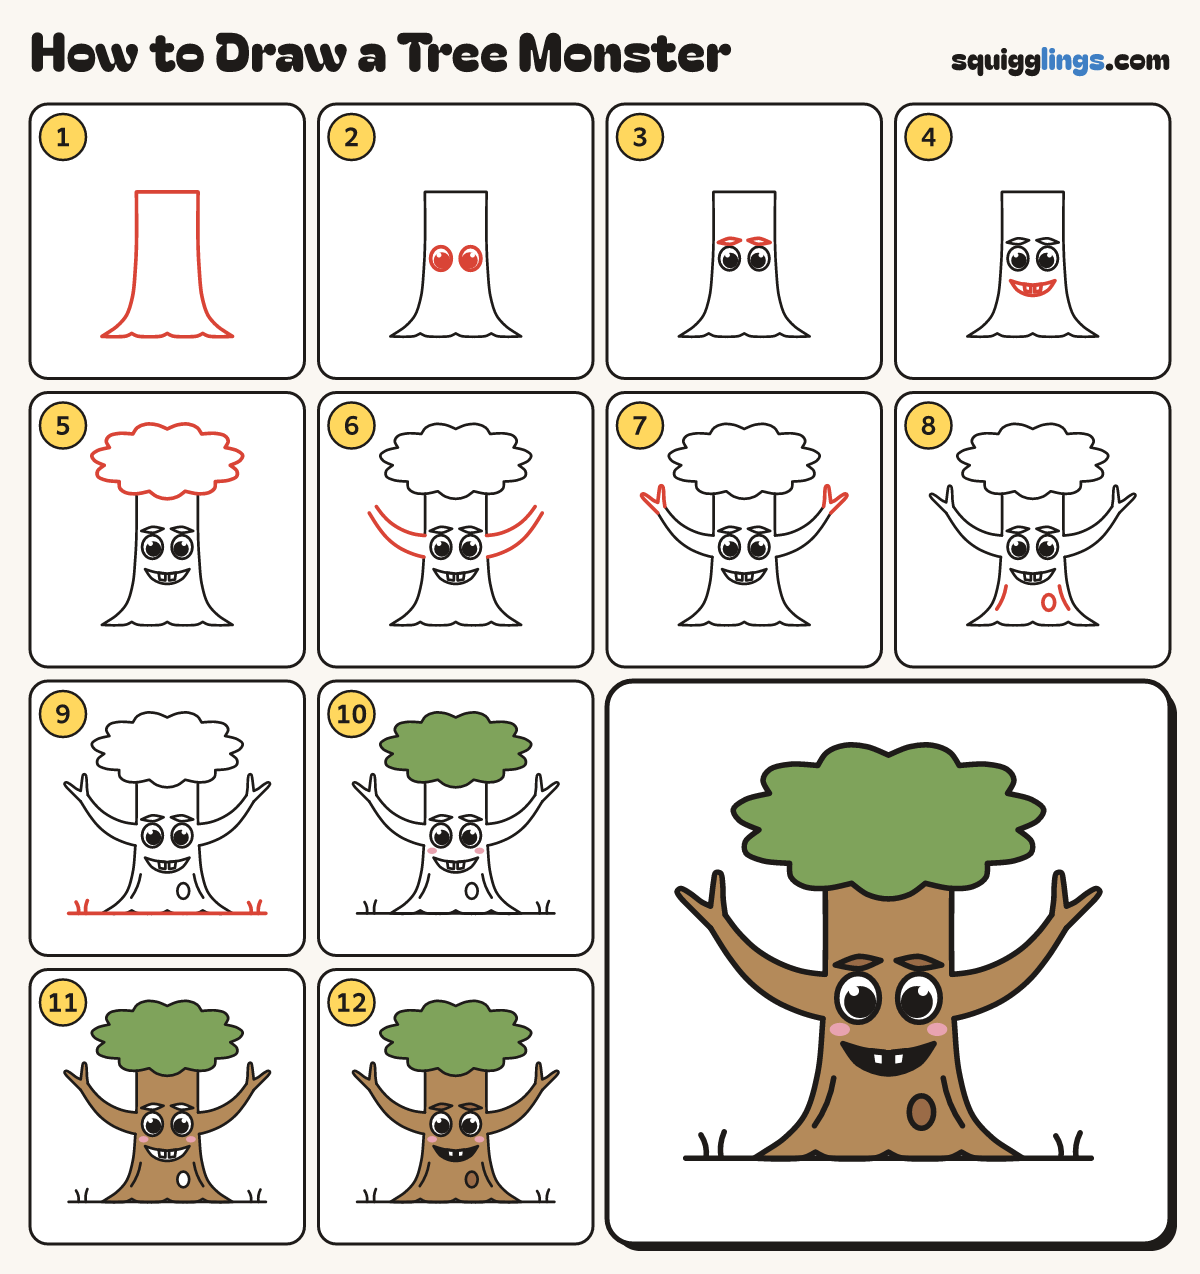
Each picture adds one red line. Draw that line, then scroll to the next picture. Rub out any dashed helper lines at the end. First up: the trunk.
Step 1: The trunk
In the middle of your paper, draw a wide trunk standing up, with bumpy root toes across the bottom.
Tip The trunk is wide, like a body, with roots for feet.
Step 2: Big eyes
Below the top of the trunk, draw 2 big egg eyes. Colour black dots in them, leaving white shines.
Step 3: Bark brows
Above each eye, draw a short thick brow like a bark chip, pointed at the outside end.
Step 4: Big grin
Under the eyes, draw a wide bowl grin with a curved top line and 2 square teeth hanging in it.
Step 5: Leafy top
On top of the trunk, draw a big lumpy cloud of leaves, wider than the trunk, with bumps all round.
Step 6: Branch arms
From each side of the trunk, draw a branch arm reaching up and getting thinner. Leave the end open.
Tip Start each arm level with the eyes.
Step 7: Twig fingers
From one side of each open end, draw 2 twig fingers in a V, ending on the other side.
Step 8: Knot and bark
Low on the right, draw a small egg knot. Near each side, curve a short bark line down and out.
Step 9: Ground and grass
Draw a long ground line under the roots from far left to far right. Add grass blades at each end.
Step 10: Green leaves, pink cheeks
Colour the leafy top green. Add 2 pink cheeks, just below the outside of each eye.
Step 11: Brown trunk and arms
Colour the trunk and arms brown, around the eyes, brows, mouth, cheeks and knot. Leave the eyes white.
Step 12: Dark brows and mouth
Colour the brows and knot hole dark brown, and the mouth black. Leave the teeth white. Done!
Your finished drawing
Follow the steps above and this is where you end up: a tree monster, drawn by you.
Every step in one picture