Watch it draw itself · tap to replay
How to Draw Tortellini
Draw tortellini in 12 easy steps, about 9 minutes. Free, with a printable worksheet.
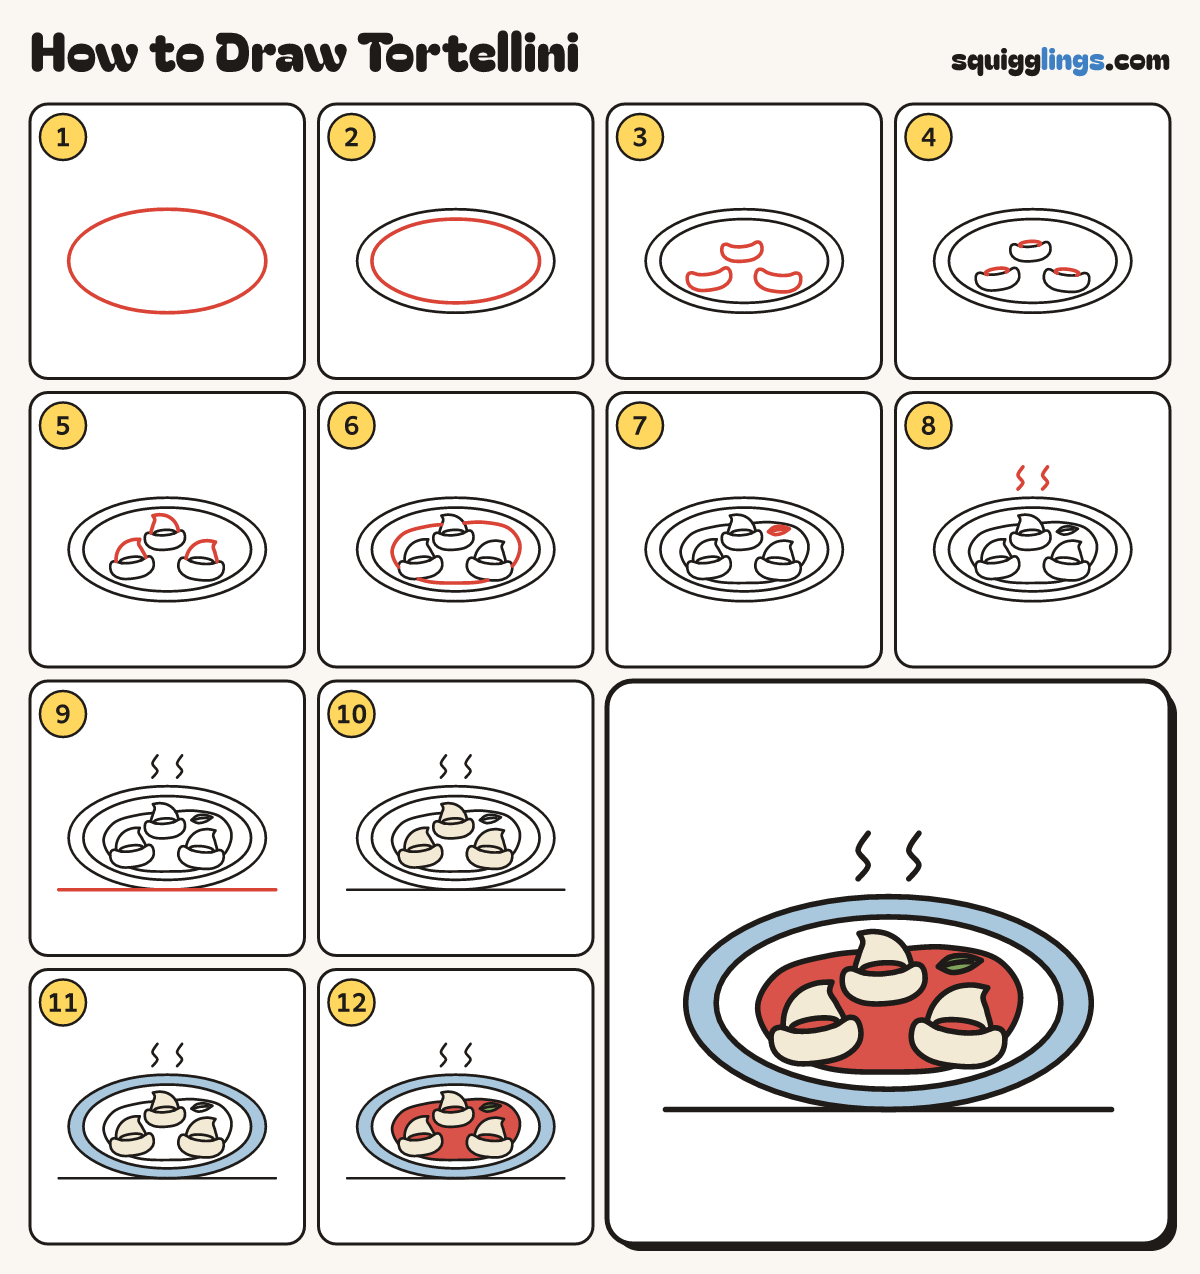
Each picture adds one red line. Draw that line, then scroll to the next picture. Rub out any dashed helper lines at the end. First up: a plate.
Step 1: A plate
A little below the middle of your paper, draw a big flat oval plate, nearly as wide as the page.
Step 2: The rim
Draw a second oval a finger inside the plate, all the way round, for the rim.
Step 3: Plump bellies
Inside the rim draw 3 fat beans, one at the back in the middle and 2 in front.
Tip These are the filled, puffy parts of the pasta, so keep them chubby with round ends.
Step 4: The holes
On each bean, start on its top edge and draw a low flat hump back to it for the hole.
Step 5: Folded points
From the bean beside each hole, draw a flap up to a bent-over tip, then back down to the bean.
Tip The flap is the folded point of the pasta, like a little hat.
Step 6: A little sauce
Around the pasta draw a wobbly puddle of sauce, stopping where it meets the tortellini.
Step 7: A basil leaf
At the back right of the sauce, draw a small pointy leaf lying flat, with a line down its middle.
Tip Keep it clear of the pasta, so it lies on the sauce.
Step 8: Steam
Start just above the plate and draw 2 wiggly steam lines going up.
Step 9: The table
Draw a long straight line under the plate, from well left to well right, just touching its bottom.
Step 10: Cream pasta
Go over your lines, then colour all 3 tortellini cream, but not their holes.
Step 11: Sky blue rim
Colour the plate's rim sky blue. Leave the middle of the plate white.
Step 12: Red sauce, green leaf
Colour the sauce red around the tortellini and the leaf, and inside the holes. Colour the leaf green.
Your finished drawing
Follow the steps above and this is where you end up: tortellini, drawn by you.
Every step in one picture