Watch it draw itself · tap to replay
How to Draw an Egg Carton
Draw an egg carton in 10 easy steps, about 8 minutes. Free, with a printable worksheet.
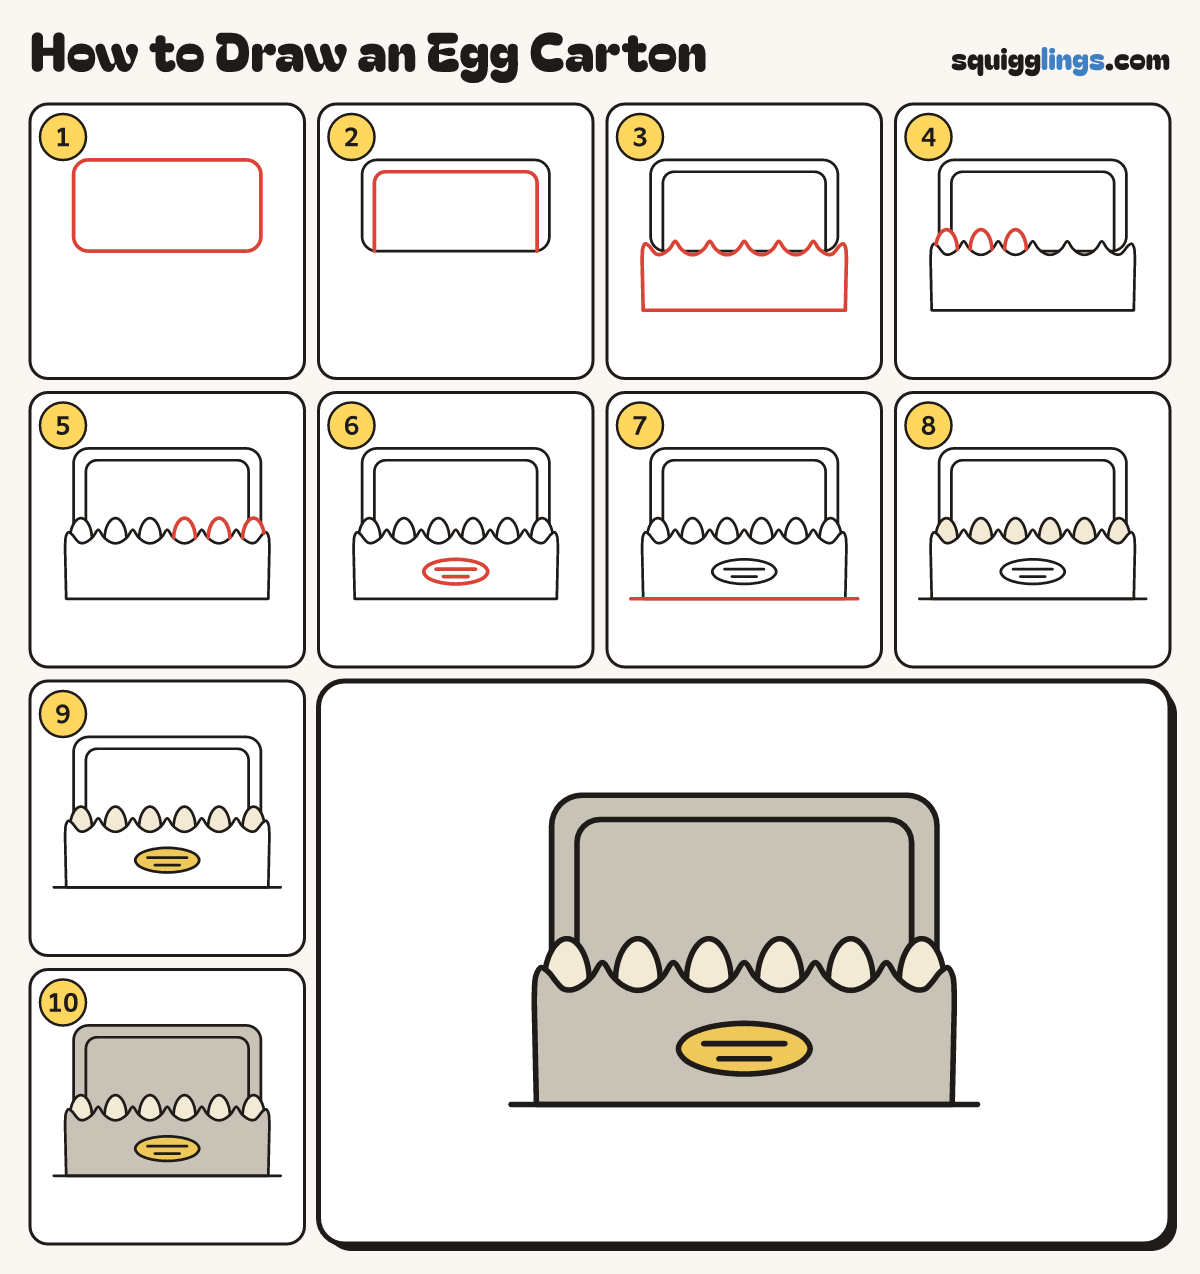
Each picture adds one red line. Draw that line, then scroll to the next picture. Rub out any dashed helper lines at the end. First up: the lid.
Step 1: The lid
Near the top draw the open lid standing up: a wide box with a flat top and soft round corners.
Step 2: Lid edge
Inside the lid draw a second line a finger in, up one side, over and down the other: the rim.
Step 3: The base
Under the lid draw the base: 6 U cups along the top, soft round ends, straight sides and a bottom.
Step 4: Three eggs
Draw an egg in each of the 3 left cups, starting and stopping on the cup curve, bottom hidden.
Step 5: Three more eggs
Draw 3 more eggs the same way in the 3 right cups.
Step 6: A label
On the front of the base draw a flat oval label with 2 short lines of writing inside.
Step 7: The table
Draw a table line under the carton from well left to well right.
Step 8: Cream eggs
Go over your lines, then colour the 6 eggs cream.
Step 9: Yellow label
Colour the label yellow.
Step 10: Cardboard carton
Colour the lid and the base stone grey, around the eggs and the label, and your carton is done!
Your finished drawing
Follow the steps above and this is where you end up: an egg carton, drawn by you.
Every step in one picture