Watch it draw itself · tap to replay
How to Draw a Tie Dye Shirt
Draw a tie dye shirt in 11 easy steps, about 8 minutes. Free, with a printable worksheet.
Each picture adds one red line. Draw that line, then scroll to the next picture. Rub out any dashed helper lines at the end. First up: collar and shoulders.
Step 1: Collar and shoulders
Draw a U neck hole, a rainbow on top. From each end slope a shoulder out, stopping a hand away.
Tip Start near the top of your paper. Make the shoulders wide.
Step 2: Soft sleeves
From each shoulder end draw a short droopy sleeve: down the outside, a slanted cuff, back up to the armpit.
Tip Each sleeve is a short droopy tube, 2 fingers long.
Step 3: Body
From the left armpit draw a side down, a sagging hem across, and back up to the right armpit.
Tip Round the 2 bottom corners a little.
Step 4: Three swirl lines
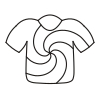
Start in the middle of the shirt. Draw 3 curvy lines swirling out like a fan, stopping on the edges.
Tip Bend every line the same way, like water going down a plughole.
Step 5: Three more
Start in the middle again. Draw 3 more swirl lines in the gaps, stopping on the edges.
Step 6: Yellow stripe
Find the stripe that runs down the right side to the hem. Colour it yellow.
Tip Press gently and colour right up to the lines.
Step 7: Orange stripe
Colour the stripe above it orange, out to the right cuff.
Step 8: Red stripe
Colour the next stripe up red: the right shoulder and round under the neck.
Step 9: Green stripe
Now colour the stripe along the bottom hem green.
Step 10: Blue stripe
Colour the stripe above the green one blue. Colour the inside of the neck blue too.
Step 11: Purple stripe
Colour the last stripe, with the left sleeve, purple. Your tie dye shirt is done!
Tip Six colours going round: that is the tie dye swirl.
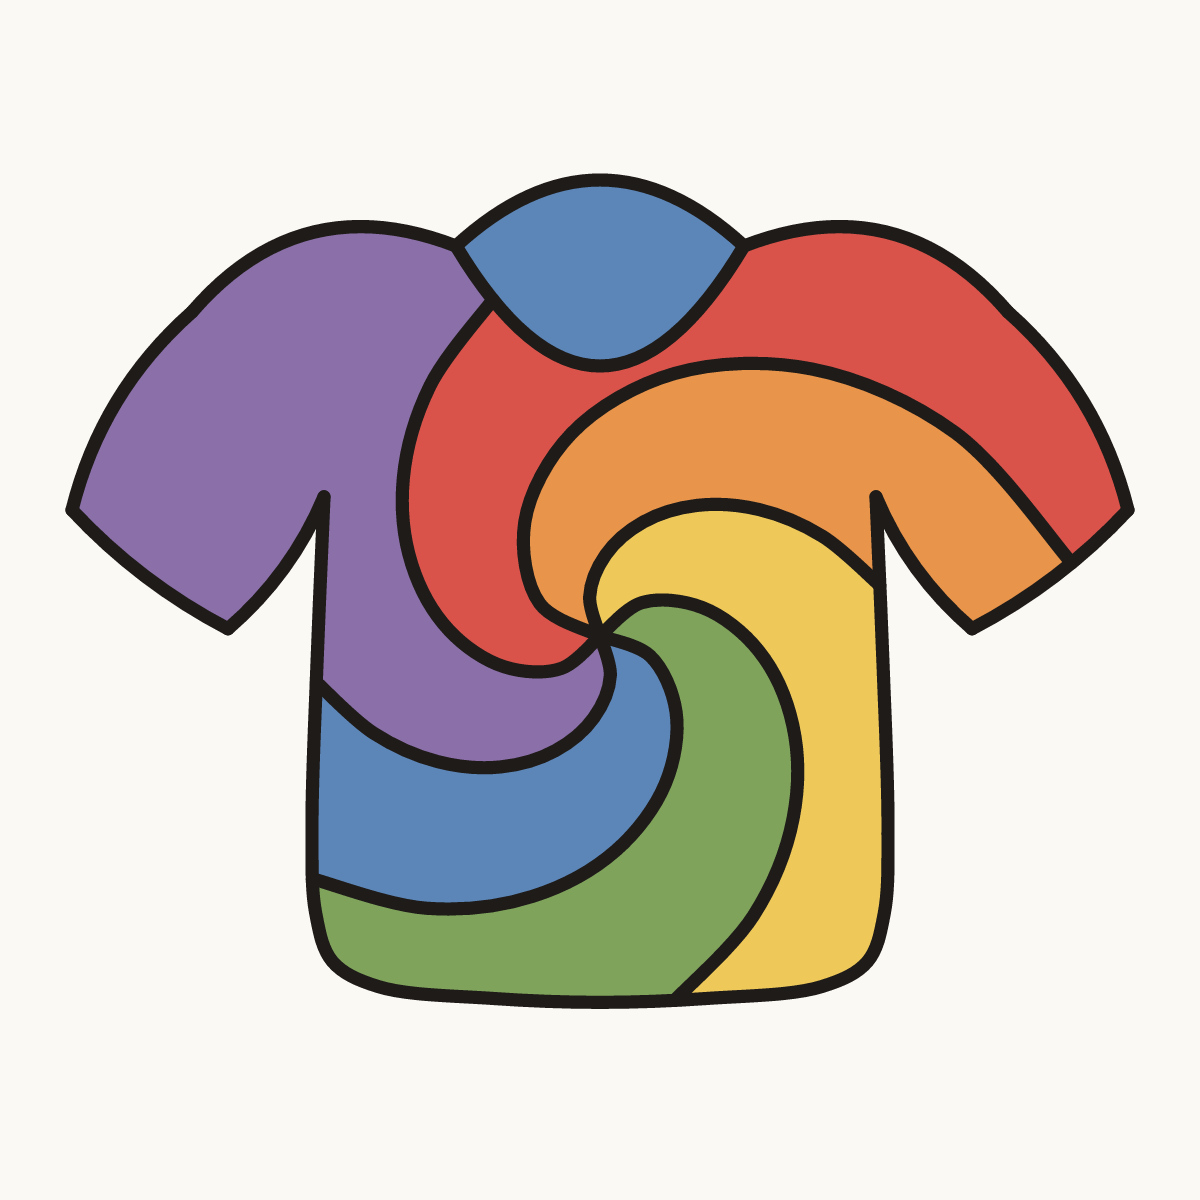
Your finished drawing
Follow the steps above and this is where you end up: a tie dye shirt, drawn by you.
Every step in one picture