Watch it draw itself · tap to replay
How to Draw a Thanksgiving Wishbone
Draw a Thanksgiving wishbone in 11 easy steps, about 8 minutes. Free, with a printable worksheet.
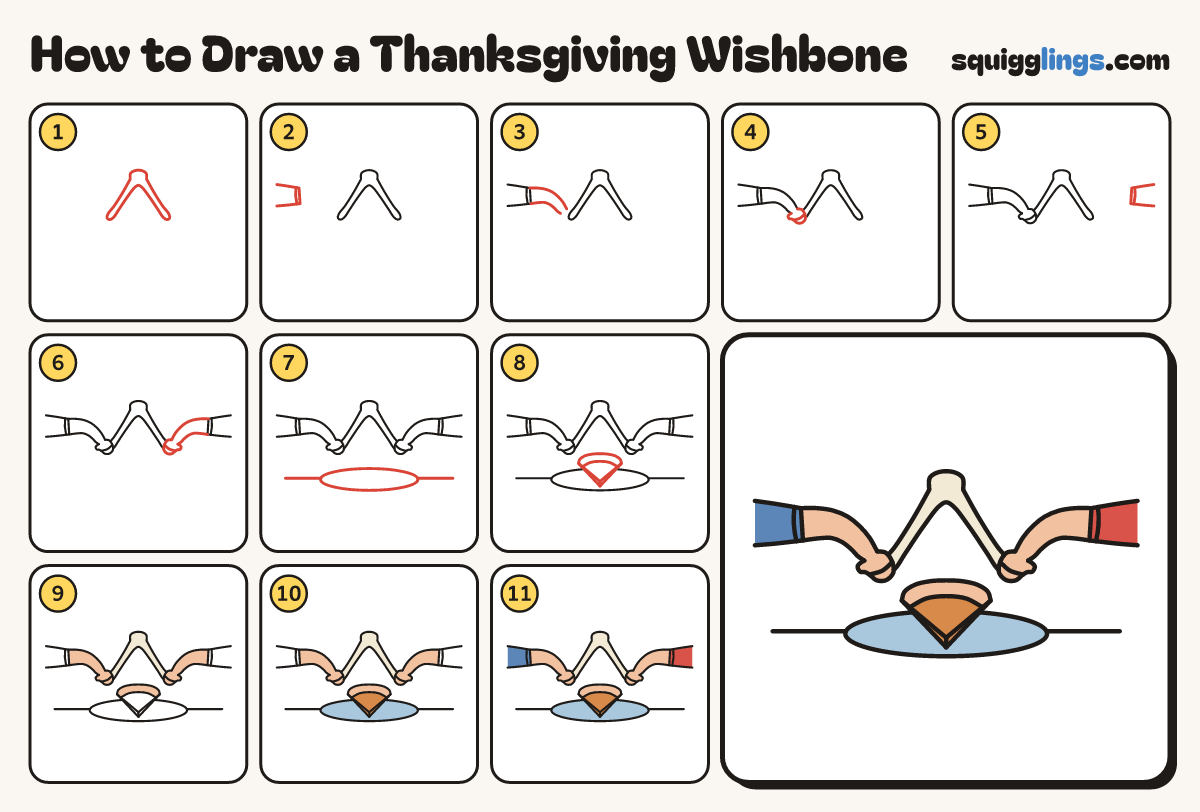
Each picture adds one red line. Draw that line, then scroll to the next picture. Rub out any dashed helper lines at the end. First up: the wishbone.
Step 1: The wishbone
In the middle, draw a round knob. Under it, draw 2 fat prongs splitting apart like an upside-down V.
Tip Whoever gets the bigger piece makes a wish!
Step 2: Left sleeve
From the left edge of the paper, draw a short sleeve reaching in. Add a cuff line near its end.
Tip The person is off the page: only the arm reaches in.
Step 3: Left arm
From the sleeve end, draw a bare arm getting thinner as it reaches down. Stop near the left tip.
Step 4: Left fist
On the wrist, draw a round fist gripping the left tip, with a thumb bump and a curved finger line.
Step 5: Right sleeve
From the right edge of the paper, draw a short sleeve reaching in. Add a cuff line near its end.
Step 6: Right arm and fist
From the right sleeve, draw the arm getting thinner, and stop near the tip. Add a gripping fist.
Step 7: Table and plate
Just under the wishbone, draw a table line. Add a long flat oval plate under the fists.
Step 8: Slice of pie
On the plate, draw a thick slice pointing at you. Add a Y from its corners and a crust line.
Step 9: Cream bone, peach arms
Colour the wishbone cream. Colour both arms, both fists and the crust peach.
Step 10: Sky plate, ginger pie
Colour the plate sky blue, going around the pie. Colour the pie ginger, around the crust.
Step 11: Blue and red sleeves
Colour the left sleeve blue and the right sleeve red. Your wishbone is done!
Your finished drawing
Follow the steps above and this is where you end up: a Thanksgiving wishbone, drawn by you.
Every step in one picture