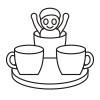
Watch it draw itself · tap to replay
How to Draw a Teacup Ride
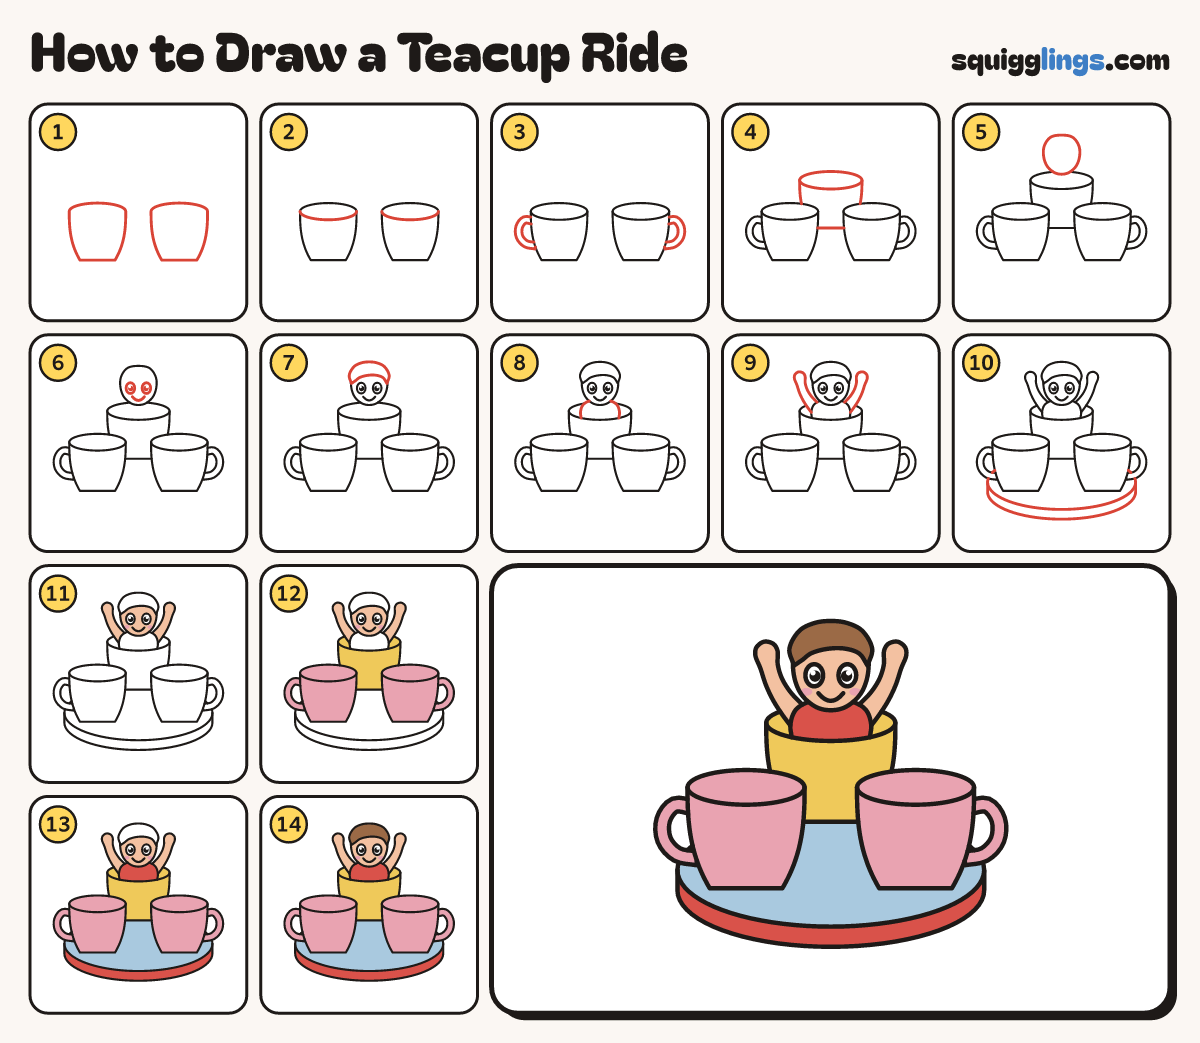
Draw a teacup ride in 14 easy steps, about 11 minutes. Free, with a printable worksheet.
Each picture adds one red line. Draw that line, then scroll to the next picture. Rub out any dashed helper lines at the end. First up: two big cups.
Step 1: Two big cups
Draw 2 big cups side by side: each has a curved top, round sides and a flat bottom.
Tip Leave a gap between the cups, and room above them for one more.
Step 2: Oval rims
Inside each cup draw a curved line: start at the top left corner, dip down, stop at the right corner.
Step 3: Two handles
On the outside of each cup draw a thick handle like a letter C.
Step 4: The cup behind
Higher up, between the cups, draw a third cup. Add its rim line, starting and stopping at its top corners.
Tip The 2 front cups hide the bottom corners of this one.
Step 5: A head pops up
Draw a big egg head sitting in the middle cup, with its chin just over the back of the rim.
Tip Rub out the bit of the cup's top line inside the head.
Step 6: Happy face
In the middle of the head draw 2 oval eyes with black dots, and a wide smile below.
Step 7: Hair
Draw hair over the top of the head, from one side to the other, with a fringe above the eyes.
Step 8: Shoulders
Start on the rim line left of the chin. Go up, round 2 shoulders, stop on the rim line again.
Step 9: Arms in the air
From each shoulder draw an arm reaching up and out, ending in a round hand.
Tip Keep a gap between each arm and the head.
Step 10: The round floor
Under the cups draw a flat oval floor. For its edge, start at the left end, stop at the right.
Tip The floor spins the cups round and round.
Step 11: Peach skin, pink cheeks
Colour pink cheeks, then the face around them and both arms peach. Leave the eyes white.
Step 12: Yellow cup, pink cups
Colour the middle cup yellow, inside and out. Colour the 2 front cups and their handles pink.
Step 13: Blue floor, red top
Colour the top of the floor sky blue. Colour the child's top and the floor's front edge red.
Step 14: Brown hair
Colour the hair brown. Go over your lines and the teacup ride is ready to spin!
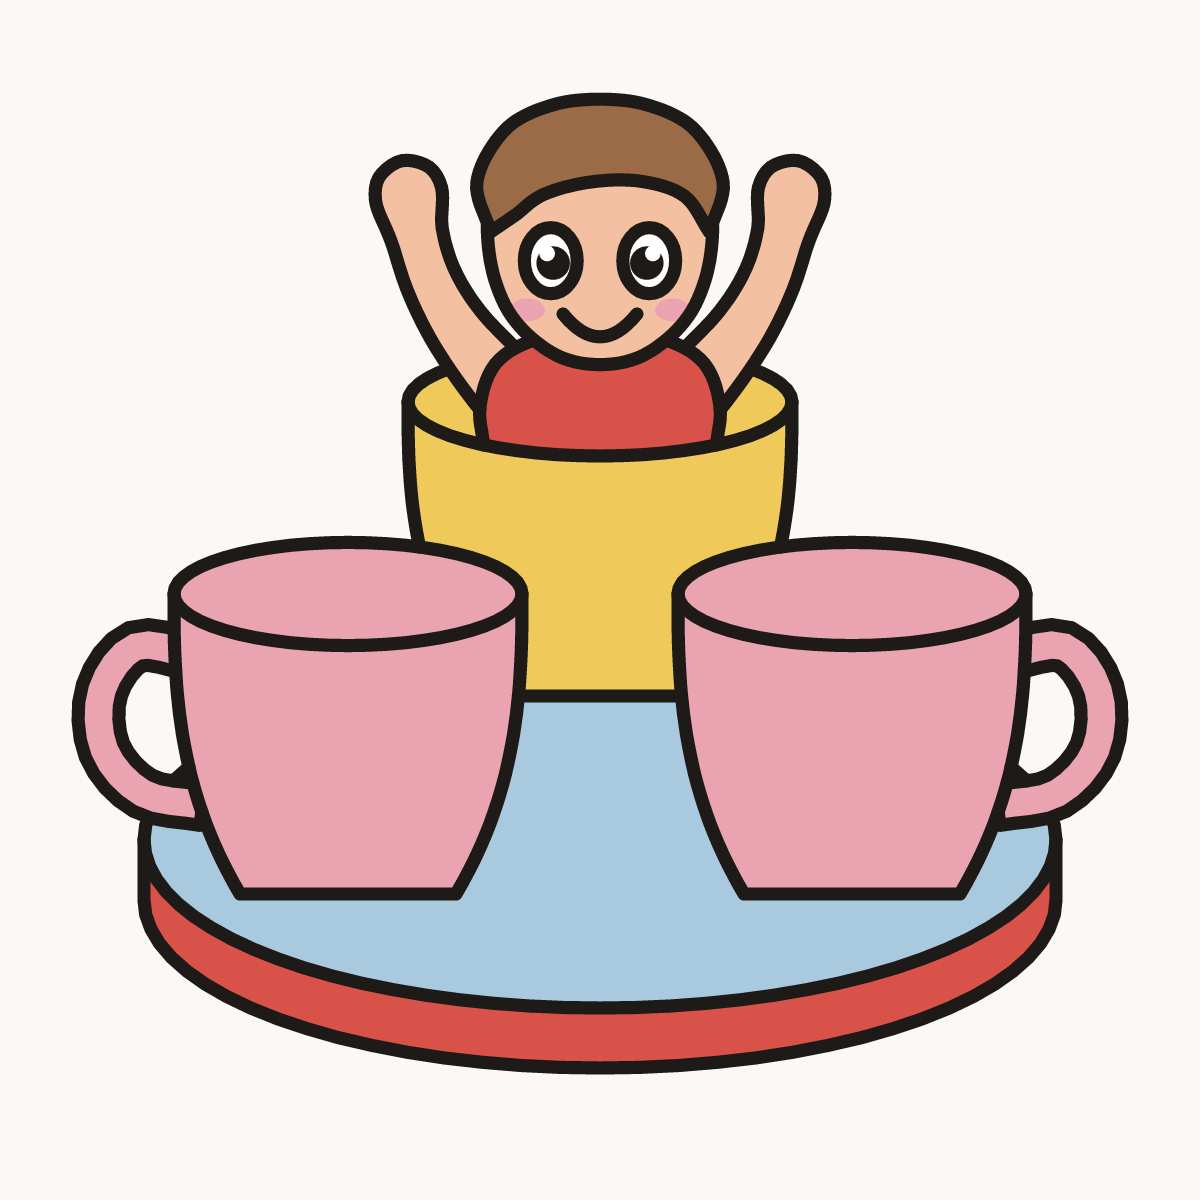
Your finished drawing
Follow the steps above and this is where you end up: a teacup ride, drawn by you.
Every step in one picture