Watch it draw itself · tap to replay
How to Draw Ruins
Draw ruins in 13 easy steps, about 10 minutes. Free, with a printable worksheet.
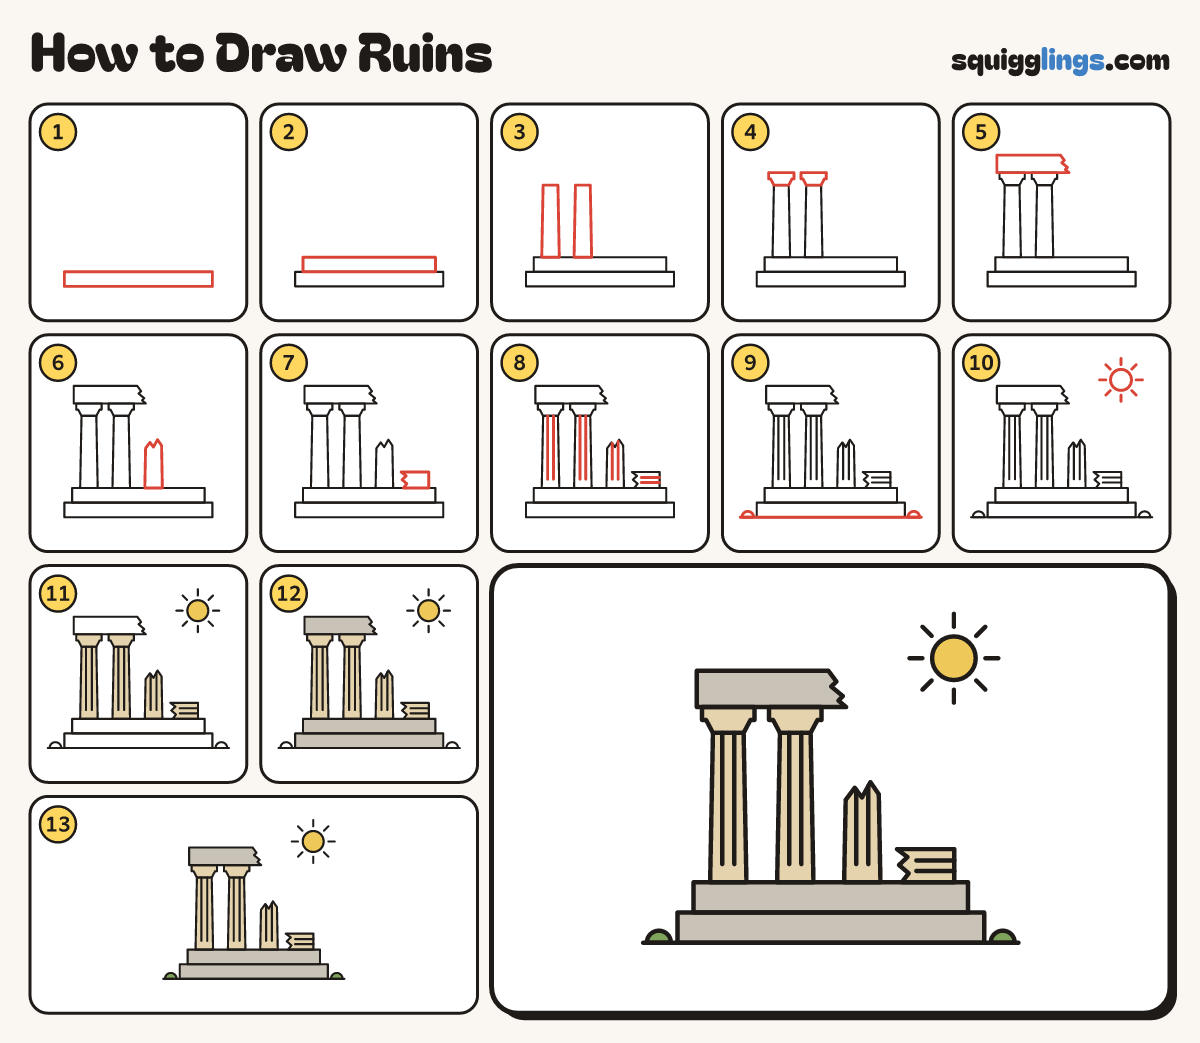
Each picture adds one red line. Draw that line, then scroll to the next picture. Rub out any dashed helper lines at the end. First up: the bottom step.
Step 1: The bottom step
Low on your paper draw a long flat box, almost as wide as the page.
Tip Use a ruler if you like. Stone steps have straight edges.
Step 2: The top step
On top of it draw a second flat box, a little shorter at each end.
Step 3: Two tall columns
On the left half of the top step draw 2 tall columns, each a little thinner at the top.
Tip Leave a gap between them as wide as 2 columns.
Step 4: Column tops
On each column draw a small tray shape that flares out, with a flat bar on top.
Step 5: The broken beam
Lay a long thick beam across both tops. Past the second column, end it with a zigzag break.
Tip The zigzag shows where the rest of the beam snapped off.
Step 6: A snapped column
Next along draw a shorter column, the same width. Give it a zigzag top where it snapped.
Step 7: A fallen piece
At the right end of the step draw a fat block lying down, with a zigzag end facing the column.
Tip It is the top of the snapped column, so make it just as fat.
Step 8: Column lines
Draw 2 thin lines down each column, and 2 lines along the fallen piece.
Step 9: Ground and bushes
Draw a flat ground line under the bottom step, edge to edge. Add a small half-circle bush at each end.
Step 10: The sun
In the top right corner draw a round sun with 8 short rays around it.
Step 11: Sun and columns
Colour the sun yellow. Colour the 3 columns, the 2 tops and the fallen piece sand.
Step 12: Grey stone
Colour the broken beam and both steps stone grey.
Step 13: Green bushes
Colour the 2 bushes green. Go over your lines, and your ruins are done!
Your finished drawing
Follow the steps above and this is where you end up: ruins, drawn by you.
Every step in one picture