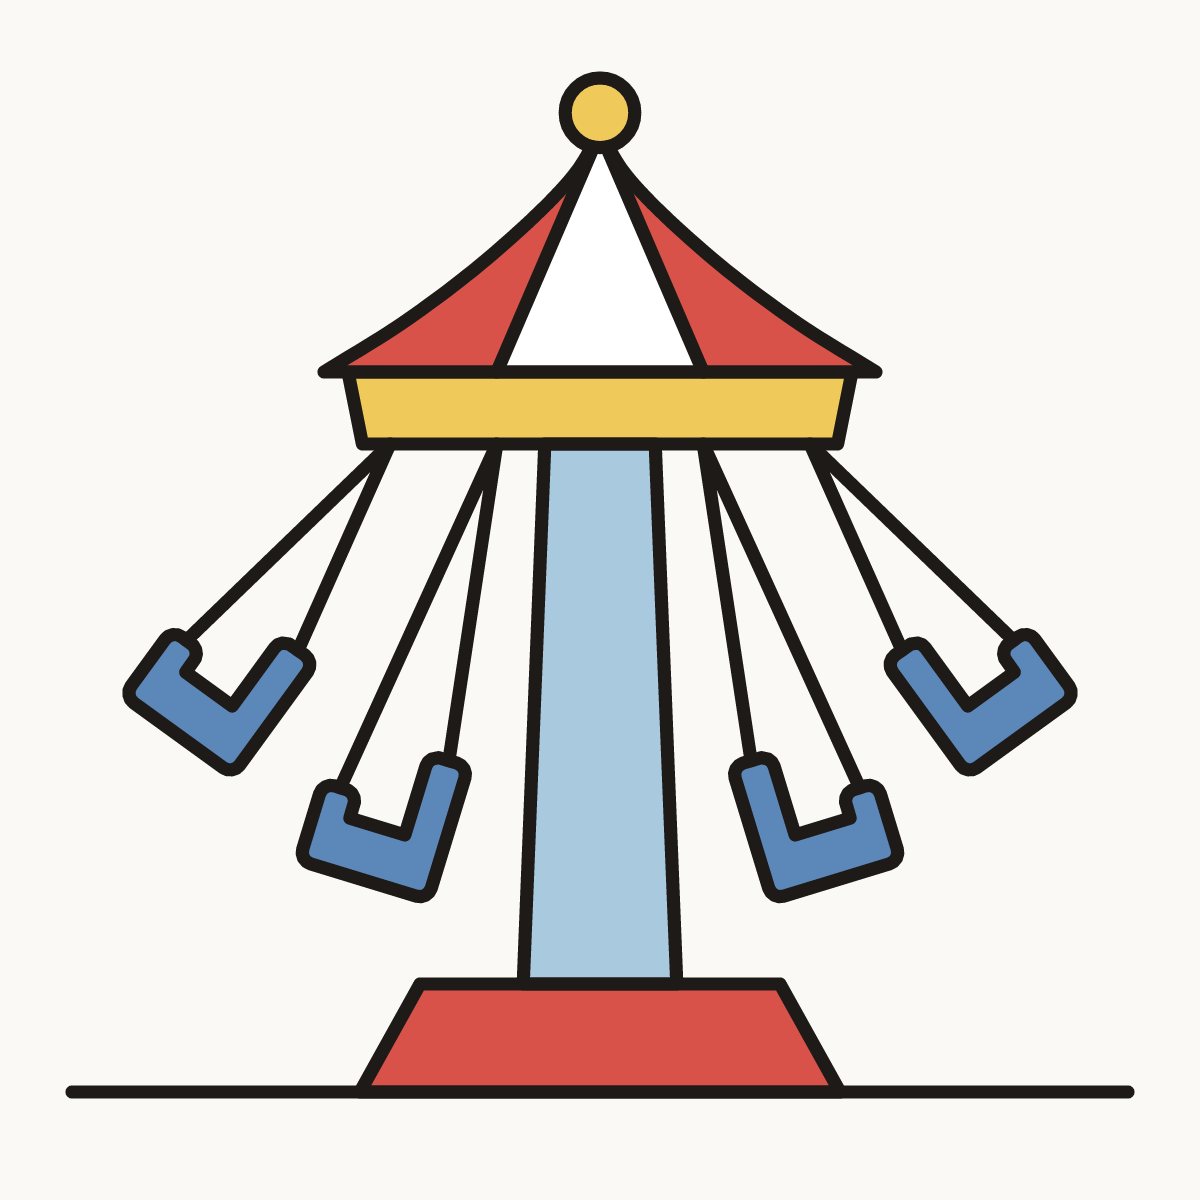
Watch it draw itself · tap to replay
How to Draw a Swing Ride
Draw a swing ride in 11 easy steps, about 8 minutes. Free, with a printable worksheet.
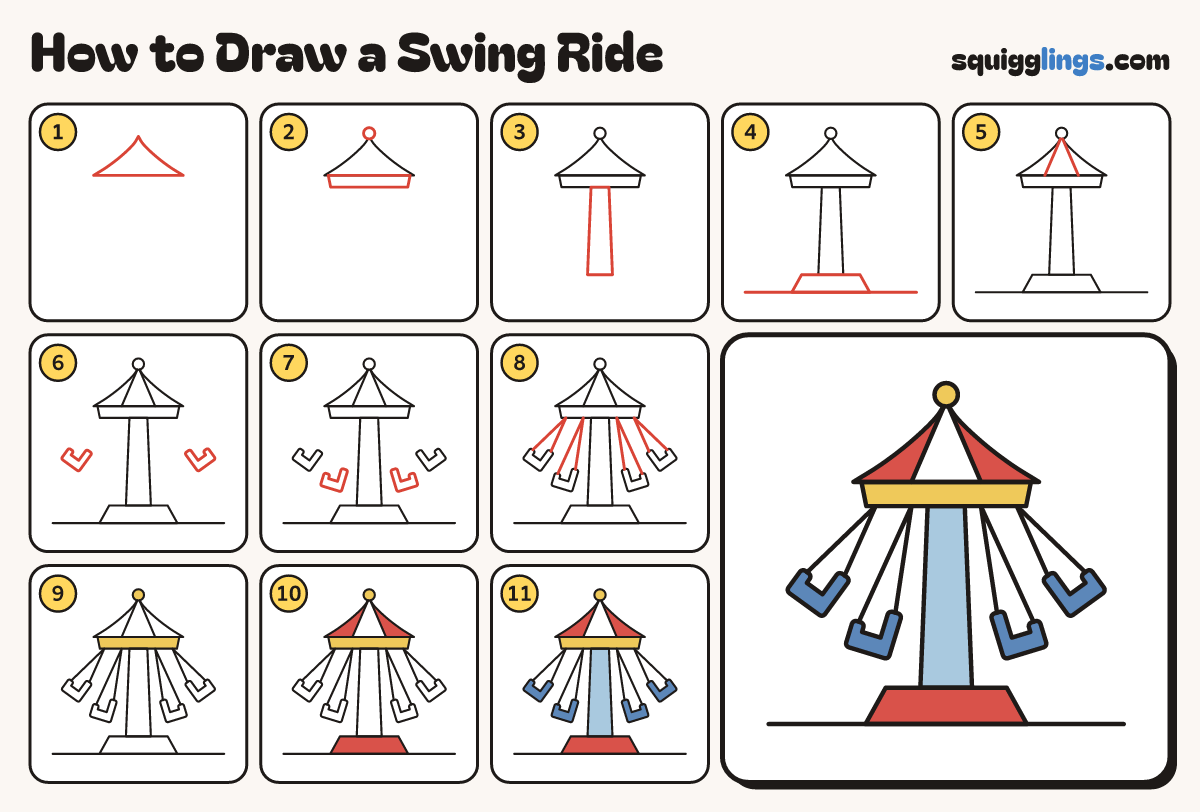
Each picture adds one red line. Draw that line, then scroll to the next picture. Rub out any dashed helper lines at the end. First up: tall pointed top.
Step 1: Tall pointed top
Near the top draw a tall tent roof: a point in the middle, 2 sloping sides and a flat bottom.
Tip Let each side dip in a little, like a circus tent.
Step 2: Ball and rim
Draw a small ball on the tip of the roof. Under the roof draw a long thin band.
Tip Make the band a little shorter than the roof on each side.
Step 3: The pole
From the middle of the band draw 2 long lines down for the pole, a little wider at the bottom.
Step 4: Base and ground
Under the pole draw a wide base with sloping ends. Draw a long ground line under it.
Step 5: Roof stripes
Start under the ball. Draw 2 lines fanning down to the bottom edge of the roof, making 3 stripes.
Step 6: Two flying chairs
Far out on each side draw a chair seen side on: a tall back, a seat, a low front.
Tip Tip each chair outwards. Its tall back is on the side nearest the pole.
Step 7: Two lower chairs
Lower down and nearer the pole draw 2 more chairs, tipping out a little less.
Step 8: The chains
Join each chair to the band above with 2 straight chains that meet at the top.
Tip The chains lean out because the ride is spinning.
Step 9: Yellow band and ball
Colour the band under the roof and the ball on top yellow.
Step 10: Red stripes and base
Colour the 2 outer stripes of the roof red. Colour the base red too.
Tip Leave the middle stripe white.
Step 11: Blue pole and chairs
Colour the pole sky blue and the 4 chairs dark blue. Your swing ride is spinning!
Your finished drawing
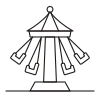
Follow the steps above and this is where you end up: a swing ride, drawn by you.
Every step in one picture