Watch it draw itself · tap to replay
How to Draw the Leaning Tower of Pisa
Draw the Leaning Tower of Pisa in 12 easy steps, about 9 minutes. Free, with a printable worksheet.
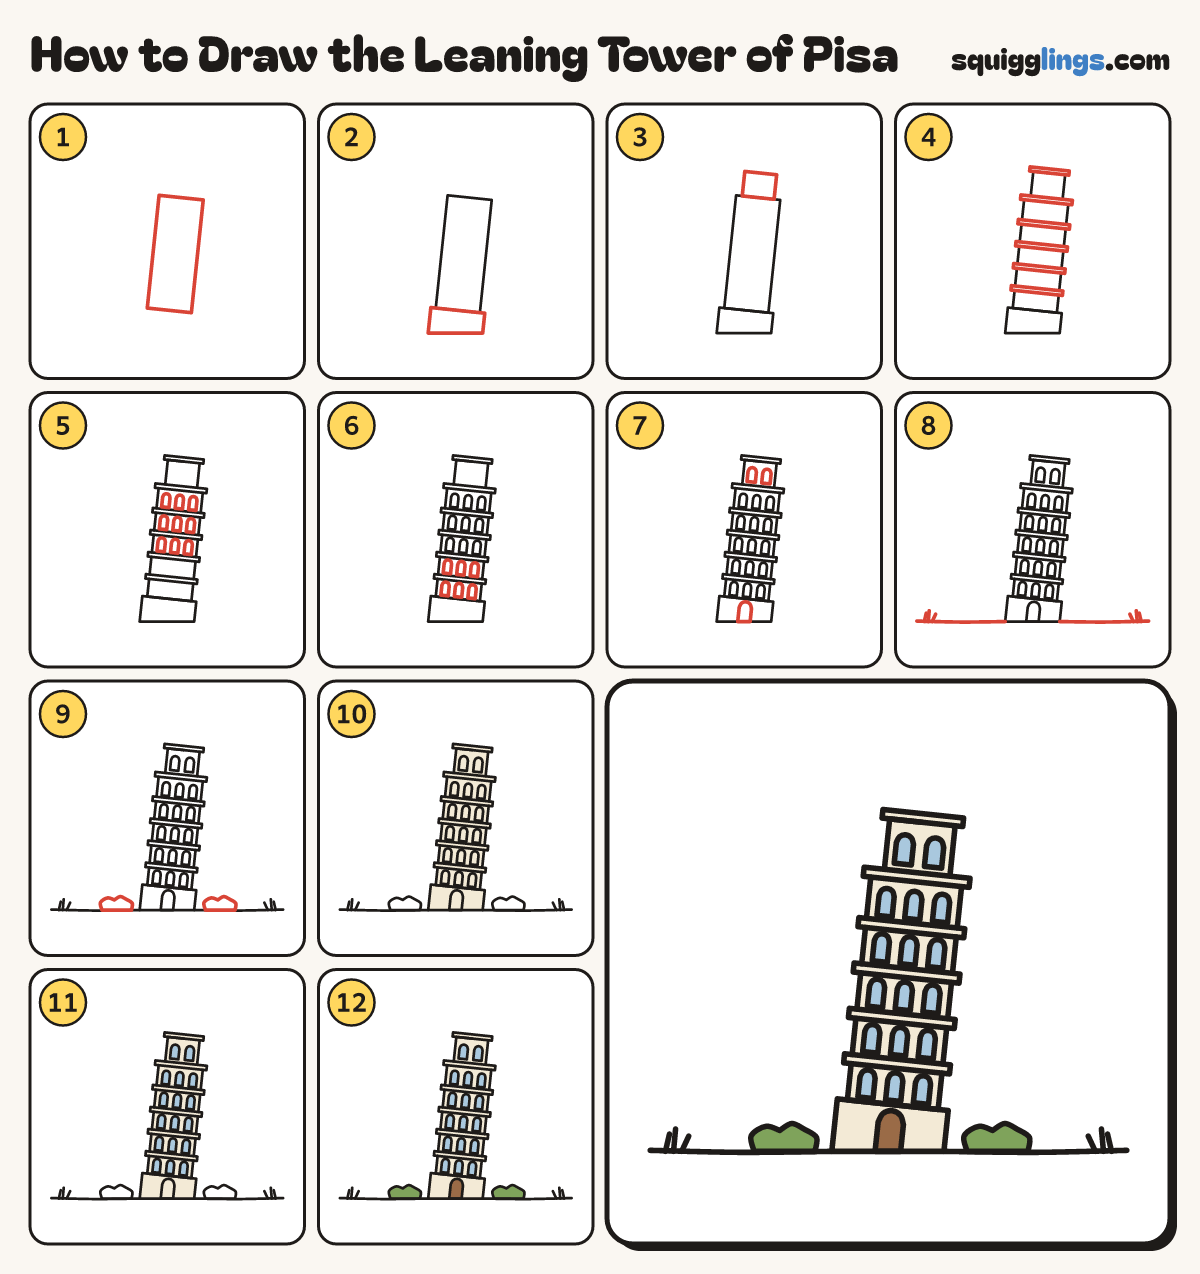
Each picture adds one red line. Draw that line, then scroll to the next picture. Rub out any dashed helper lines at the end. First up: the leaning tower.
Step 1: The leaning tower
Left of the middle, draw a tall box leaning to the right. It is 4 times taller than wide.
Tip The whole tower tips like a pencil leaning in a cup.
Step 2: Fat bottom ring
Under the tower draw a fatter box poking out past both sides. Its top leans, its bottom sits flat.
Step 3: The bell tower
On top draw a smaller leaning box, a little narrower than the tower.
Step 4: Five ledges
Across the tower draw 5 thin flat boxes, evenly spaced. Add one more across the top of the bell tower.
Tip The ledges slant the same way as the tower.
Step 5: Arches, top rows
In each of the top 3 spaces between ledges draw 3 thin rainbow arches standing on the ledge below.
Step 6: Arches, bottom rows
Do the same in the bottom 2 spaces: 3 thin arches in each.
Step 7: Bell arches and door
In the bell tower draw 2 taller arches. On the bottom ring draw an arched door in the middle.
Step 8: The ground
Draw the ground line from the bottom ring out to each edge. Add a few grass blades near each edge.
Step 9: Two bushes
Draw a round bumpy bush a little way out from each side of the bottom ring, sitting on the ground.
Step 10: Cream marble
Colour the tower, bell tower, ledges and ring cream, around the arches and the door.
Step 11: Sky arches
Colour every little arch sky blue, like you can see the sky through it.
Step 12: Brown door, green bushes
Colour the door brown and the bushes leaf green. Go over your lines and your leaning tower is done!
Your finished drawing
Follow the steps above and this is where you end up: the Leaning Tower of Pisa, drawn by you.
Every step in one picture