Watch it draw itself · tap to replay
How to Draw a Swimmer
Draw a swimmer in 12 easy steps, about 9 minutes. Free, with a printable worksheet.
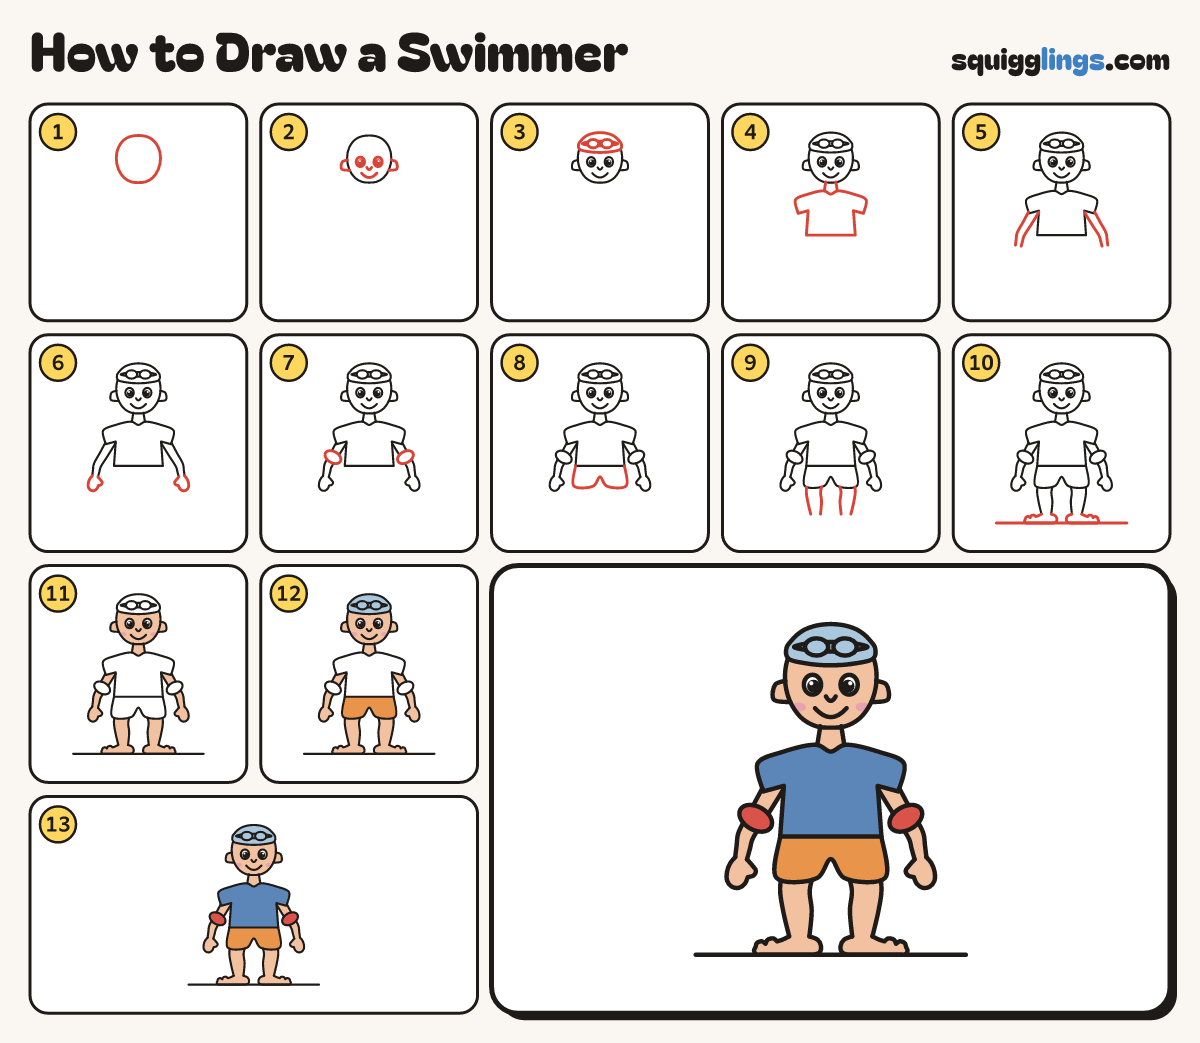
Each picture adds one red line. Draw that line, then scroll to the next picture. Rub out any dashed helper lines at the end. First up: the water.
Step 1: The water
Start at the left edge. Draw a long wavy water line across the middle and stop at the right edge.
Tip Keep the waves small and gentle.
Step 2: The head
Start on the water, left of the middle. Draw a big upside-down U and stop on the water again.
Step 3: Goggles and smile
Inside the head, draw 2 goggle ovals side by side, touching. Add an eye dot in each and a smile.
Step 4: Swim cap and strap
Draw the cap line across the head, from the left side to the right. Join each goggle to the head.
Step 5: The reaching arm
From the head and from the water, draw 2 lines up to a bent elbow and along to the wrist.
Tip The arm gets a little narrower towards the wrist.
Step 6: Mitten hand
At the wrist, start on one arm line, draw a mitten with a thumb, stop on the other.
Step 7: Back and swimsuit
Start behind the head. Draw a long low hill for the back and stop on the water.
Step 8: Kicking foot
Behind the back, start on the water. Draw a leg up and a foot pointing back. Stop on the water.
Step 9: Splashes
Draw 3 water drops flying up above the kicking foot.
Step 10: Peach skin, pink cheeks
Colour the face, arm, hand and foot peach, around the goggles. Add pink cheeks.
Step 11: Yellow cap, sky goggles
Colour the swim cap yellow and the goggles sky blue, around the eye dots.
Step 12: Red swimsuit, blue water
Colour the swimsuit red. Colour the water and the drops blue, right down to the bottom of the page.
Your finished drawing
Follow the steps above and this is where you end up: a swimmer, drawn by you.
Every step in one picture