Watch it draw itself · tap to replay
How to Draw a Surfboard
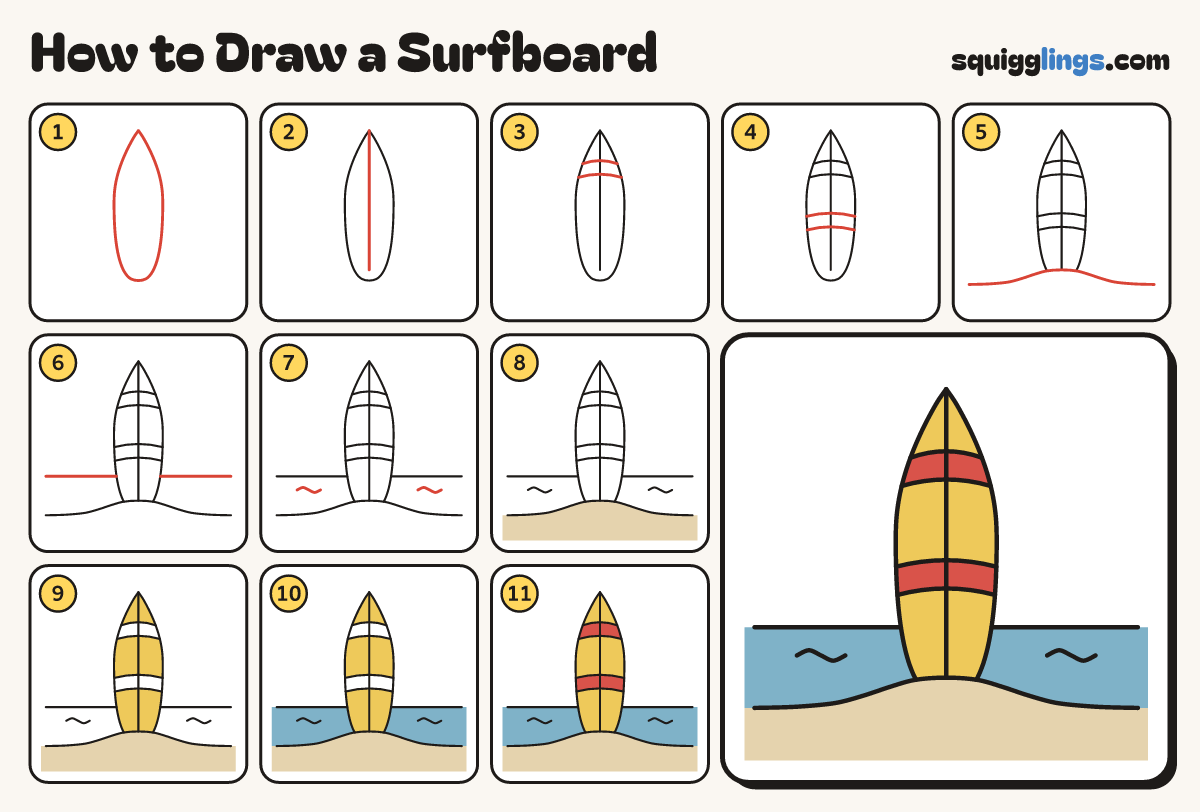
Draw a surfboard in 11 easy steps, about 8 minutes. Free, with a printable worksheet.
Each picture adds one red line. Draw that line, then scroll to the next picture. Rub out any dashed helper lines at the end. First up: the board.
Step 1: The board
In the middle draw a tall board: pointed at the top, fat in the middle, round at the bottom.
Tip Make both sides match, like a long leaf.
Step 2: Middle line
Start at the point and draw a straight line down the middle of the board. Stop near the bottom.
Step 3: Top stripe
Near the top draw 2 curved lines across the board, from the left side to the right side.
Tip Let each line bow up a little, like a rainbow.
Step 4: Bottom stripe
Below the middle draw 2 more curved lines across the board, from side to side, the same way.
Step 5: Sand heap
From the left edge draw a sand line, heaping up over the board's bottom and down to the right edge.
Tip Rub out the bottom of the board under the sand.
Step 6: The sea
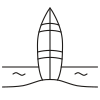
Behind the board draw a straight sea line from the left edge to the right edge. Skip over the board.
Tip Go slowly, or use a ruler, to keep the sea line flat.
Step 7: Little waves
On the sea draw 1 short wavy line on each side of the board.
Step 8: Sandy beach
Colour all the sand a pale sandy colour, right down to the bottom of your paper.
Step 9: Yellow board
Colour the board yellow, but leave the 2 stripes white for now.
Tip There are 3 yellow parts: the tip, the middle and the bottom.
Step 10: Blue sea
Colour the sea blue between the sea line and the sand, going around the board.
Step 11: Red stripes
Colour the 2 stripes red. Go over your lines and your surfboard is ready for the waves!
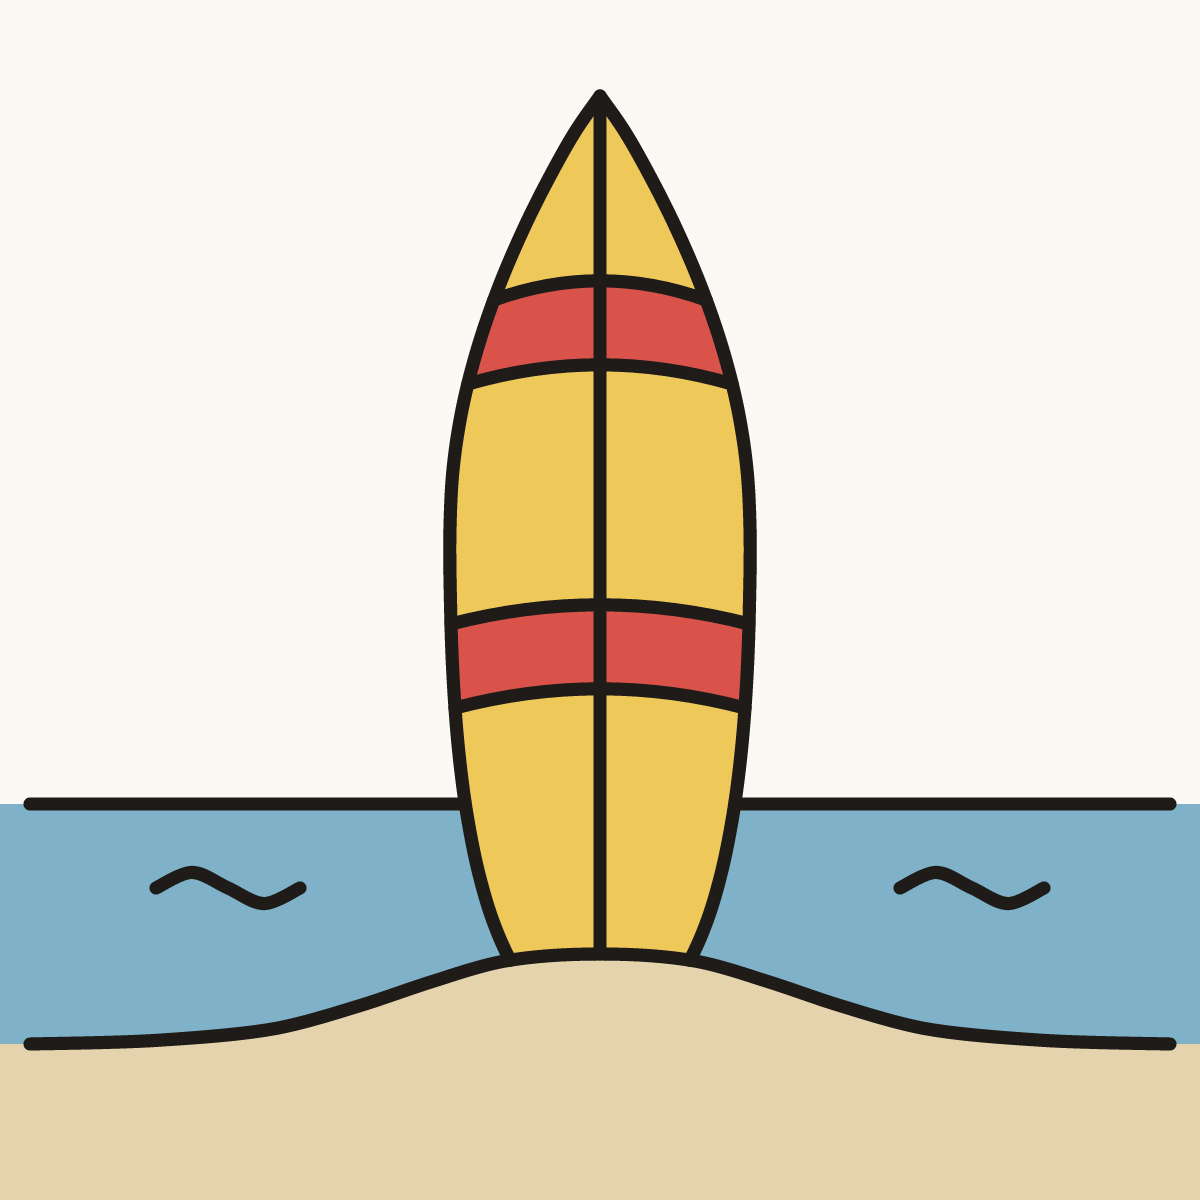
Your finished drawing
Follow the steps above and this is where you end up: a surfboard, drawn by you.
Every step in one picture