Watch it draw itself · tap to replay
How to Draw an Action Camera
Draw an action camera in 13 easy steps, about 10 minutes. Free, with a printable worksheet.
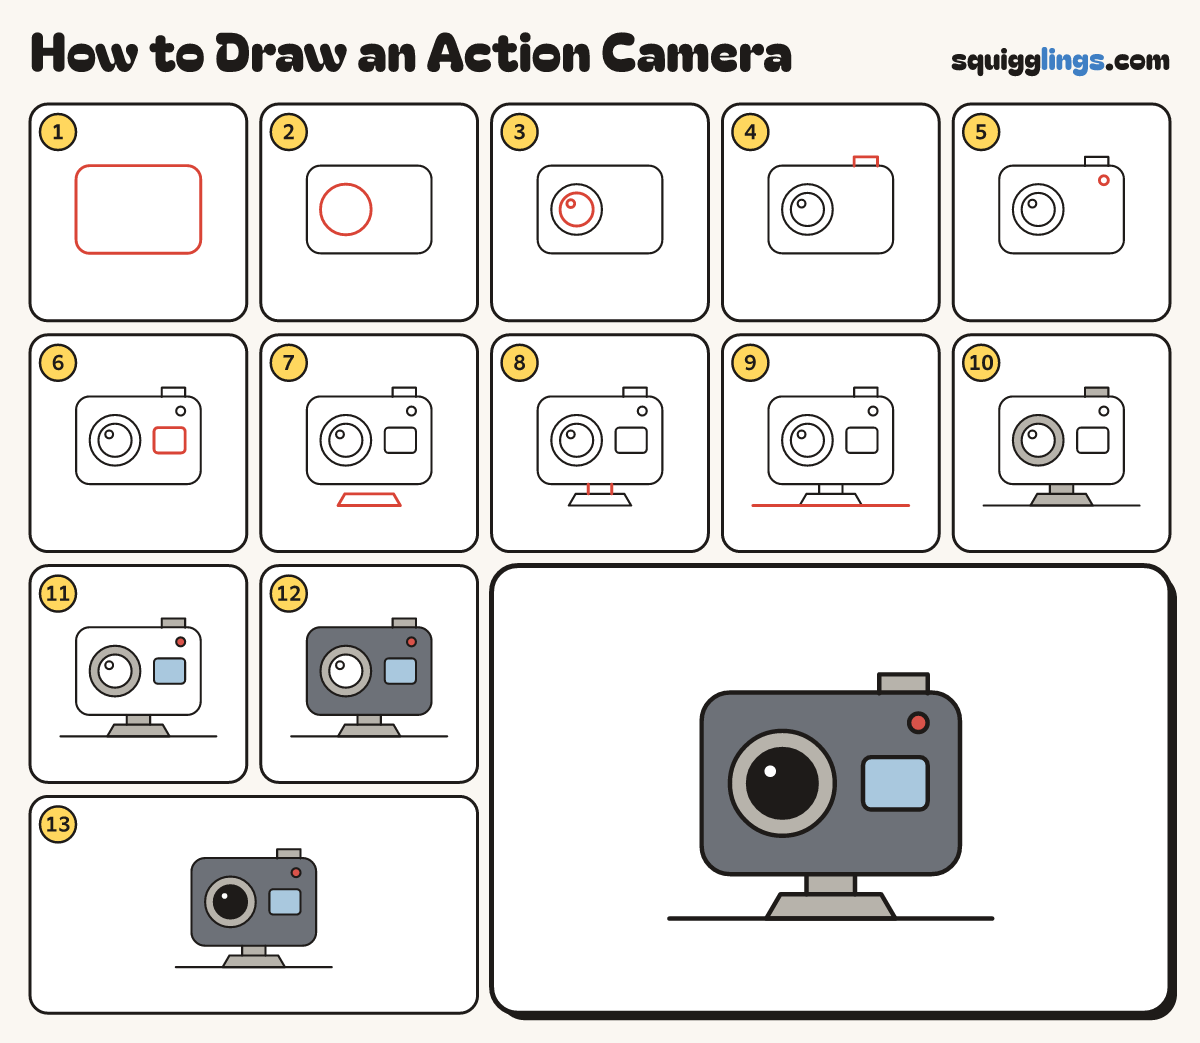
Each picture adds one red line. Draw that line, then scroll to the next picture. Rub out any dashed helper lines at the end. First up: the camera box.
Step 1: The camera box
In the middle of your paper, draw a big box with rounded corners, a little wider than tall.
Tip An action camera is a tough little camera that clips onto a mount.
Step 2: Big lens ring
Left of the middle of the box, draw one big circle for the lens ring.
Step 3: The glass
Inside the ring, draw a smaller circle for the glass, with a tiny circle shine at its top left.
Step 4: Shutter button
Start on the top edge at the right. Draw a flat button up, across and back down to the box.
Step 5: Record light
In the top right corner of the box, draw a small circle for the record light.
Step 6: Little screen
Under the light, right of the lens, draw a small square with round corners for the screen.
Step 7: Base plate
Under the camera, leave a small gap and draw a wide flat base with sloping sides.
Step 8: The clip
Between the box and the base, draw a short block for the clip that joins them.
Step 9: Ground line
Start at the left of your paper. Draw a ground line along the bottom of the base to the right.
Step 10: Grey ring and mount
Colour the lens ring, the button, the clip and the base grey.
Step 11: Blue screen, red light
Colour the screen sky blue and the record light red.
Step 12: Slate camera
Colour the camera box slate, around the lens ring, the screen and the light.
Step 13: Black glass
Colour the glass black, leaving the shine white. Go over your lines.
Your finished drawing
Follow the steps above and this is where you end up: an action camera, drawn by you.
Every step in one picture