Watch it draw itself · tap to replay
How to Draw a Stygimoloch
Draw a stygimoloch in 14 easy steps, about 11 minutes. Free, with a printable worksheet.
Each picture adds one red line. Draw that line, then scroll to the next picture. Rub out any dashed helper lines at the end. First up: bean head.
Step 1: Bean head
Near the top left, draw a big head like a fat bean lying down, with a tall round top.
Step 2: Big eye
Under the forehead, draw a big oval eye with a black dot and shine. Dot a nostril.
Step 3: Bony dome
Start above the eye. Draw a curved line across the head to the back, like a cap.
Tip This cap is the hard dome on top of the head.
Step 4: Three back horns
Behind the dome draw 3 long pointy horns fanning out. Each one starts and stops on the head line.
Tip Make the middle horn the longest.
Step 5: Nose bumps and smile
Draw 2 small bumps on top of the snout. Then draw a long smile from the snout to the cheek.
Step 6: Back and fat tail
Start under the lowest horn. Draw down the back, along a fat tail, then back to the bottom.
Step 7: Chest and tiny arm
From under the jaw, draw a C chest down to the hip. Rub out the neck line. Add an arm.
Tip Bend the arm at the elbow and give it 2 little fingers.
Step 8: Big front leg
Start at the end of the chest. Draw a leg down to 3 toes, then up to a fat thigh.
Step 9: Tummy
Start at the back of the thigh. Draw one short saggy curve back and stop where the tail line ended.
Step 10: Back leg and ground
Start behind the thigh. Draw a back leg peeking out, down to 3 toes, and up to the tummy.
Tip Then draw a long ground line under both feet.
Step 11: Tummy patch
Start under the jaw. Draw a long curve down the chest and stop on the thigh.
Step 12: Cream horns and tummy
Colour the 3 horns, the 2 nose bumps and the tummy patch cream.
Step 13: Orange body
Colour the head, body, tail, legs and arm orange, around the dome and tummy. Leave the eye white.
Tip Press harder for 3 darker spots on the back, hip and tail.
Step 14: Brown dome
Colour the dome on top of the head brown. Your stygimoloch is done!
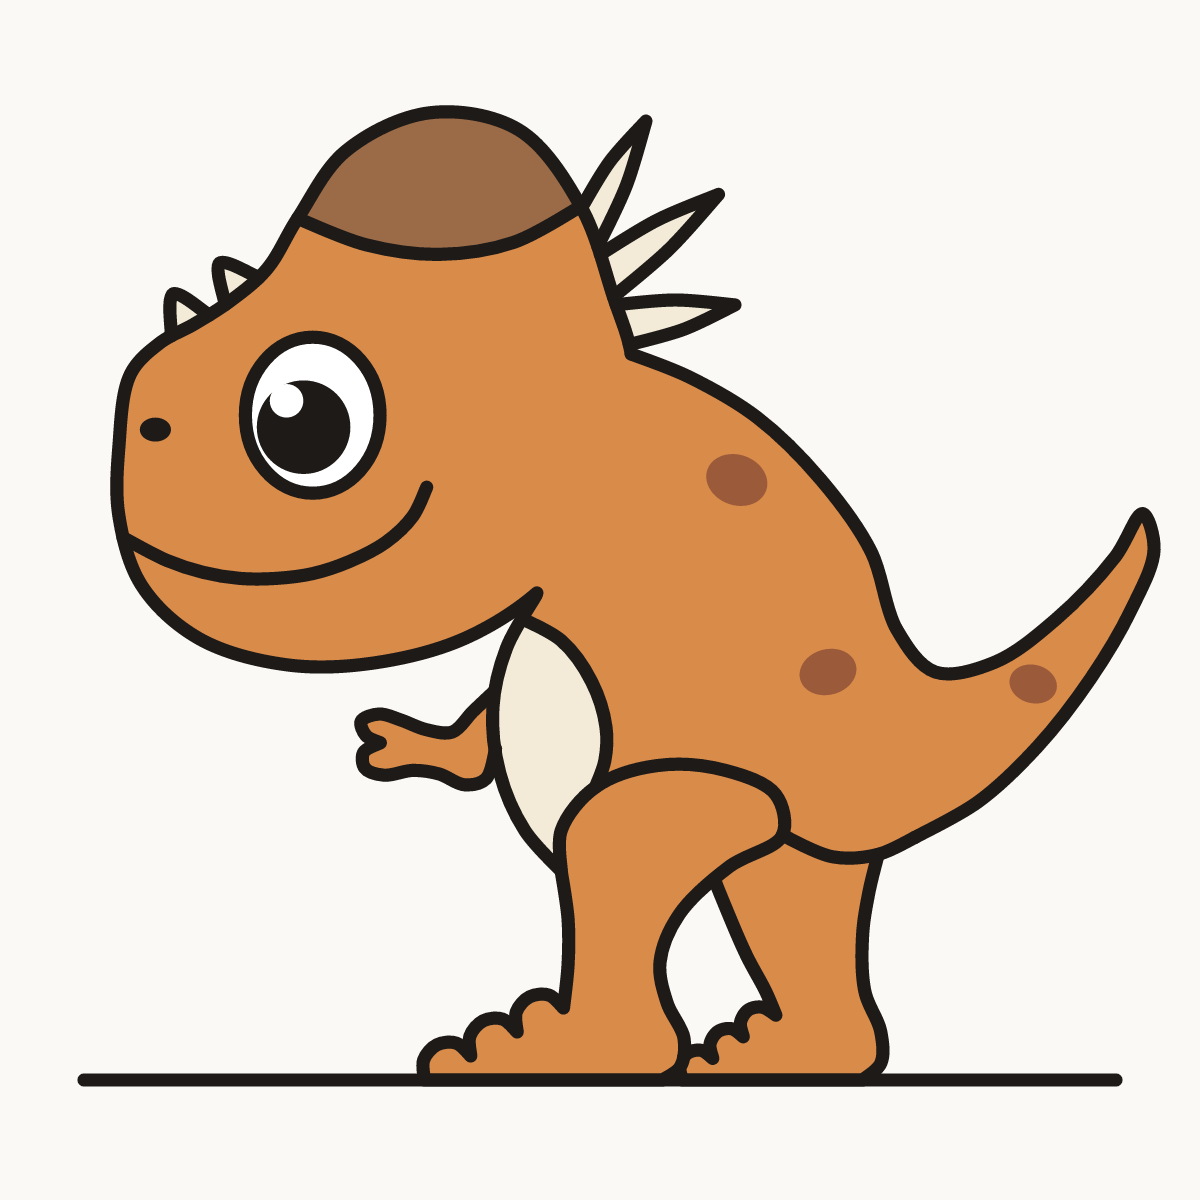
Your finished drawing
Follow the steps above and this is where you end up: a stygimoloch, drawn by you.
Every step in one picture