Watch it draw itself · tap to replay
How to Draw a Smoothie Pouch
Draw a smoothie pouch in 10 easy steps, about 8 minutes. Free, with a printable worksheet.
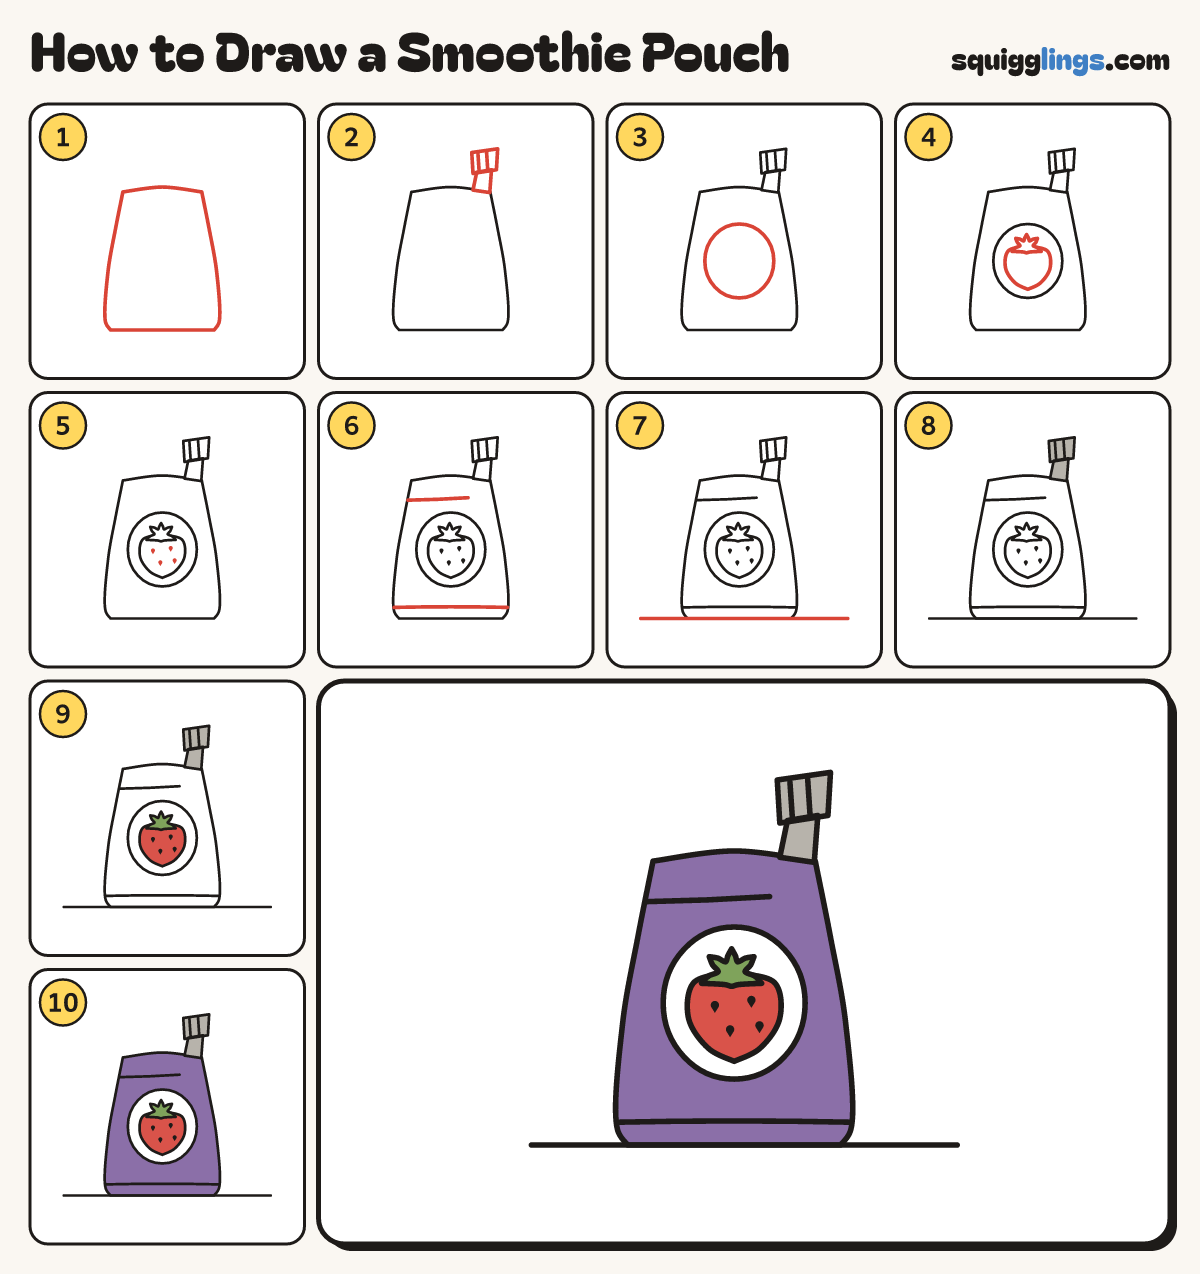
Each picture adds one red line. Draw that line, then scroll to the next picture. Rub out any dashed helper lines at the end. First up: the pouch.
Step 1: The pouch
In the middle, draw a pouch standing up: sides bowing out to a flat bottom, and a gently curved top.
Tip A squeezy pouch is wider at the bottom where the drink sits.
Step 2: Spout and cap
On the top right corner, draw a short square neck sticking up, with a wider square cap on top.
Step 3: The label
In the middle of the pouch, draw a big round label as big as your palm.
Step 4: A strawberry
Inside the label, draw a strawberry like a fat heart, point down. Add a leafy top of 5 little points.
Step 5: Seeds
Add 4 tiny teardrop seeds on the strawberry, points down, scattered. Fill them in dark.
Step 6: Creases
Draw a top crease from the left, stopping before the spout. Add a line near the bottom, side to side.
Step 7: Table line
Draw a long table line under the pouch, from well left to well right, touching its flat bottom.
Step 8: Grey cap
Go over your lines, then colour the cap and spout grey.
Step 9: Red strawberry
Colour the strawberry red around the seeds, and its leafy top green.
Step 10: Purple pouch
Colour the pouch purple around the label, and leave the label white. Your pouch is done!
Your finished drawing
Follow the steps above and this is where you end up: a smoothie pouch, drawn by you.
Every step in one picture