Watch it draw itself · tap to replay
How to Draw a Sleeping Bag
Draw a sleeping bag in 11 easy steps, about 8 minutes. Free, with a printable worksheet.
Each picture adds one red line. Draw that line, then scroll to the next picture. Rub out any dashed helper lines at the end. First up: the bag.
Step 1: The bag
Draw a tall bag with a flat top and a round bottom. Give each side 5 soft bumps.
Tip Leave room above it for a pillow.
Step 2: Fold line
Start on the top edge, left of the middle. Slant a line down and stop at the first right dip.
Step 3: Folded corner
Start where the fold line stopped. Draw a V down to the left, and stop at the fold line top.
Tip This is the top corner folded open, ready for you to climb in.
Step 4: Pillow
Above the bag draw a soft pillow with round corners. Start and stop on the top of the bag.
Tip The bag covers the bottom edge of the pillow.
Step 5: Zip line
Start under the folded corner. Draw a line straight down, close to the right side. Stop at the bottom curve.
Step 6: Zip teeth
Between the zip line and the edge, draw 8 short lines across, like the rungs of a ladder.
Step 7: Zip pull
Where the fold meets the right side, draw a small teardrop tab hanging down outside the bag.
Step 8: Puffy seams
From each left dip, draw a line across to the zip line. Stop the top one at the fold.
Tip The seams make the bag look soft and padded.
Step 9: Cream pillow
Colour the pillow cream.
Step 10: Yellow lining
Colour the folded corner yellow, and the triangle beside it. That is the inside of the bag.
Step 11: Blue bag
Colour the rest of the bag blue and the zip pull grey. Go over your lines!
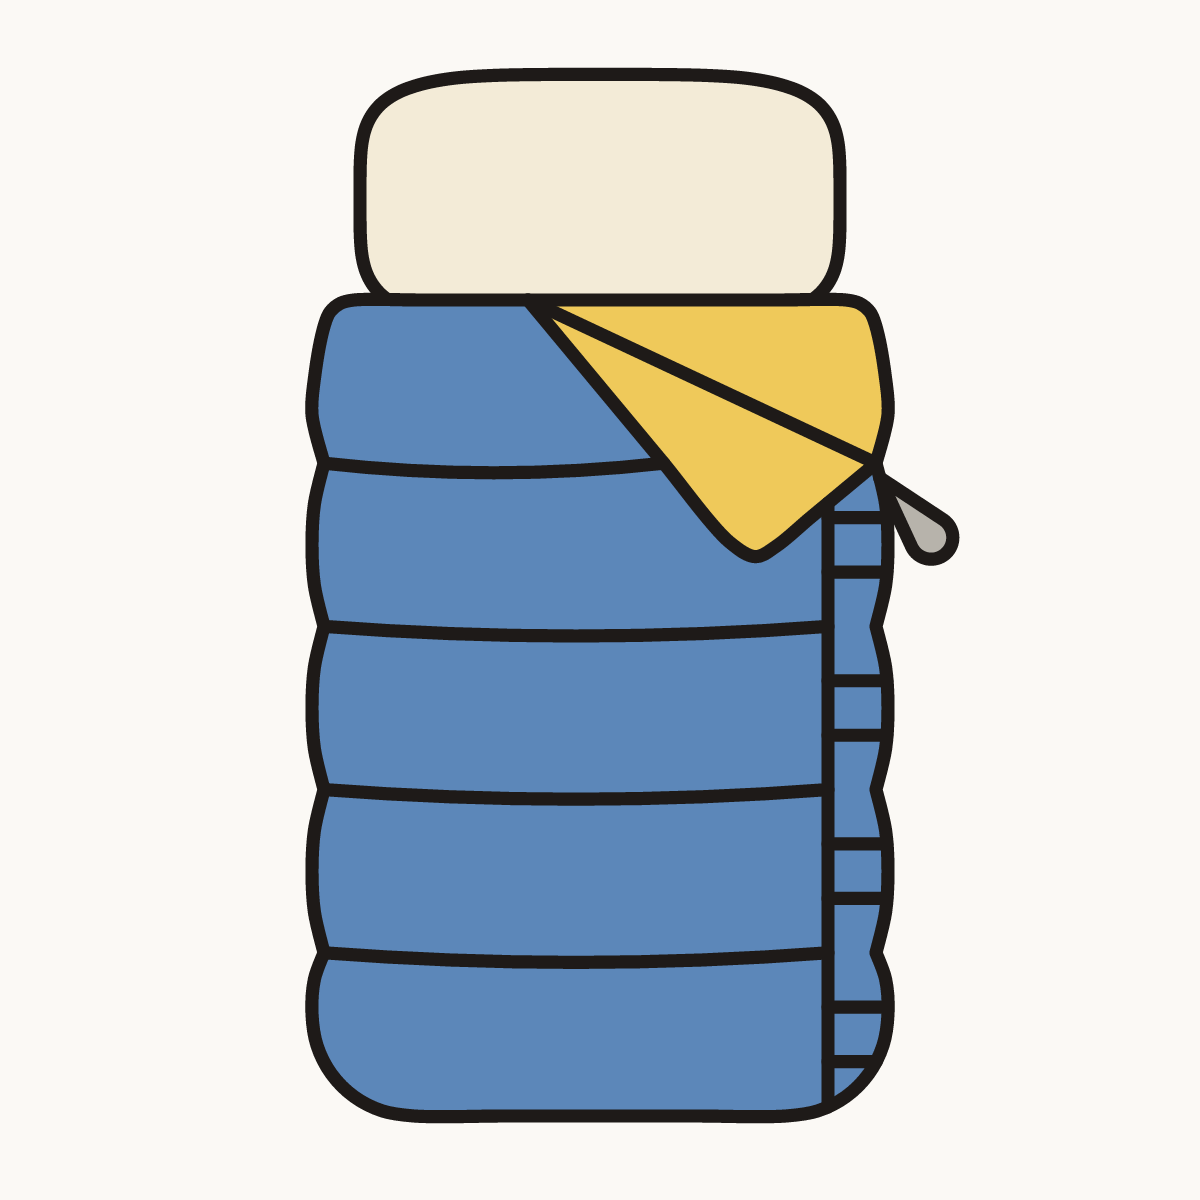
Your finished drawing
Follow the steps above and this is where you end up: a sleeping bag, drawn by you.
Every step in one picture