Watch it draw itself · tap to replay
How to Draw a Roman Shield
Draw a Roman shield in 12 easy steps, about 9 minutes. Free, with a printable worksheet.
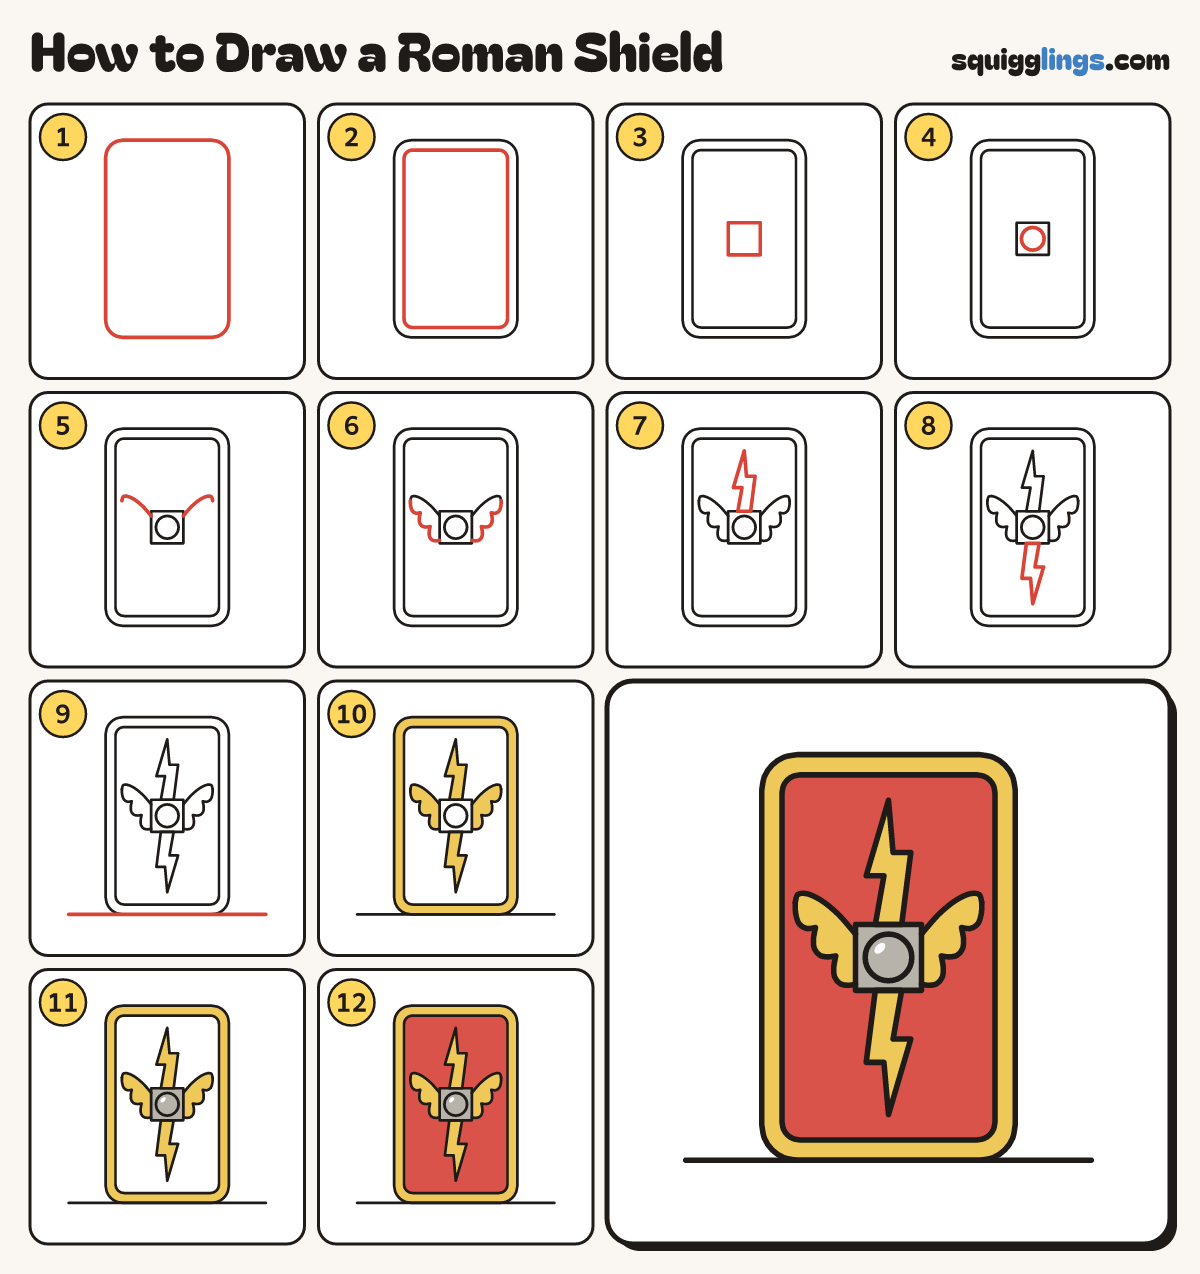
Each picture adds one red line. Draw that line, then scroll to the next picture. Rub out any dashed helper lines at the end. First up: the tall shield.
Step 1: The tall shield
In the middle of your paper draw a tall box with round corners, almost twice as tall as wide.
Tip A Roman shield is tall enough to hide behind.
Step 2: The rim
Inside the shield draw the same shape again, a finger in from the edge. That band is the rim.
Step 3: The middle square
In the very middle of the shield draw a small square.
Tip Leave the same space on its left and right.
Step 4: The metal boss
Inside the square draw a circle that nearly touches all 4 sides.
Step 5: Wing tops
Start high on each side of the square. Draw an arch out and stop at a tip near the rim.
Tip Make both wings the same length.
Step 6: Wing feathers
Start at each wing tip. Draw 3 round feathers stepping down and stop low on the square.
Step 7: Top lightning bolt
On top of the square draw a zigzag lightning bolt pointing up. Stop before the rim.
Tip Down, a little step sideways, then down to a point.
Step 8: Bottom lightning bolt
Under the square draw the same lightning bolt pointing down.
Step 9: The ground
Draw a ground line under the shield, from the left side across to the right side.
Step 10: Golden yellow
Colour the rim band, both wings and both lightning bolts yellow.
Step 11: Grey metal
Colour the square and the boss grey, leaving a little shine white on the boss.
Step 12: Red shield
Go over your lines. Colour the rest of the shield red, around the wings, bolts and square.
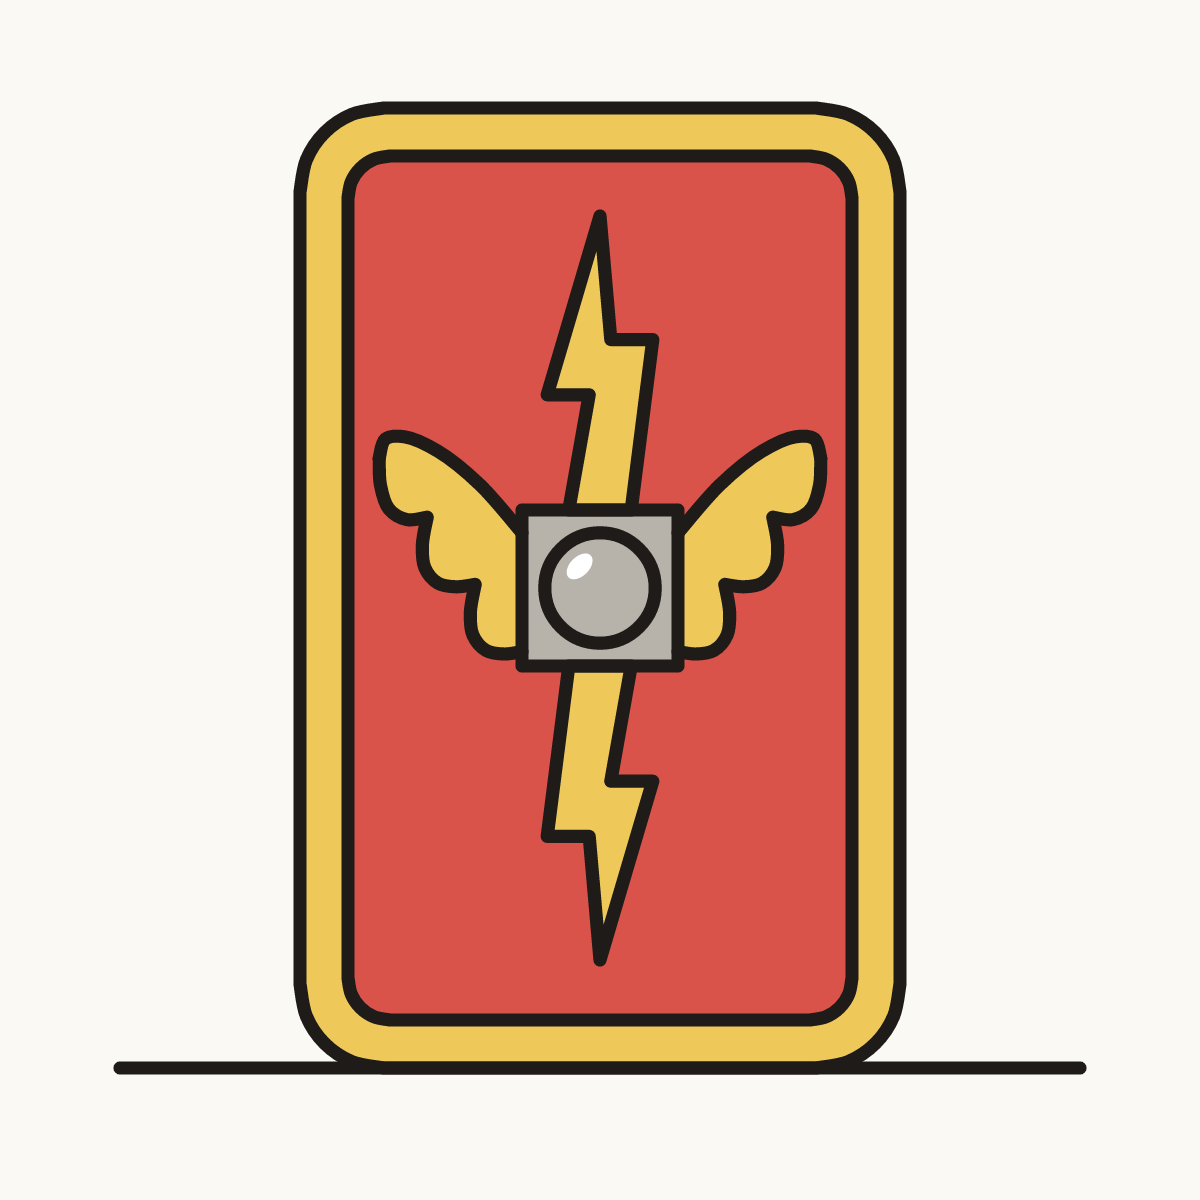
Your finished drawing
Follow the steps above and this is where you end up: a Roman shield, drawn by you.
Every step in one picture