Watch it draw itself · tap to replay
How to Draw a Seal Pup
Draw a seal pup in 11 easy steps, about 8 minutes. Free, with a printable worksheet.
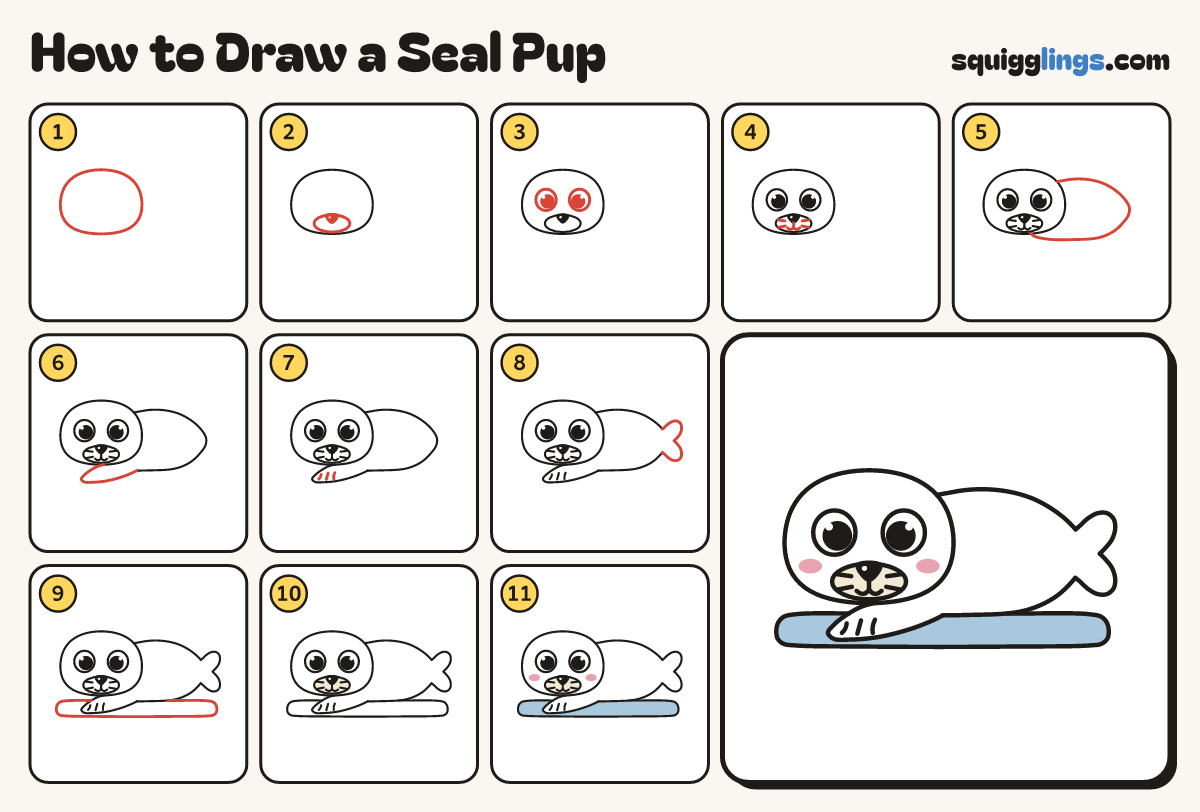
Each picture adds one red line. Draw that line, then scroll to the next picture. Rub out any dashed helper lines at the end. First up: the head.
Step 1: The head
On the left of your paper draw a big soft blob for the head, wider than tall.
Tip Fat cheeks low down, no ears. The head is the biggest part.
Step 2: Nose
Low on the face draw a small wide oval. Add a black triangle nose on its top edge, point down.
Step 3: Two big eyes
Halfway down the head draw 2 big round eyes, a small gap apart. Colour a huge black dot in each.
Step 4: Smile and whiskers
From the nose point draw a short line down to a little w smile. Add 2 short whiskers each side.
Step 5: The long body
Start on the right of the head. Go over the back, down to the tail, then back to the head.
Tip A fat teardrop lying flat: plump behind the head, thin at the tail.
Step 6: A front flipper
Start under the chin. Draw a flat paddle to a round tip, then back to the tummy.
Tip Rub out the tummy line inside the paddle.
Step 7: Flipper grooves
On the paddle tip draw 3 short grooves. Start above the bottom edge, go up a finger and stop.
Step 8: Tail flippers
Start on the narrow end of the body. Draw 2 fat flaps with a notch between, back to the body.
Tip One up, one down, like a little fan. Rub out the end of the body inside.
Step 9: Ice floe
Draw a long flat ice floe under the pup, with rounded ends.
Step 10: Snow-white pup
Leave the head, body and flippers white, or go over them lightly with white crayon. Colour the nose oval cream.
Tip Keep the eyes white.
Step 11: Blue ice, pink cheeks
Colour the ice light blue around the pup, then a little pink blush on each cheek.
Your finished drawing
Follow the steps above and this is where you end up: a seal pup, drawn by you.
Every step in one picture