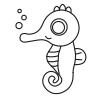
Watch it draw itself · tap to replay
How to Draw a Chibi Seahorse
Draw a chibi seahorse in 13 easy steps, about 10 minutes. Free, with a printable worksheet.
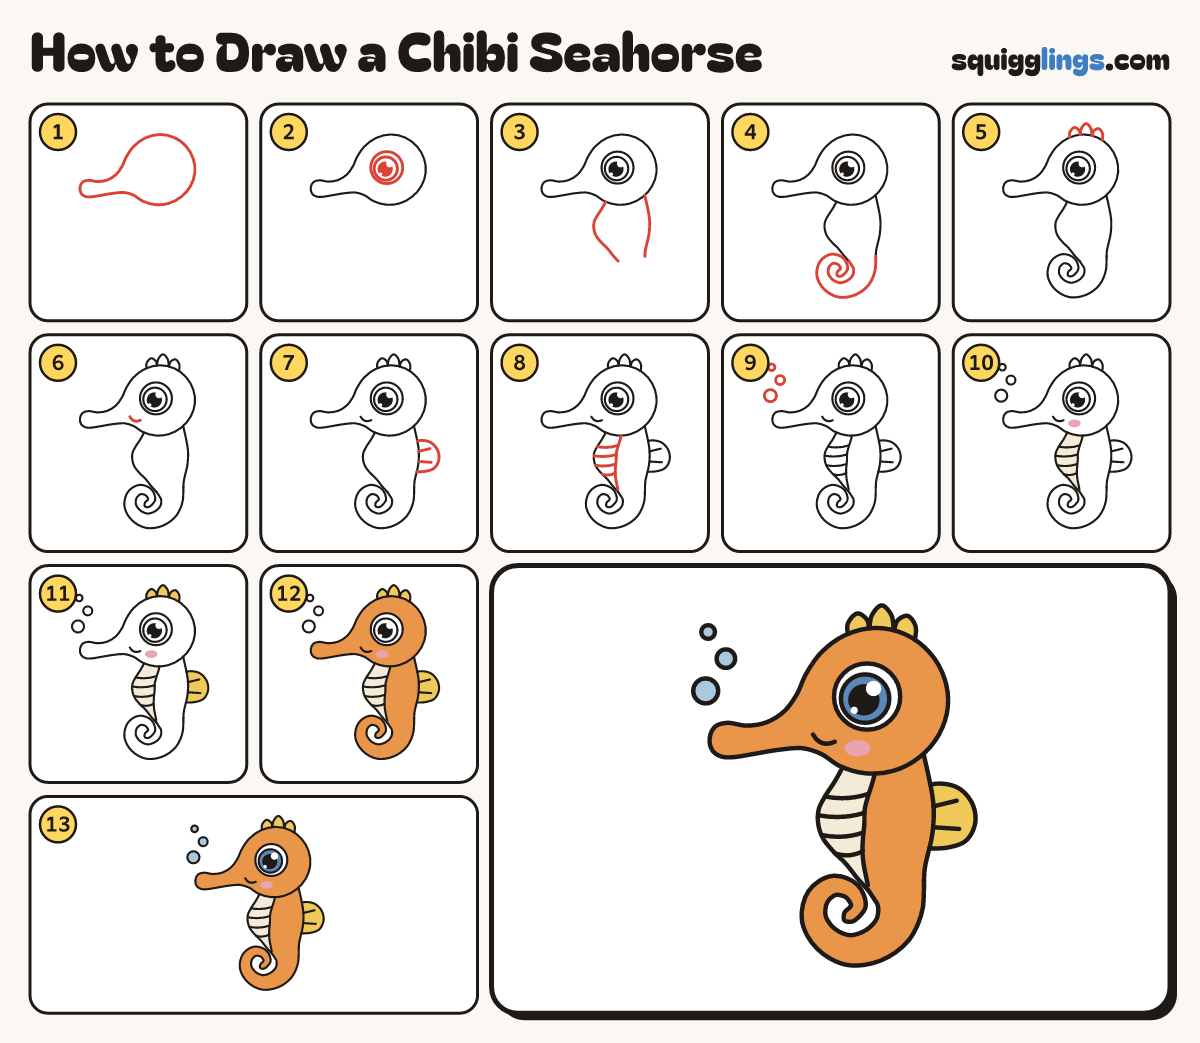
Each picture adds one red line. Draw that line, then scroll to the next picture. Rub out any dashed helper lines at the end. First up: big head.
Step 1: Big head
Draw a big round head. From its left side, pull out a short tube snout with a round tip.
Tip A chibi head is bigger than the body.
Step 2: Big shiny eye
In the middle of the head, draw one big round eye. Add a ring, a black dot and 2 shines.
Step 3: Curvy body
Start under the head. Draw a fat tummy curve and a back curve down. Stop where they come close together.
Tip The 2 lines come closer together at the bottom.
Step 4: Curly tail
Start at the 2 line ends. Carry them down, curl round to the front and stop at the swirl's tip.
Tip The tail gets thinner all the way to the tip.
Step 5: Little crown
On top of the head, draw 3 little bumps for a crown, the middle one tallest.
Step 6: Tiny smile
Under the eye, where the snout meets the head, draw a tiny smile curve.
Step 7: Back fin
On the back, draw a little fan fin. Add 2 short lines inside it.
Step 8: Tummy ridges
Draw a line down the tummy, from the head to the tail. Add 4 short lines across the front.
Step 9: Three bubbles
Above the snout, draw 3 bubbles, each one smaller than the last.
Step 10: Cream and pink
Colour the tummy cream. Colour a round cheek pink, under the eye.
Step 11: Yellow crown
Colour the crown and the back fin yellow.
Step 12: Orange seahorse
Colour the head, back and tail orange, around the eye, cheek and tummy.
Tip Leave the eye white.
Step 13: Blue bubbles
Colour the eye ring blue and the 3 bubbles light blue. Your chibi seahorse is done!
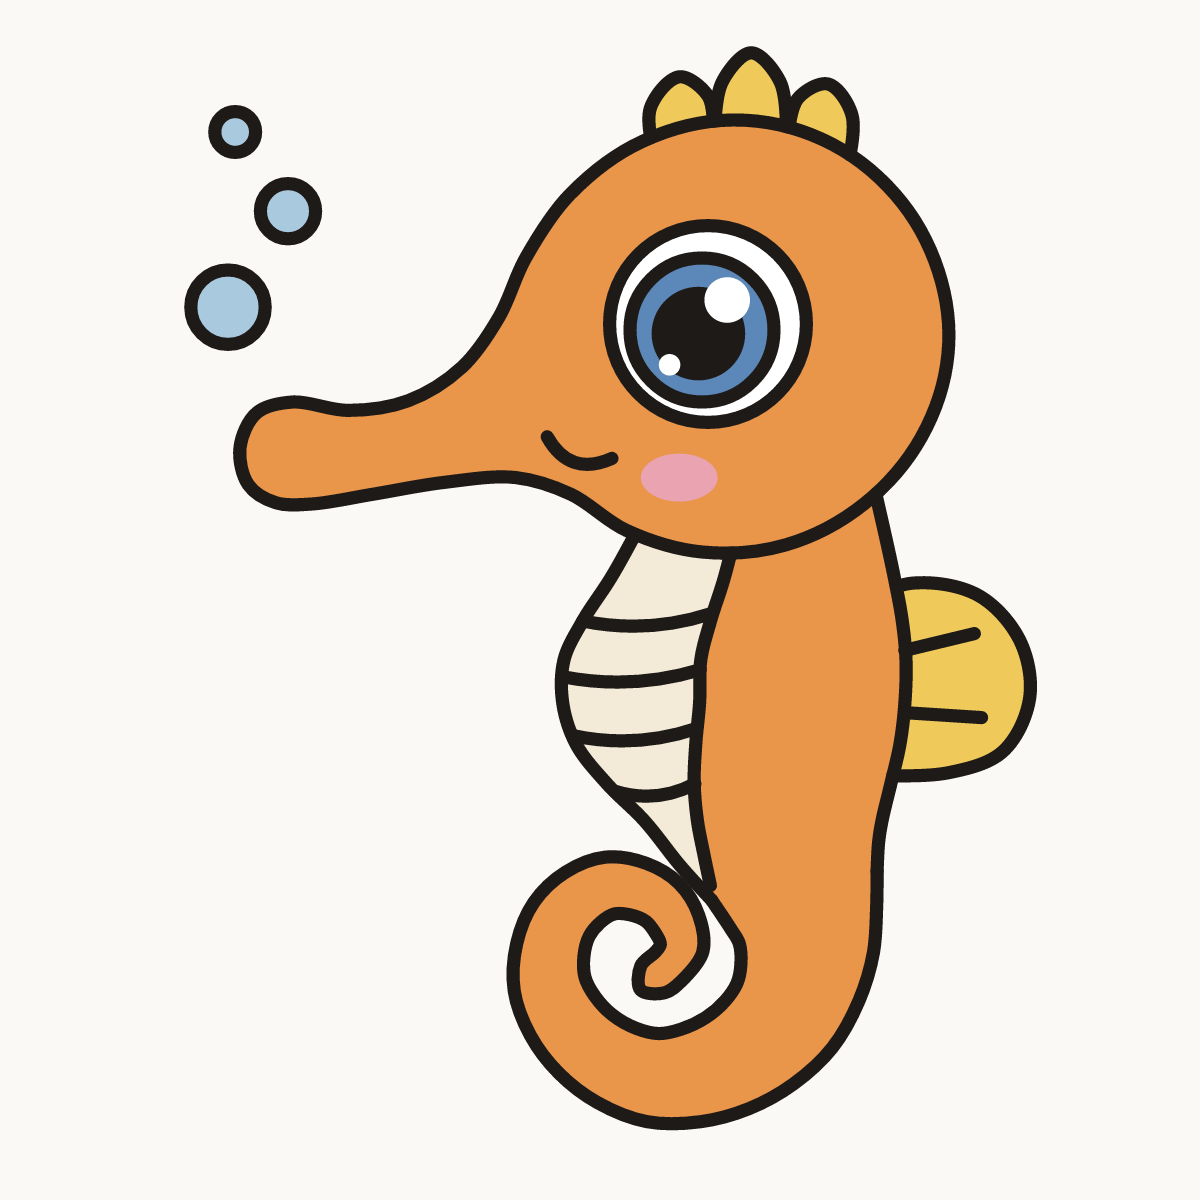
Your finished drawing
Follow the steps above and this is where you end up: a chibi seahorse, drawn by you.
Every step in one picture