Watch it draw itself · tap to replay
How to Draw a Dog Print
Draw a dog print in 10 easy steps, about 8 minutes. Free, with a printable worksheet.
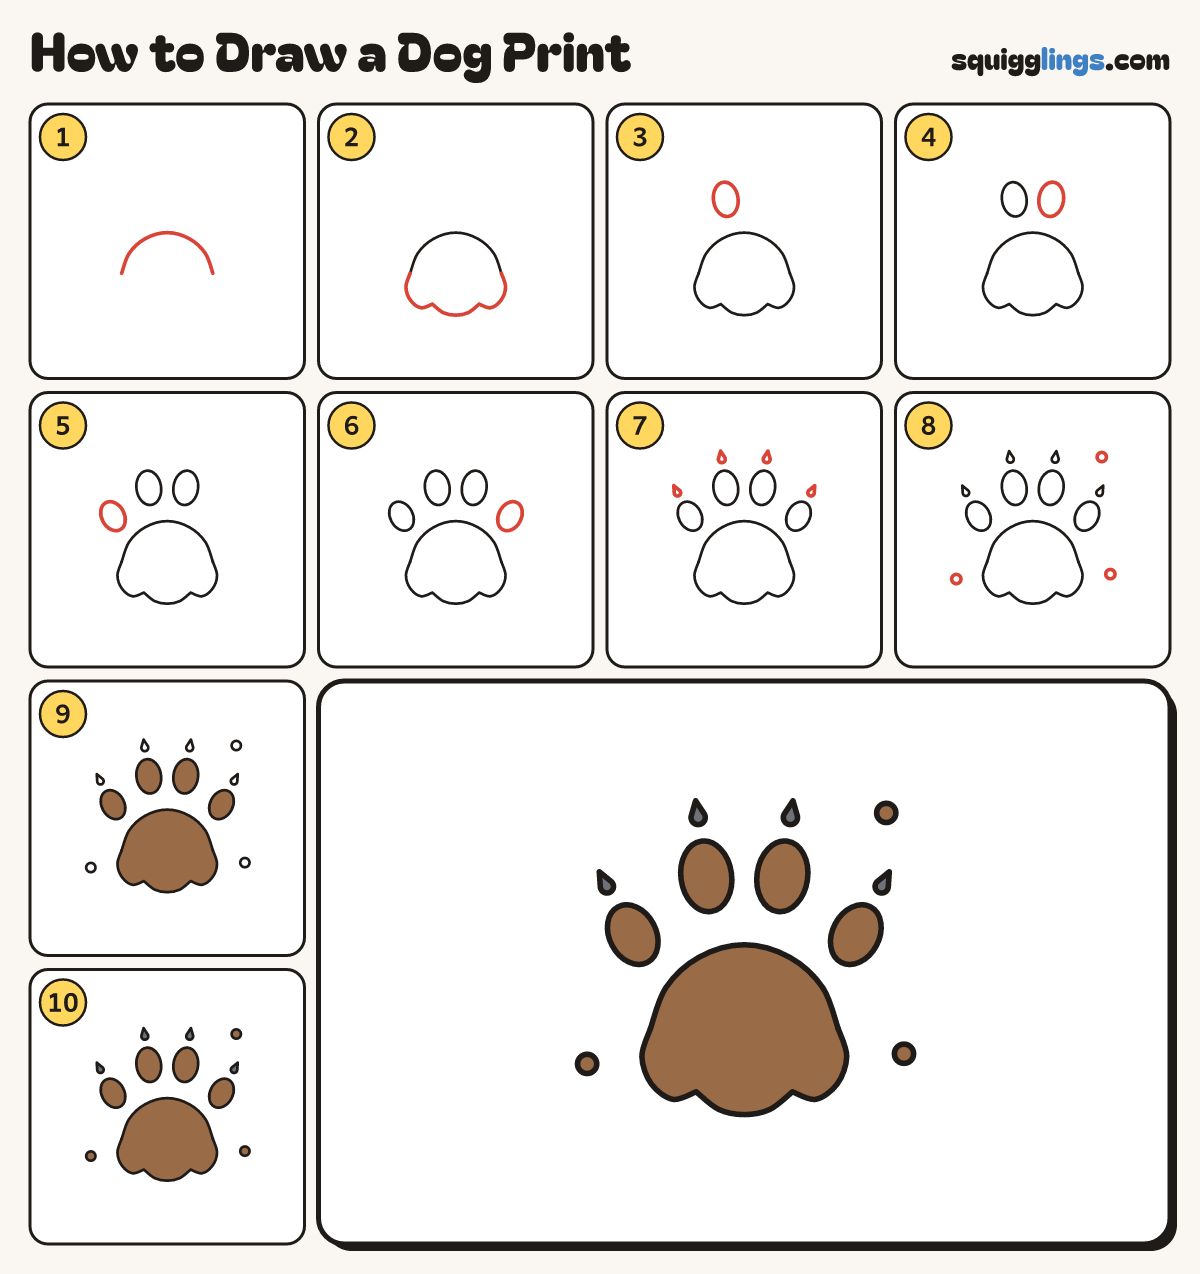
Each picture adds one red line. Draw that line, then scroll to the next picture. Rub out any dashed helper lines at the end. First up: big pad.
Step 1: Big pad
Start on the left, a little below the middle. Draw a wide rainbow up and over, stop on the right.
Tip A paw print is a big pad with 4 toes above it.
Step 2: Three pad bumps
Start at the right end of the rainbow. Draw 3 round bumps under it, stop at the left end.
Step 3: First middle toe
Above the pad, a little left of the middle, draw a tall oval toe leaning a tiny bit left.
Step 4: Second middle toe
Draw a matching tall oval a little right of the middle, leaning a tiny bit right, the same height.
Step 5: Left side toe
Out to the left, lower down beside the pad, draw a smaller oval toe leaning outward.
Step 6: Right side toe
Do the same on the right: a smaller oval toe leaning outward, lower than the middle toes.
Step 7: Claw marks
Above each toe draw a tiny teardrop claw mark, point up, with a small gap between it and the toe.
Tip Dogs leave little claw marks above their toes; cats do not.
Step 8: Mud speckles
Draw 3 tiny circles around the print for splashes of mud.
Step 9: Colour the print brown
Colour the big pad and all 4 toes brown.
Step 10: Dark claws and mud
Colour the claw marks dark grey and the mud dots brown. Go over your lines and you are done!
Your finished drawing
Follow the steps above and this is where you end up: a dog print, drawn by you.
Every step in one picture