Watch it draw itself · tap to replay
How to Draw a Sea Pen
Draw a sea pen in 11 easy steps, about 8 minutes. Free, with a printable worksheet.
Each picture adds one red line. Draw that line, then scroll to the next picture. Rub out any dashed helper lines at the end. First up: the stalk.
Step 1: The stalk
Start low down. Draw a tall thin stalk up to a point and back, bulging near the bottom. Stop level.
Tip Leave the bottom of the bulb open. The sand will hide it.
Step 2: Sandy floor
Start at the left edge. Draw a long, gently wavy line across the bulb's bottom to the right edge.
Tip Now the bulb looks pushed down into the sand. That is how a sea pen holds on.
Step 3: Bottom leaves
A little above the bulb, draw 2 plump leaves on each side of the stalk, curving up like bananas.
Tip Make the second pair longer than the first.
Step 4: Middle leaves
Higher up the stalk draw 3 more leaves on each side. These are the longest ones.
Tip Leave a small gap between the leaves, and match the 2 sides.
Step 5: Top leaves
Finish with 2 short leaves on each side near the tip, so it looks like a feather.
Tip The top leaves point up more than the bottom ones.
Step 6: Bubbles
Up on the left draw 3 round bubbles floating up: small, bigger, biggest.
Step 7: Seaweed
On the right, start on the sand. Draw a wiggly seaweed blade up to a point, back to the sand.
Step 8: Sandy colour
Colour the sandy floor a pale sand colour, all the way down to the bottom of the paper.
Step 9: Pale stalk
Colour the stalk and its bulb a pale peach.
Step 10: Orange leaves
Colour all 14 leaves orange.
Step 11: Green seaweed
Colour the seaweed green. Go over your lines and your sea pen is done!
Tip A sea pen is an animal, not a plant. It is named after old feather pens.
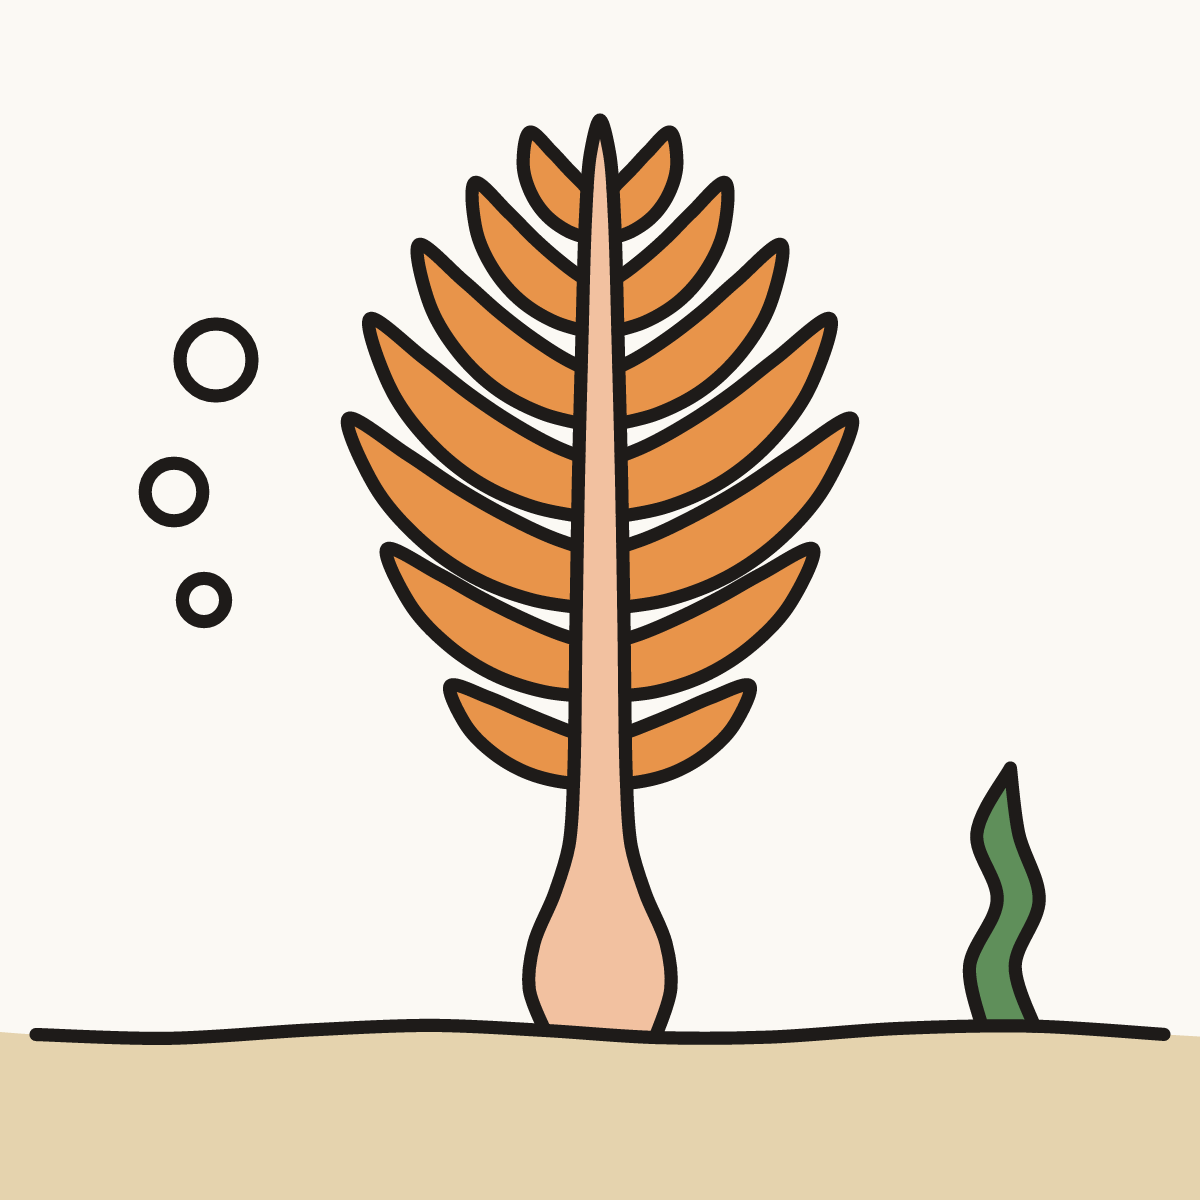
Your finished drawing
Follow the steps above and this is where you end up: a sea pen, drawn by you.
Every step in one picture