Watch it draw itself · tap to replay
How to Draw a Rubber Band
Draw a rubber band in 10 easy steps, about 8 minutes. Free, with a printable worksheet.
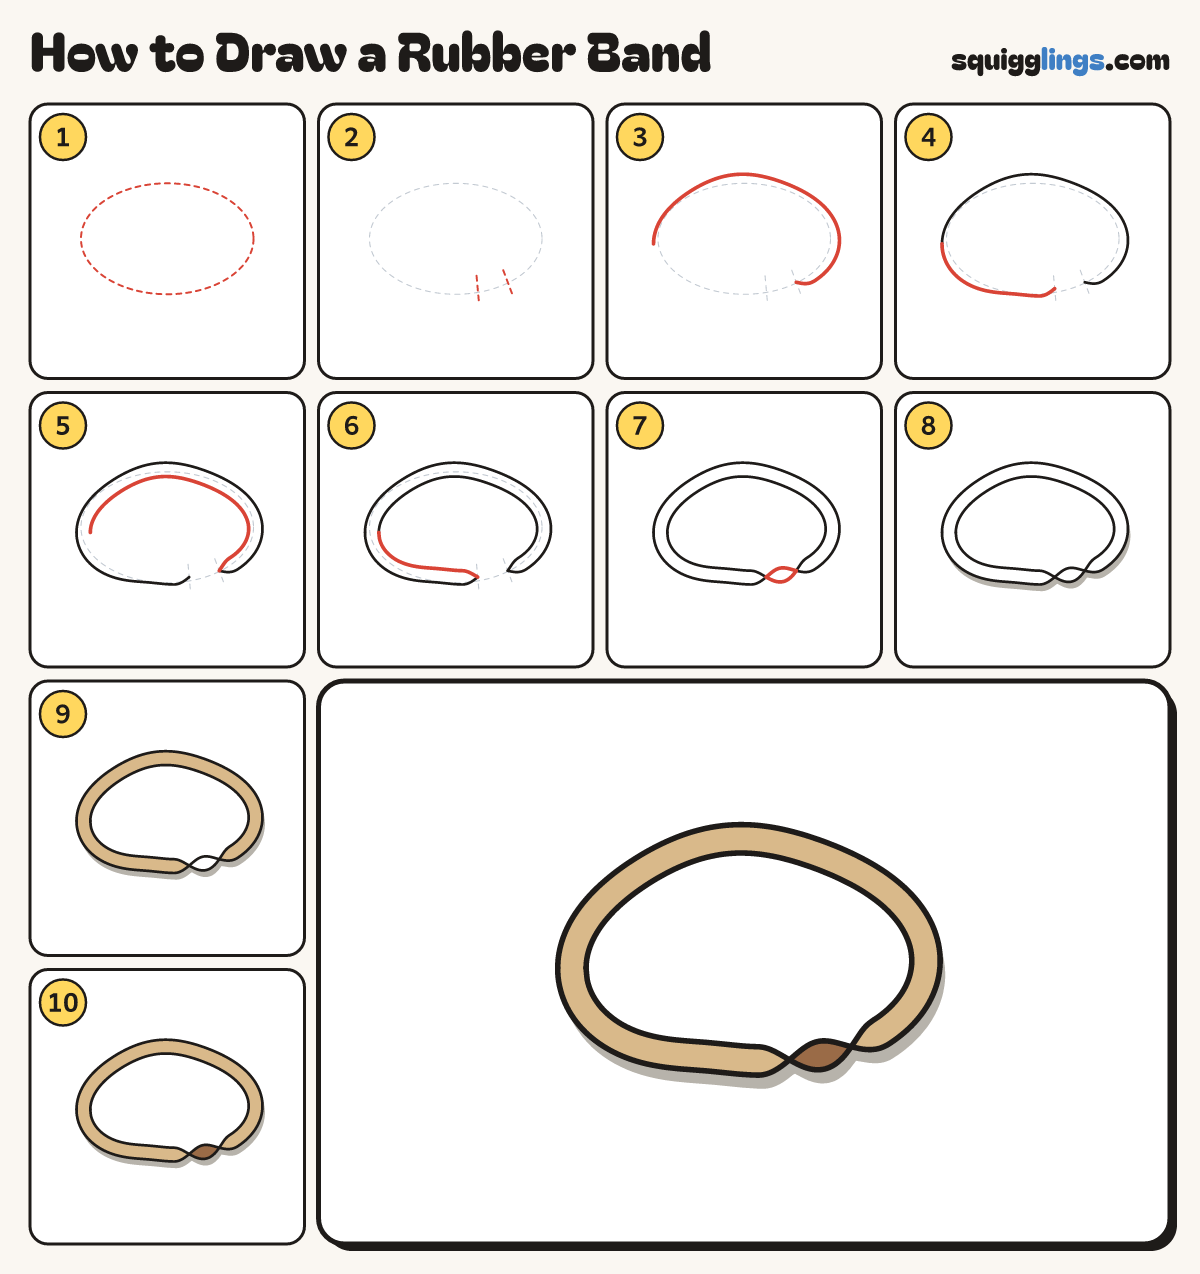
Each picture adds one red line. Draw that line, then scroll to the next picture. Rub out any dashed helper lines at the end. First up: light egg guide.
Step 1: Light egg guide
Lightly draw a big egg lying on its side, nearly as wide as your paper.
Tip Draw the guides softly. You rub them out later.
Step 2: Mark the twist
On the bottom right of the egg draw 2 short guide marks across it, a finger apart.
Step 3: Top of the loop
Start at the left end. Draw a bumpy curve over the top and round to the right mark. Stop there.
Tip Make it a little wobbly. A rubber band is never a neat oval.
Step 4: Bottom of the loop
Start at the left end again. Draw a curve underneath, nearly flat in the middle. Stop at the left mark.
Step 5: Inside line: top
Start inside the left end. Follow the top line with a small gap and meet it at the right mark.
Tip Keep the gap the same all the way. This makes a thin band.
Step 6: Inside line: bottom
Start inside the left end again. Follow the bottom line with the same gap. Stop at the left mark.
Step 7: The twist
Start at the right mark. Draw a small leaf, pointed at both ends, and stop at the left mark.
Tip The band is twisted here, so you see its inside. Now rub out your guides.
Step 8: Grey shadow
Colour a thin grey shadow under the band, along its bottom edge. It shows the band lies flat.
Step 9: Light brown band
Colour the band light brown all the way round. Leave the little leaf white for now.
Step 10: Dark brown twist
Colour the little leaf dark brown. Leave the middle white. Your rubber band is done!
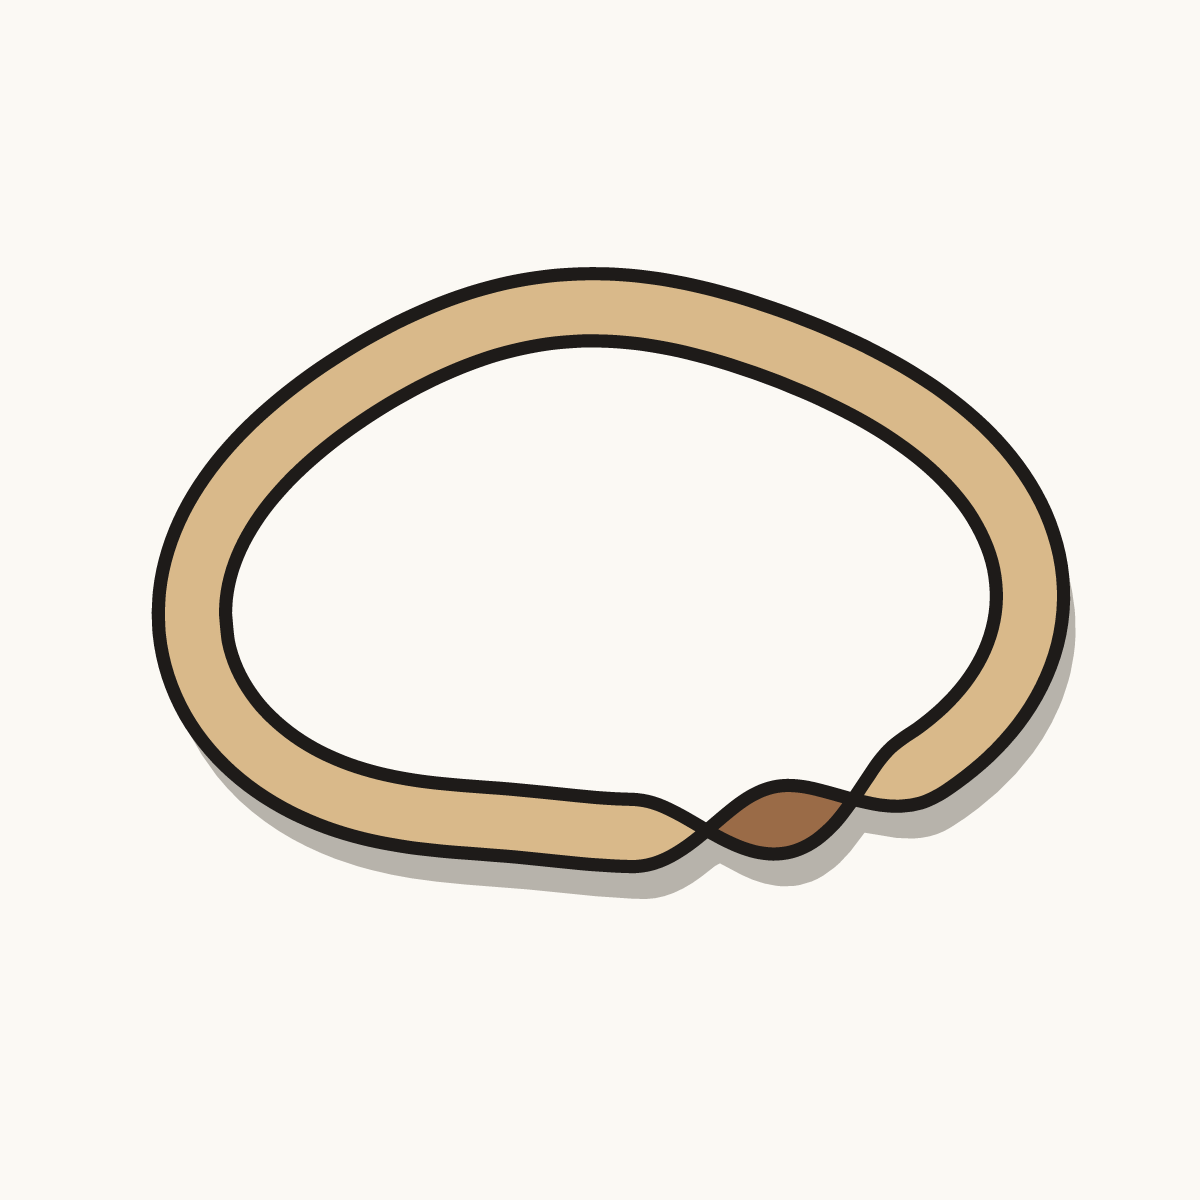
Your finished drawing
Follow the steps above and this is where you end up: a rubber band, drawn by you.
Every step in one picture