Watch it draw itself · tap to replay
How to Draw a Recorder Instrument
Draw a recorder instrument in 10 easy steps, about 8 minutes. Free, with a printable worksheet.
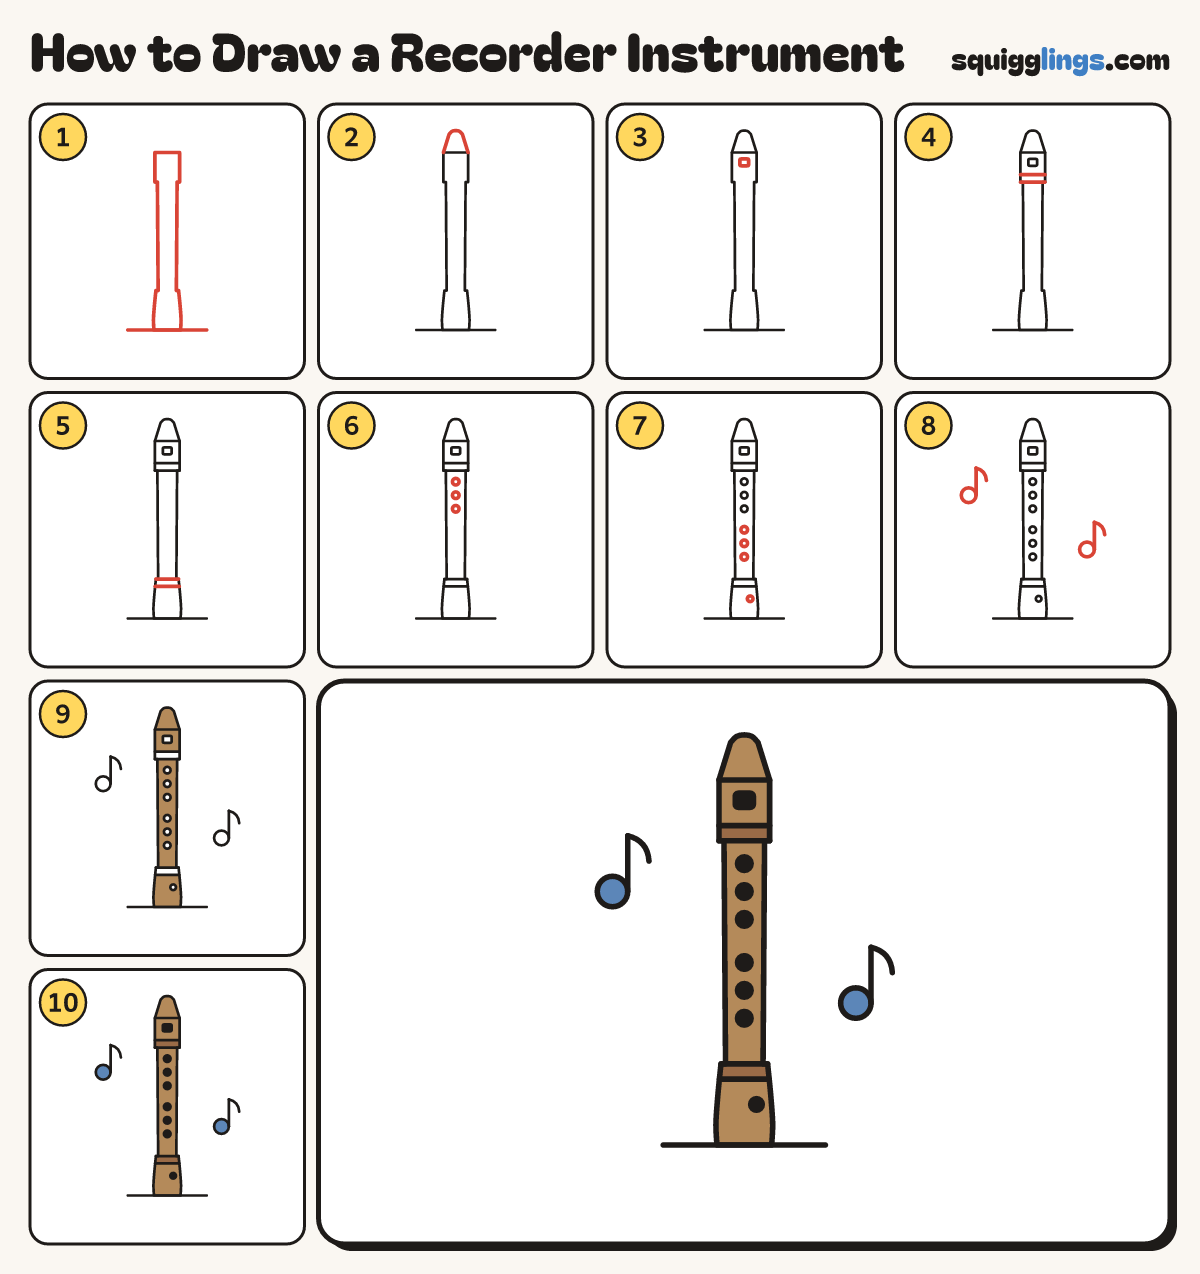
Each picture adds one red line. Draw that line, then scroll to the next picture. Rub out any dashed helper lines at the end. First up: the tube.
Step 1: The tube
Draw a tall thin tube down the middle, a little wider at the top and bottom, on a short line.
Tip Keep the 2 long sides almost parallel.
Step 2: The beak
Start at the top left corner. Draw a rounded beak up and over, back down to the top right corner.
Step 3: The window
Just under the beak draw a tiny square on the front of the tube.
Tip The window is where the sound comes out.
Step 4: Top joint
At the bottom of the wide top part, draw 2 short lines across, close together, from side to side.
Step 5: Bottom joint
Near the bottom, where the tube gets wider, draw 2 more short lines across.
Step 6: Three finger holes
Down the front of the tube draw 3 small round holes in a line, starting under the top joint.
Step 7: Four more holes
Keep going down with 3 more holes, then 1 tiny hole a little to the right on the foot.
Tip Recorders have 7 holes on the front.
Step 8: Music notes
Draw a music note floating on each side: a dot with a stem up and a little flag.
Step 9: Wooden recorder
Go over your lines. Colour the recorder light brown around the joint bands, holes and window.
Step 10: Joints, holes, notes
Colour the joint bands dark brown, the holes and window black, and the music notes blue. Ready to play!
Your finished drawing
Follow the steps above and this is where you end up: a recorder instrument, drawn by you.
Every step in one picture