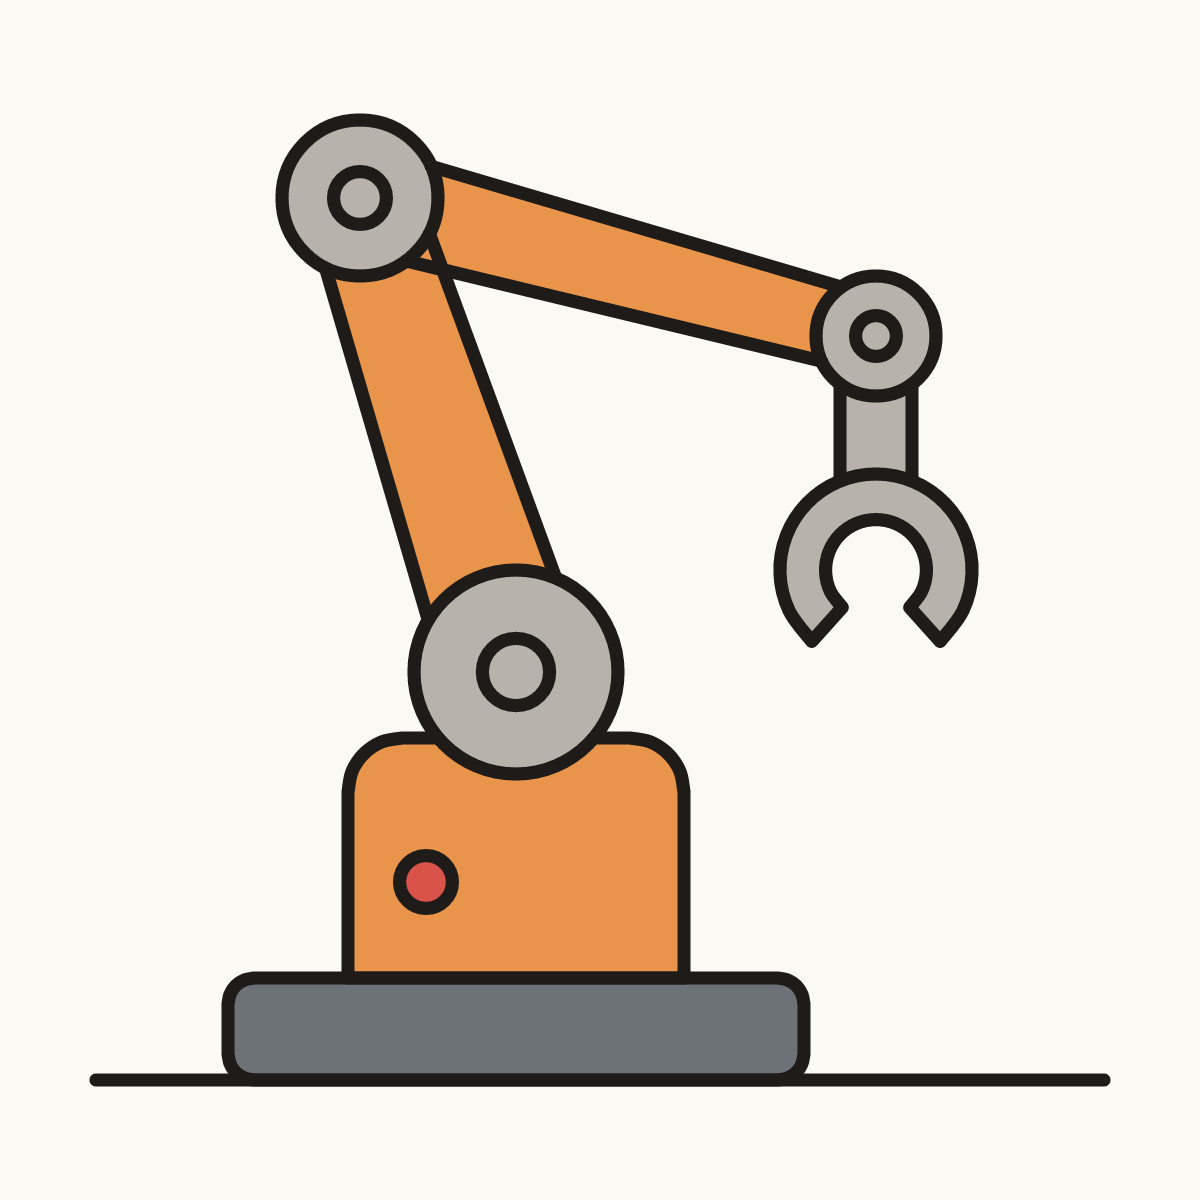
Watch it draw itself · tap to replay
How to Draw a Robot Arm
Draw a robot arm in 13 easy steps, about 10 minutes. Free, with a printable worksheet.
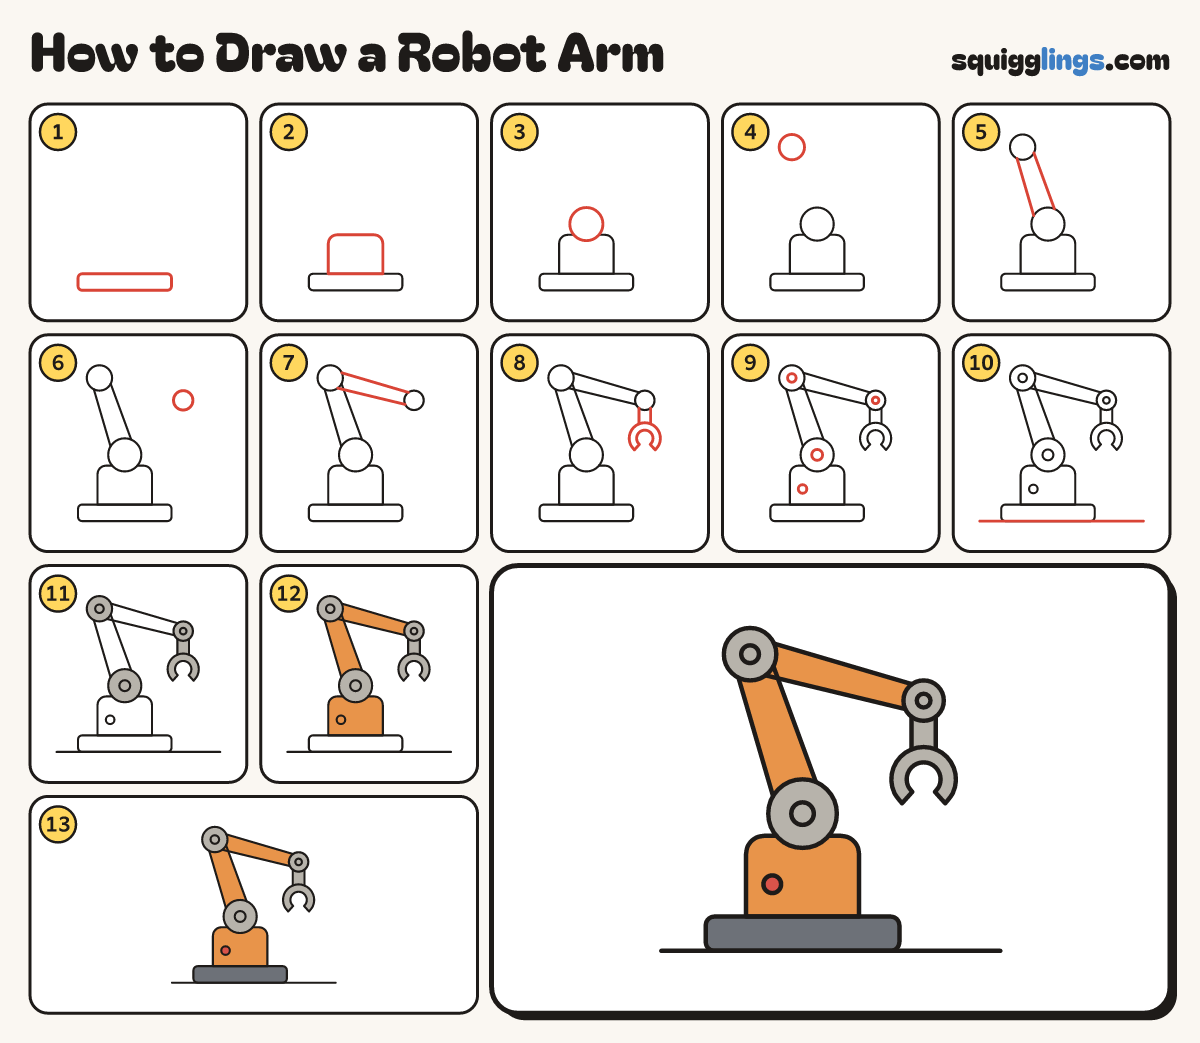
Each picture adds one red line. Draw that line, then scroll to the next picture. Rub out any dashed helper lines at the end. First up: the base.
Step 1: The base
Low on your paper draw a long flat box with soft corners.
Tip A wide base stops the arm tipping over.
Step 2: The turning block
On the middle of the base draw a box with round top corners.
Tip This block turns the whole arm round.
Step 3: Shoulder joint
On top of the block draw a big circle that covers the middle of its top edge.
Step 4: Elbow joint
High up, a little to the left, draw a smaller circle for the elbow.
Tip Leave a long gap between the 2 circles.
Step 5: First arm piece
Between the 2 circles draw 2 straight lines, a little closer together at the top.
Tip Each line starts and stops on a circle.
Step 6: Wrist joint
Far to the right, a little lower than the elbow, draw a small circle for the wrist.
Step 7: Second arm piece
From the elbow to the wrist draw 2 straight lines, closer together at the wrist.
Step 8: The claw
Under the wrist draw a short neck. On it draw a fat upside-down U claw, open at the bottom.
Tip The 2 claw tips point at each other.
Step 9: Bolts and button
In the middle of each joint draw a small circle. Add a round button on the block.
Tip The bolts let each joint turn.
Step 10: The ground
Under the base draw a ground line, from the left side across to the right side.
Step 11: Grey joints and claw
Go over your lines. Colour the 3 joints, the neck and the claw grey.
Step 12: Orange arm
Colour both arm pieces and the block orange, around the button.
Step 13: Red button, dark base
Colour the button red and the base dark grey. Your robot arm is ready to work!
Your finished drawing
Follow the steps above and this is where you end up: a robot arm, drawn by you.
Every step in one picture