Watch it draw itself · tap to replay
How to Draw an Oboe
Draw an oboe in 12 easy steps, about 9 minutes. Free, with a printable worksheet.
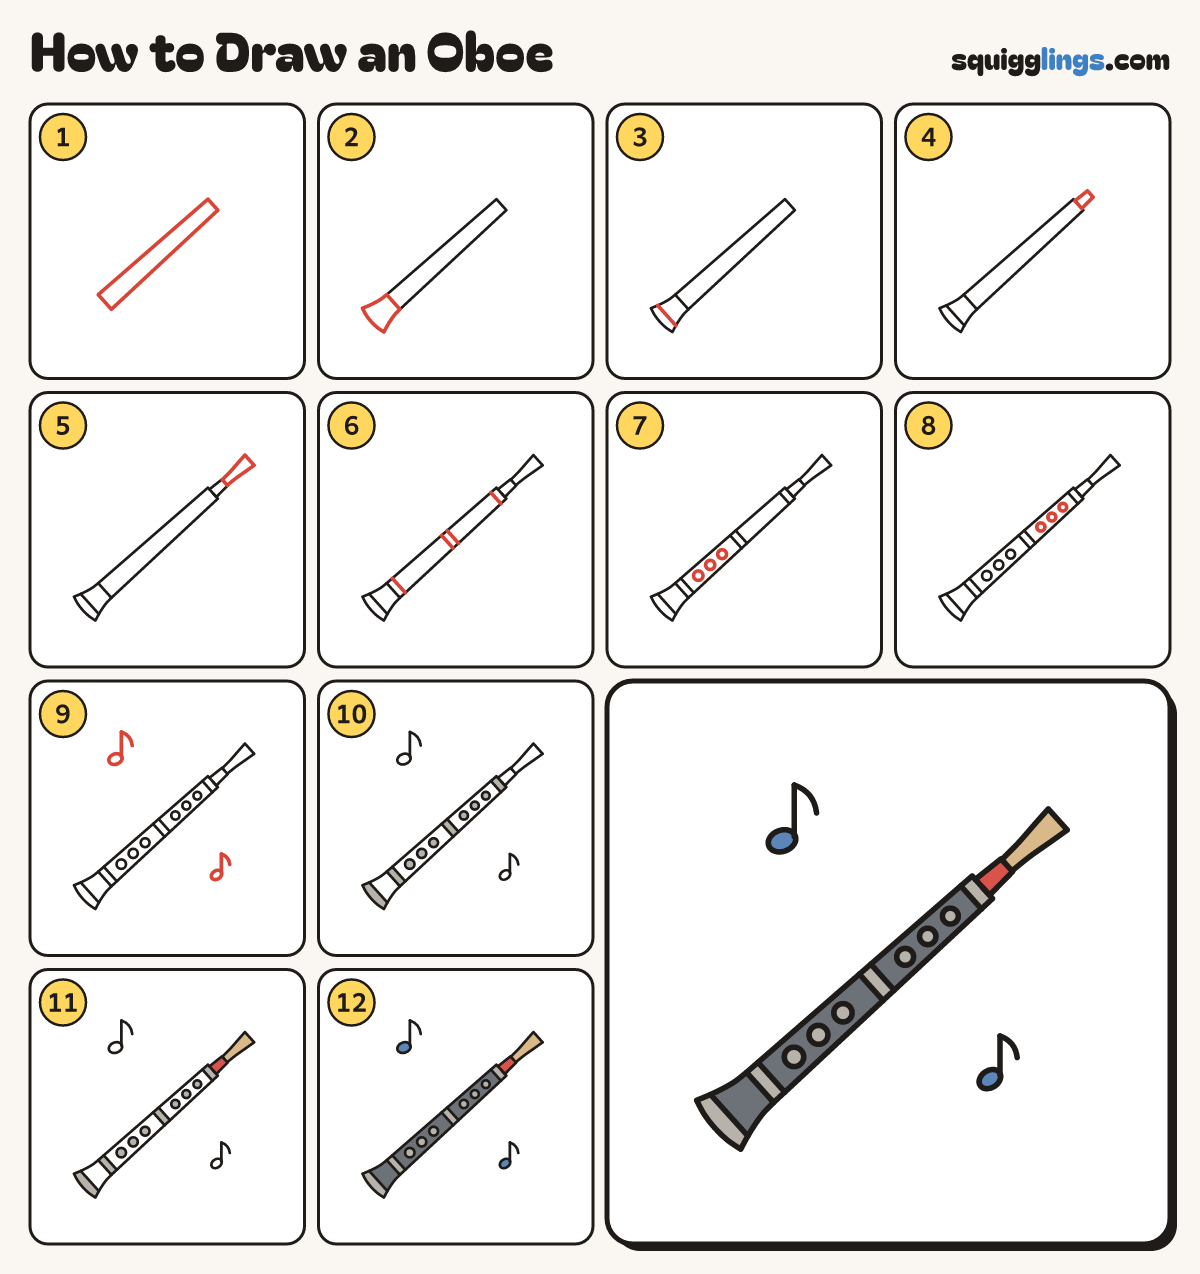
Each picture adds one red line. Draw that line, then scroll to the next picture. Rub out any dashed helper lines at the end. First up: the tube.
Step 1: The tube
Draw a long thin tube tilted up to the right, a little wider at the bottom. Close both ends.
Tip Long and thin like a straw.
Step 2: The bell
On the bottom left end, flare a line out from each edge. Join them with a curved rim.
Tip An oboe's bell is small: only a bit wider than the tube.
Step 3: Bell ring
Draw a short line across the bell, close to the rim, from edge to edge.
Step 4: Thread wrap
On the top right end, draw a small box, narrower than the tube.
Step 5: The reed
From the small box, draw 2 lines that spread apart a little. Join them with a flat tip.
Tip The thin reed is what makes an oboe an oboe.
Step 6: Silver bands
Draw 4 lines across the tube: 1 above the bell, 2 close together in the middle, 1 near the top.
Tip Each line goes straight across, from one edge of the tube to the other.
Step 7: Lower keys
On the lower half of the tube, draw 3 round keys in a row.
Tip Keep each key inside the tube, with a small gap between them.
Step 8: Upper keys
On the upper half of the tube, draw 3 more round keys in a row.
Step 9: Music notes
Draw a big music note above the oboe and a small one below: an oval, a stem and a flag.
Step 10: Silver parts
Colour the 6 keys, the bands and the bell ring light grey for silver.
Step 11: Reed and thread
Colour the reed light brown and the thread wrap red.
Step 12: Blue notes, dark oboe
Colour the 2 notes blue. Then colour the rest of the oboe dark grey, around the keys.
Tip Go over your lines first so they stay crisp.
Your finished drawing
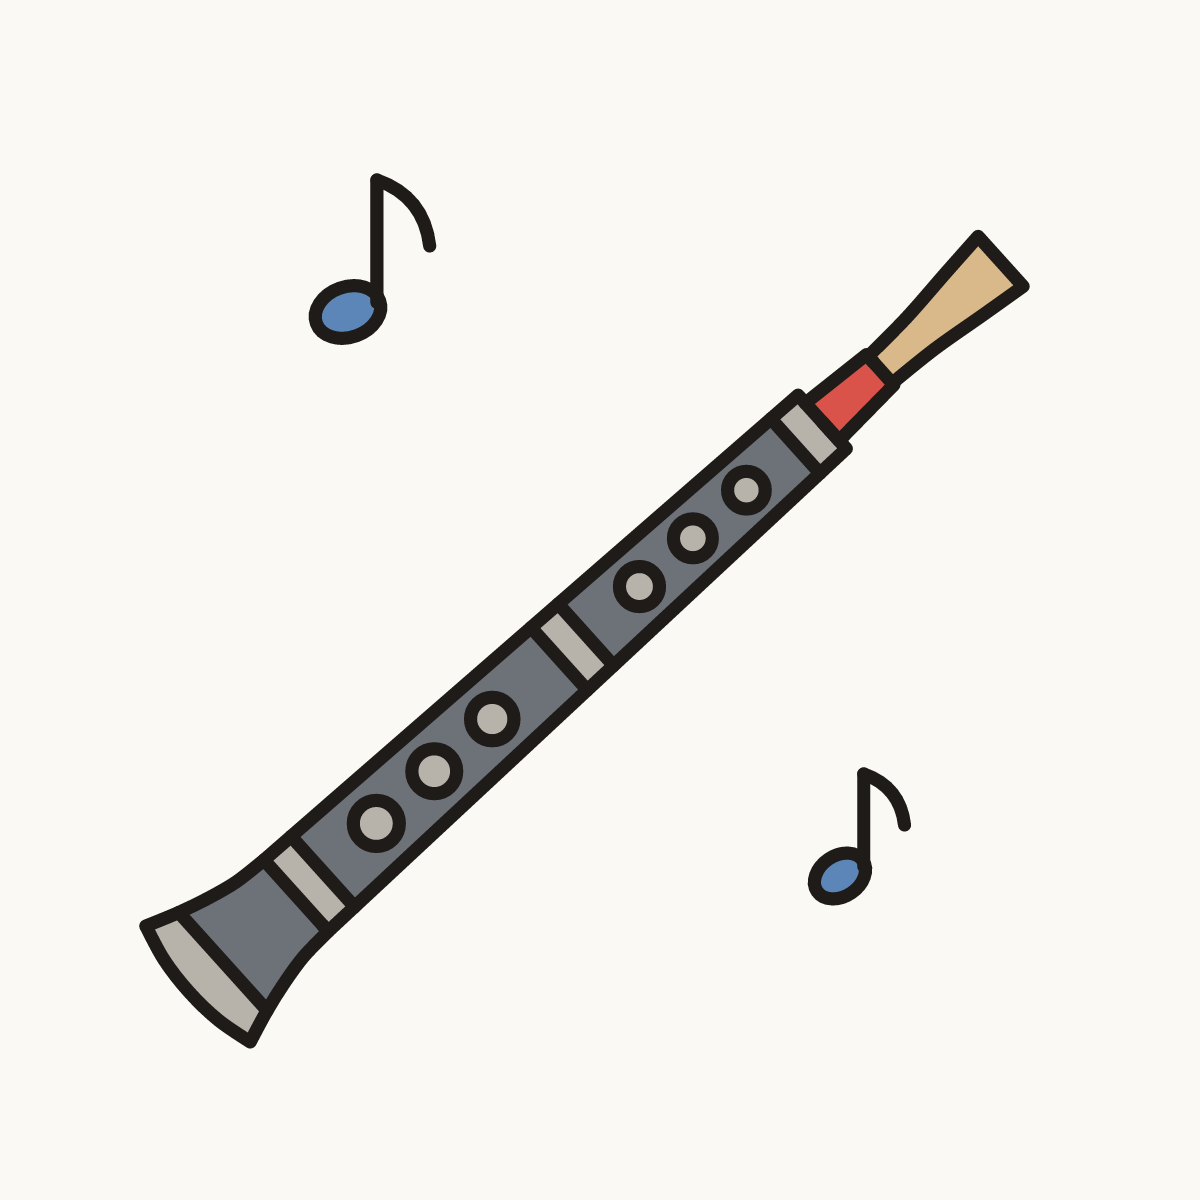
Follow the steps above and this is where you end up: an oboe, drawn by you.
Every step in one picture