Watch it draw itself · tap to replay
How to Draw Rain on a Window
Draw rain on a window in 11 easy steps, about 8 minutes. Free, with a printable worksheet.
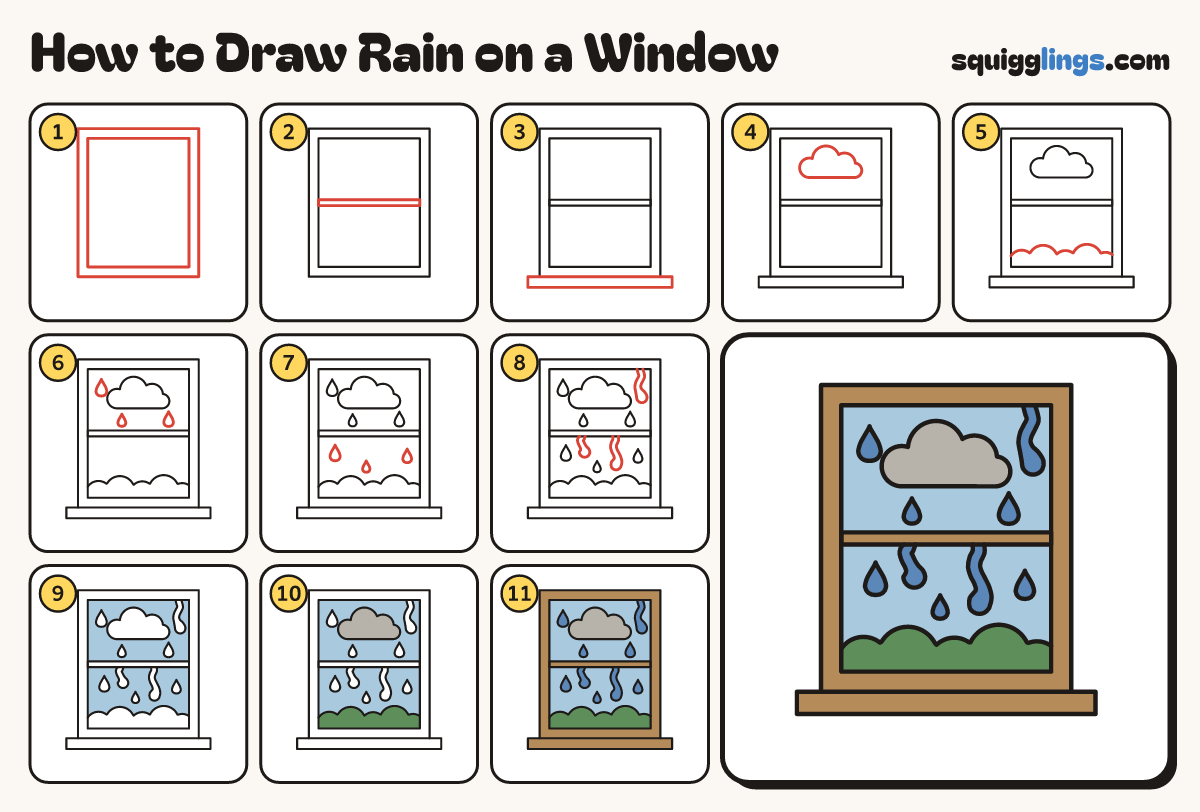
Each picture adds one red line. Draw that line, then scroll to the next picture. Rub out any dashed helper lines at the end. First up: tall window frame.
Step 1: Tall window frame
Draw a tall box for the window frame, filling most of your paper. Draw a second box just inside.
Tip Use a ruler if you like straight edges.
Step 2: The cross bar
Draw a thin bar across the middle of the window, making 2 panes of glass.
Step 3: The sill
Under the window, draw a long flat box for the sill, poking out on both sides.
Step 4: Rain cloud
In the top pane, draw a fluffy cloud with a flat bottom. It is far away outside.
Tip Leave room around the cloud for raindrops.
Step 5: Garden bushes
Start on the left edge of the bottom pane. Draw 5 bumpy bushes across and stop on the right edge.
Step 6: Raindrops up top
On the top pane, draw 3 fat raindrops with pointed tops. Spread them out.
Tip The drops sit on the glass, so they are big and close.
Step 7: More raindrops
On the bottom pane, draw 3 more raindrops above the bushes.
Step 8: Wiggly trickles
Start at the top of a pane. Draw 2 wiggly lines down, ending in a fat drop. Make 3 trickles.
Tip A trickle is a raindrop sliding down the glass.
Step 9: Pale blue glass
Colour the glass pale blue, around the cloud, the bushes and every raindrop.
Step 10: Grey cloud, green bushes
Colour the cloud grey and the bushes green.
Step 11: Blue rain, brown frame
Colour the raindrops and trickles blue. Colour the frame, the bar and the sill brown.
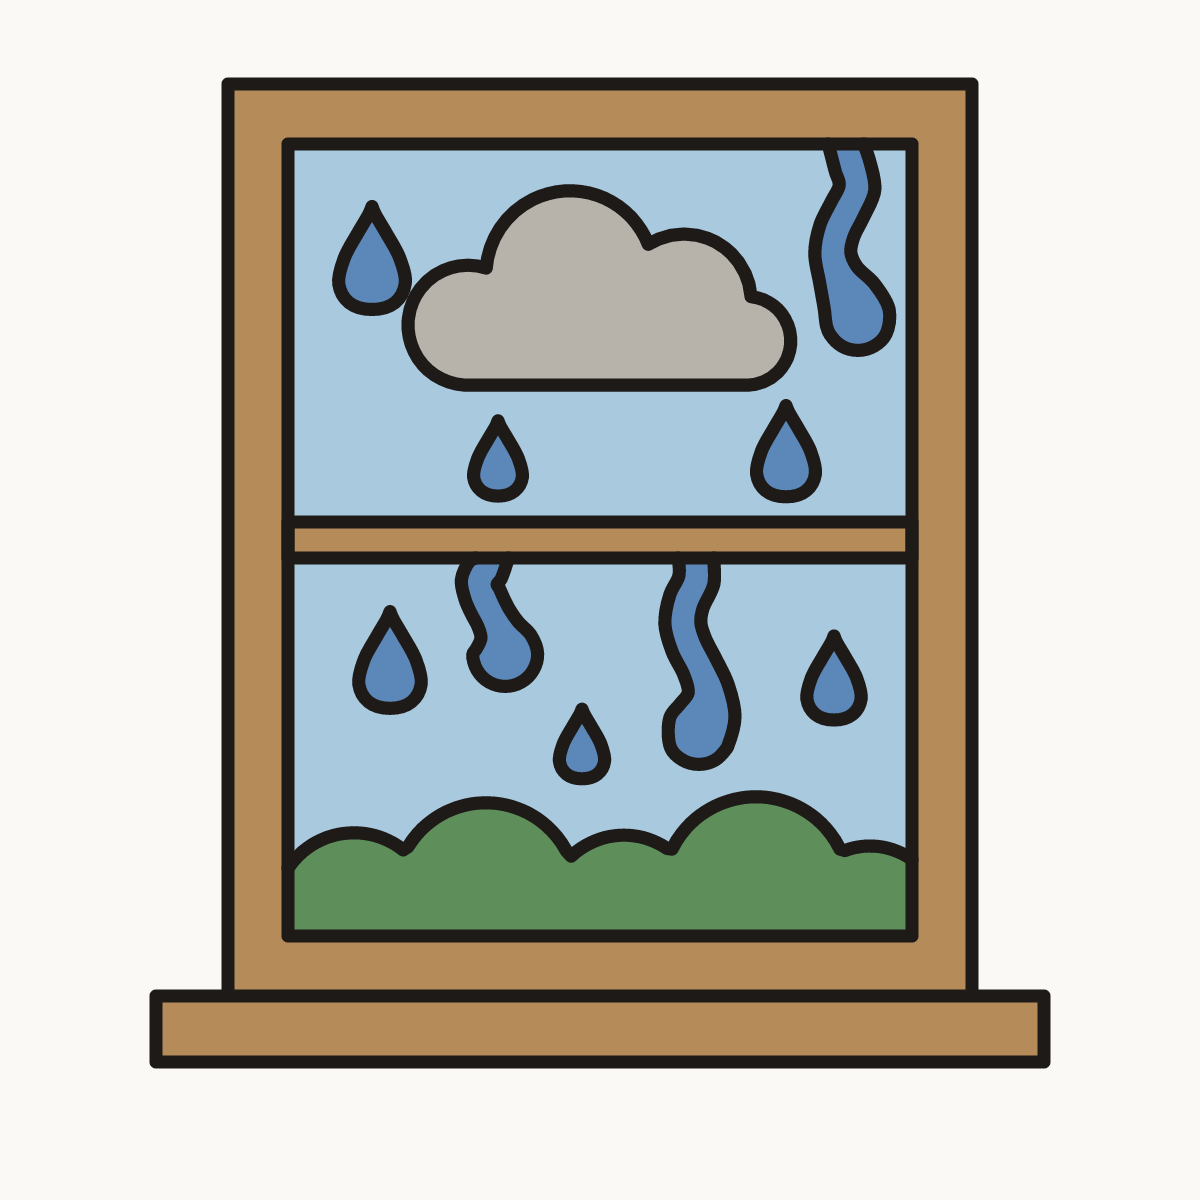
Your finished drawing
Follow the steps above and this is where you end up: rain on a window, drawn by you.
Every step in one picture