Watch it draw itself · tap to replay
How to Draw a Purple Loosestrife
Draw a purple loosestrife in 11 easy steps, about 8 minutes. Free, with a printable worksheet.
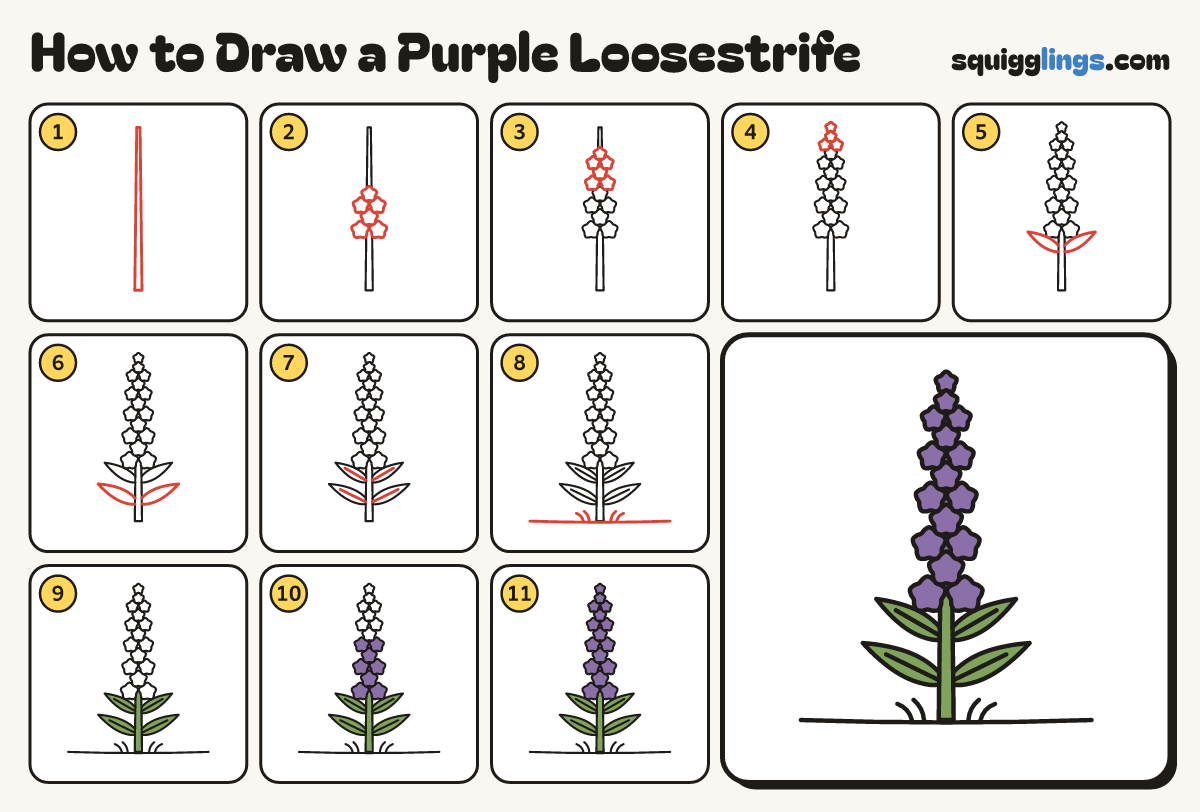
Each picture adds one red line. Draw that line, then scroll to the next picture. Rub out any dashed helper lines at the end. First up: the stalk.
Step 1: The stalk
From near the bottom middle, draw a tall thin stalk straight up to near the top, wider at the bottom.
Step 2: Bottom flowers
Above the middle draw 2 little star flowers side by side, 1 above them, then 2 more and 1 more.
Tip Each flower is a tiny star with 5 round points. Tuck each row behind the row below.
Step 3: Middle flowers
Keep stacking upwards: 2 flowers, then 1, then 2, then 1, each a little smaller.
Tip Rub out the stalk inside the flowers as you go.
Step 4: Pointed top
Finish the spike with 2 small flowers, then 1, then the tiniest one on top.
Tip The flowers shrink as they climb, so the spike ends in a point.
Step 5: Top leaves
Start on the stalk below the flowers. Draw a long thin pointed leaf up and out each side.
Step 6: Lower leaves
Lower down the stalk draw another pair of long thin leaves, a little longer.
Step 7: Leaf veins
Start on the stalk at each leaf. Draw one line along its middle, stopping before the tip.
Step 8: Ground and grass
Draw a ground line across, under the stalk. Flick up 2 grass blades each side.
Step 9: Green stalk and leaves
Go over your lines. Colour the stalk below the flowers and the 4 long leaves green.
Step 10: Purple bottom
Colour the bottom 8 flowers purple, and the tiny gaps between them too.
Step 11: Purple top
Colour the rest of the flowers purple, right up to the tip, and your purple loosestrife is done.
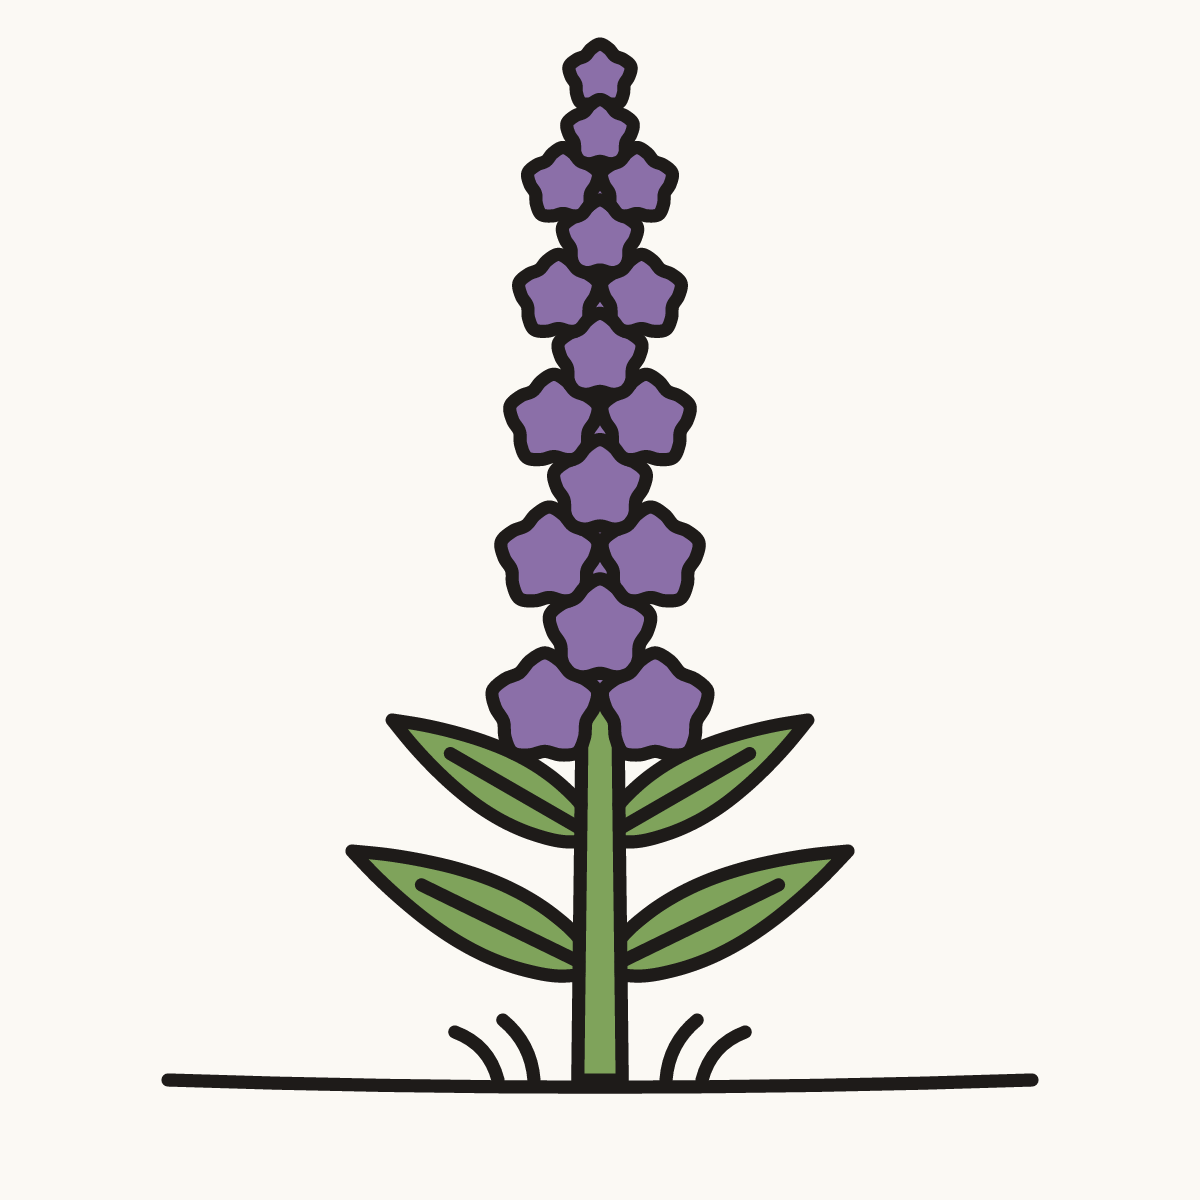
Your finished drawing
Follow the steps above and this is where you end up: a purple loosestrife, drawn by you.
Every step in one picture