Watch it draw itself · tap to replay
How to Draw a Pozole
Draw a pozole in 14 easy steps, about 11 minutes. Free, with a printable worksheet.
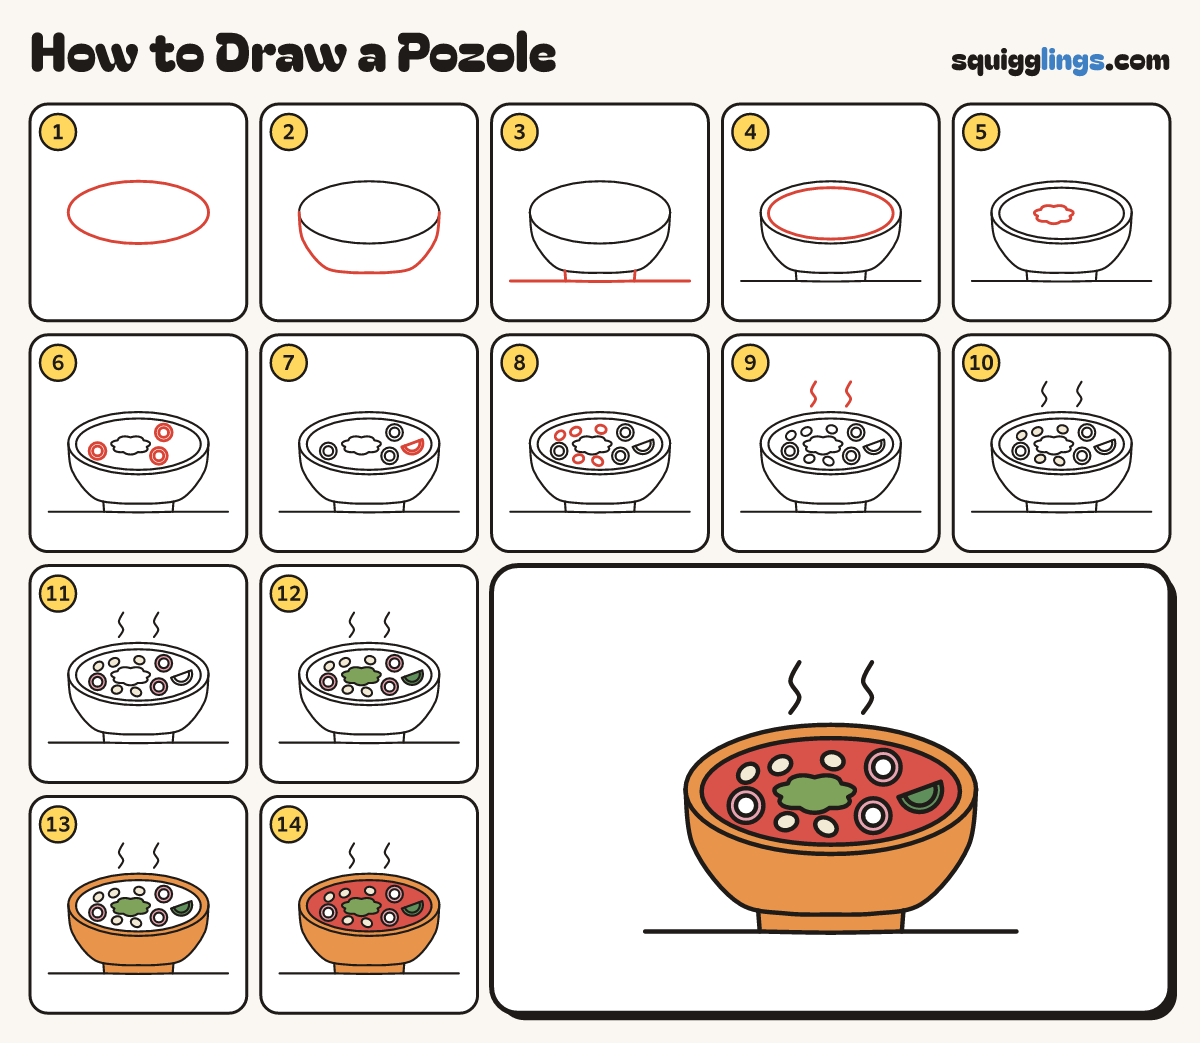
Each picture adds one red line. Draw that line, then scroll to the next picture. Rub out any dashed helper lines at the end. First up: the rim.
Step 1: The rim
In the middle of the paper draw a wide flat oval, almost as wide as the page: the bowl's top.
Step 2: The bowl
Start at the left end of the oval. Draw a big U down and up. Stop at the right end.
Step 3: Foot and table
Start on the bowl's bottom. Draw a stand down, across and up. Stop on the bowl. Rule a table line.
Step 4: The broth
Inside the rim draw a second flat oval, a finger inside it, for the top of the soup.
Step 5: Cabbage pile
In the middle of the soup draw a small cloud with 7 soft bumps: a pile of shredded cabbage.
Step 6: Radish slices
Draw 3 round radish slices floating in the soup. Put a smaller circle inside each one.
Tip Keep them away from the cabbage and the edge of the soup.
Step 7: Lime wedge
Draw a lime wedge on the right: a tilted line, a round belly under it and a rind line inside.
Step 8: Hominy
In the gaps draw 5 little puffy ovals for the hominy, not touching anything.
Tip Hominy is big, soft corn. It is what makes this soup pozole.
Step 9: Steam
Start just above the rim. Draw 2 wiggly steam lines up into the air. Stop near the top.
Step 10: Cream hominy
Go over your lines. Colour the 5 hominy ovals cream.
Step 11: Pink radishes
Colour the thin ring round each radish slice pink. Leave the middles white.
Step 12: Green toppings
Colour the cabbage light green and the lime dark green.
Step 13: Orange bowl
Colour the bowl, its rim and its foot orange, like clay. Leave the soup white for now.
Step 14: Red broth
Colour the broth red, around all the toppings. Your pozole is ready!
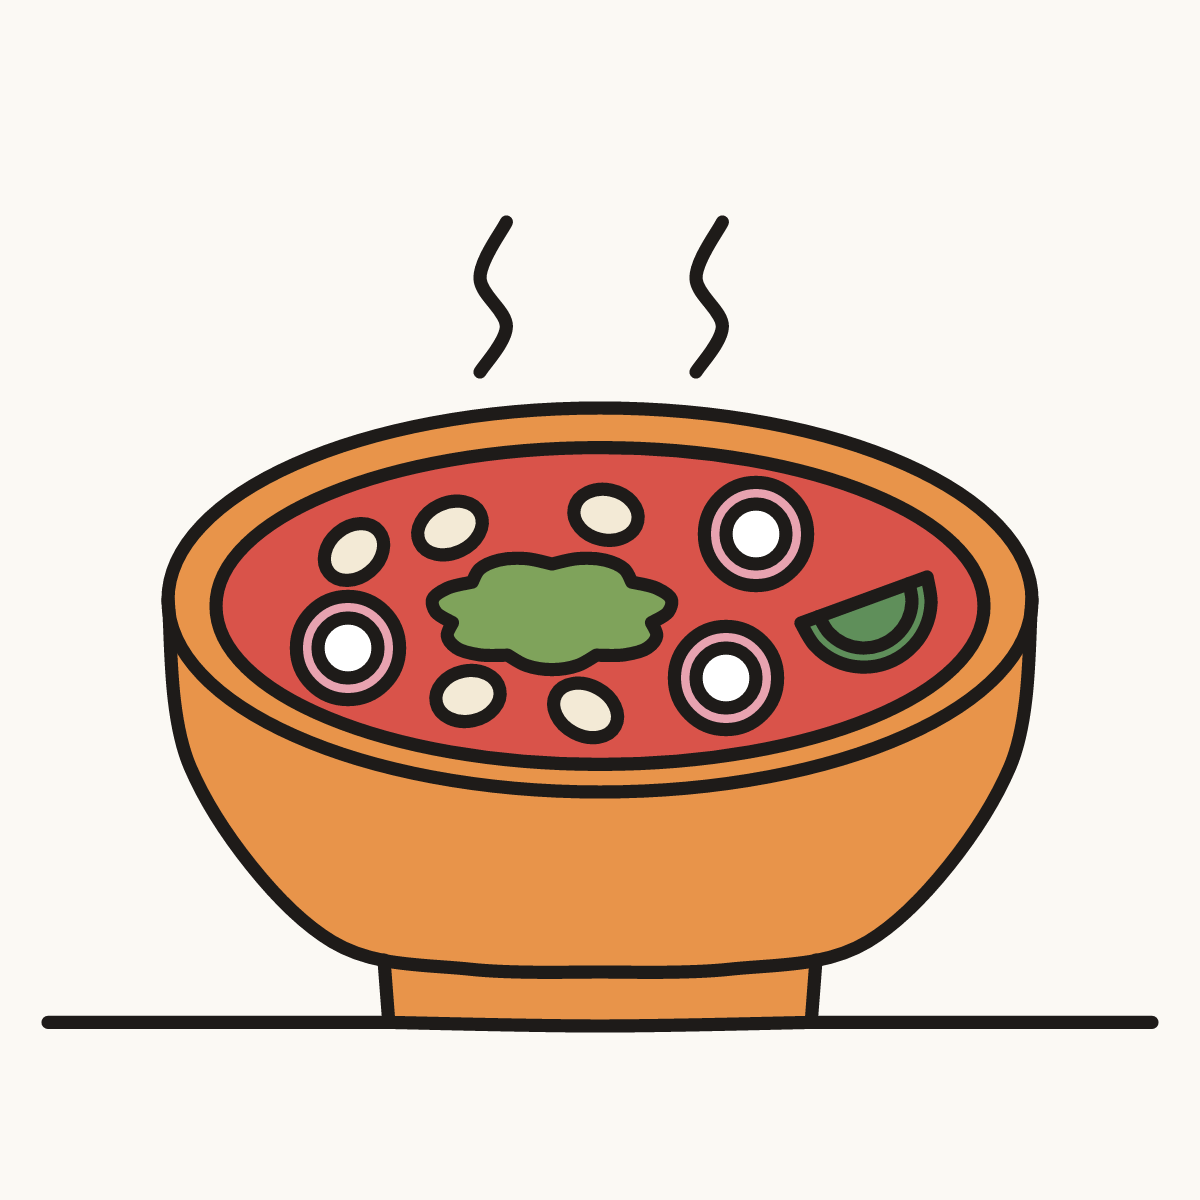
Your finished drawing
Follow the steps above and this is where you end up: a pozole, drawn by you.
Every step in one picture