Watch it draw itself · tap to replay
How to Draw a Pi Symbol
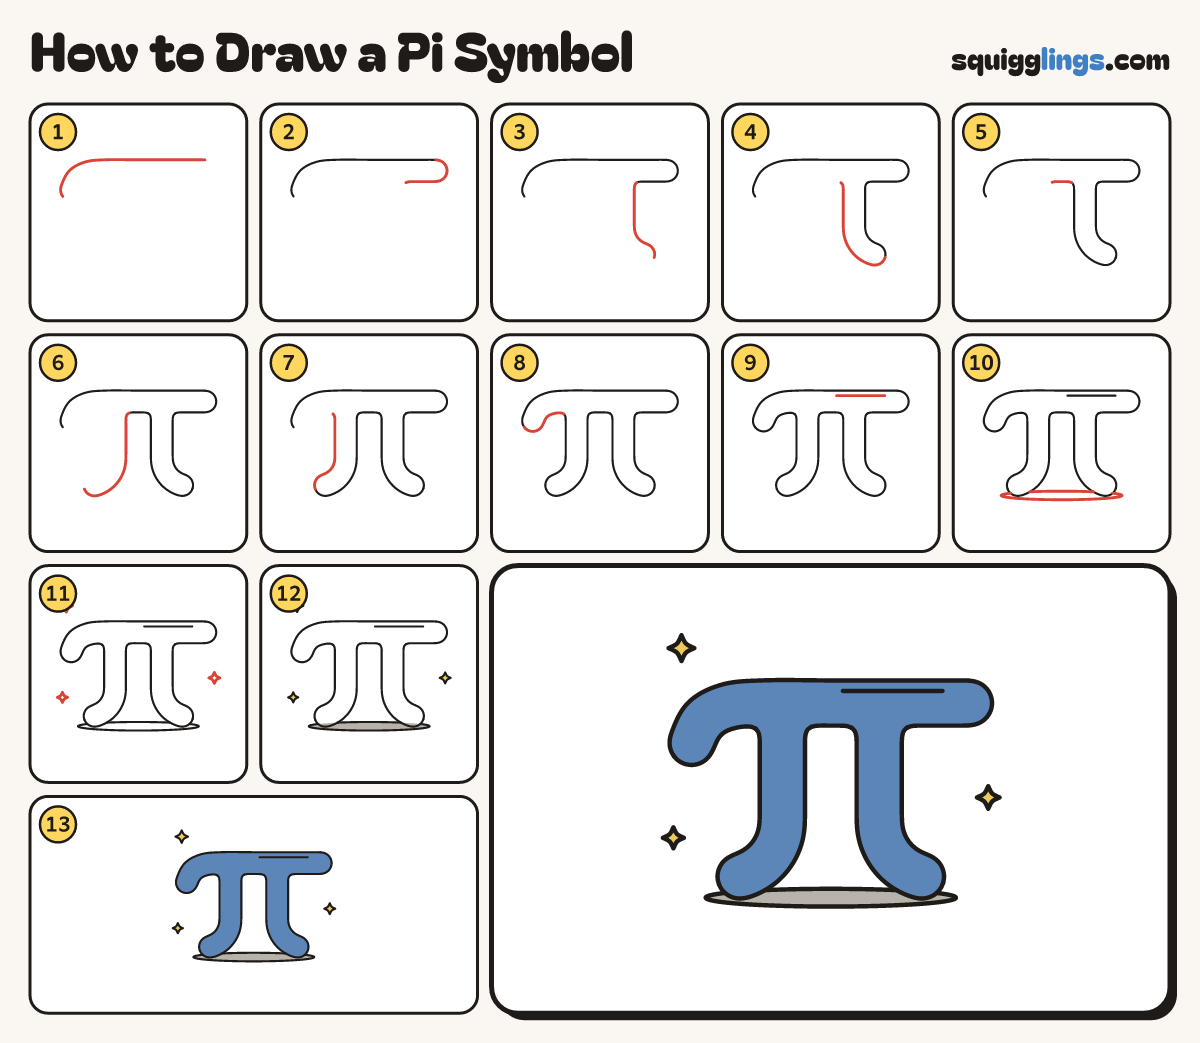
Draw a pi symbol in 13 easy steps, about 10 minutes. Free, with a printable worksheet.
Each picture adds one red line. Draw that line, then scroll to the next picture. Rub out any dashed helper lines at the end. First up: top of the bar.
Step 1: Top of the bar
Start low on the left. Curve up, then draw a long line across the top. Stop near the right edge.
Tip The little hook on the left is what makes it a pi.
Step 2: Round bar end
From the right end, curve round and come back left a little way underneath. Stop.
Step 3: Right leg
From there draw a line down, then curve out to the right and stop at a round toe.
Step 4: Back up
From the toe curl back under, then go up the other side of the leg. Stop under the bar.
Tip Keep the 2 sides of the leg the same distance apart.
Step 5: Under the bar
From the top of that line draw a short line to the left, under the bar. Stop.
Step 6: Left leg
From there draw a line down, then curve out to the left and stop at a round toe.
Step 7: Up again
From the toe curl round, then go up the outside of the left leg. Stop under the bar.
Step 8: Finish the hook
From the top of that line go left under the bar, curve down and round to where you started.
Tip Now the whole shape is closed, like a fat bubble letter.
Step 9: A shine
Inside the bar, near the top, draw 1 short line. It must not touch the edges.
Step 10: A shadow
Under the 2 feet draw a long thin flat oval for the shadow, with the feet sitting on it.
Step 11: Three sparkles
In the space round the pi, draw 3 little sparkles: 1 top left, 1 lower left, 1 on the right.
Step 12: Yellow sparkles
Go over your lines. Colour the 3 sparkles yellow and the shadow grey.
Step 13: Blue pi
Colour the whole pi blue, and your pi symbol is done!
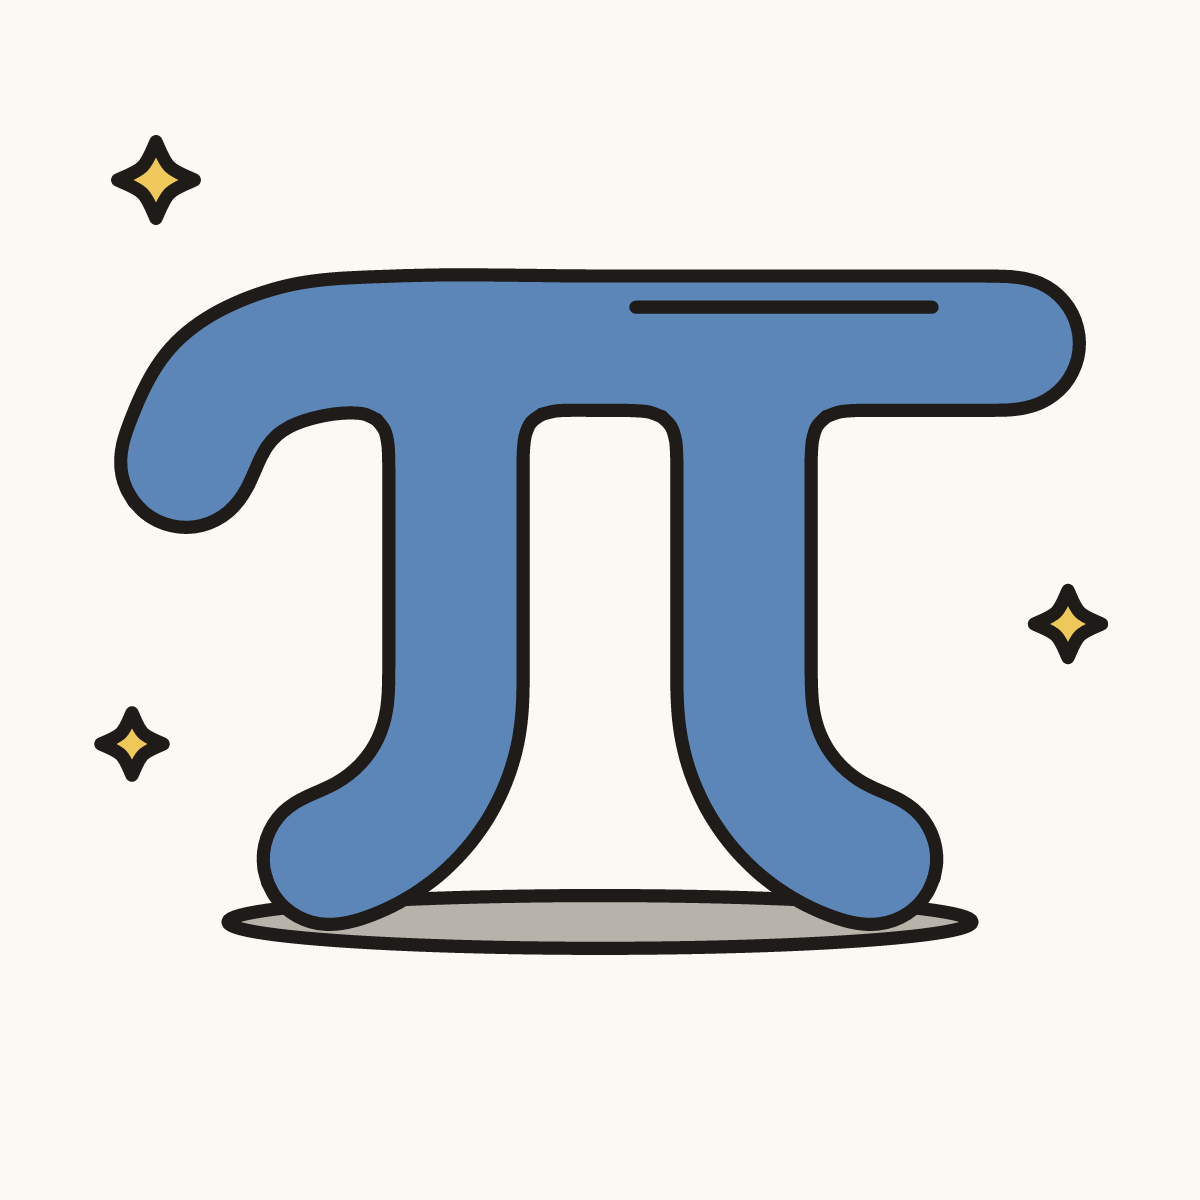
Your finished drawing
Follow the steps above and this is where you end up: a pi symbol, drawn by you.
Every step in one picture