Watch it draw itself · tap to replay
How to Draw a Peeled Banana
Draw a peeled banana in 12 easy steps, about 9 minutes. Free, with a printable worksheet.
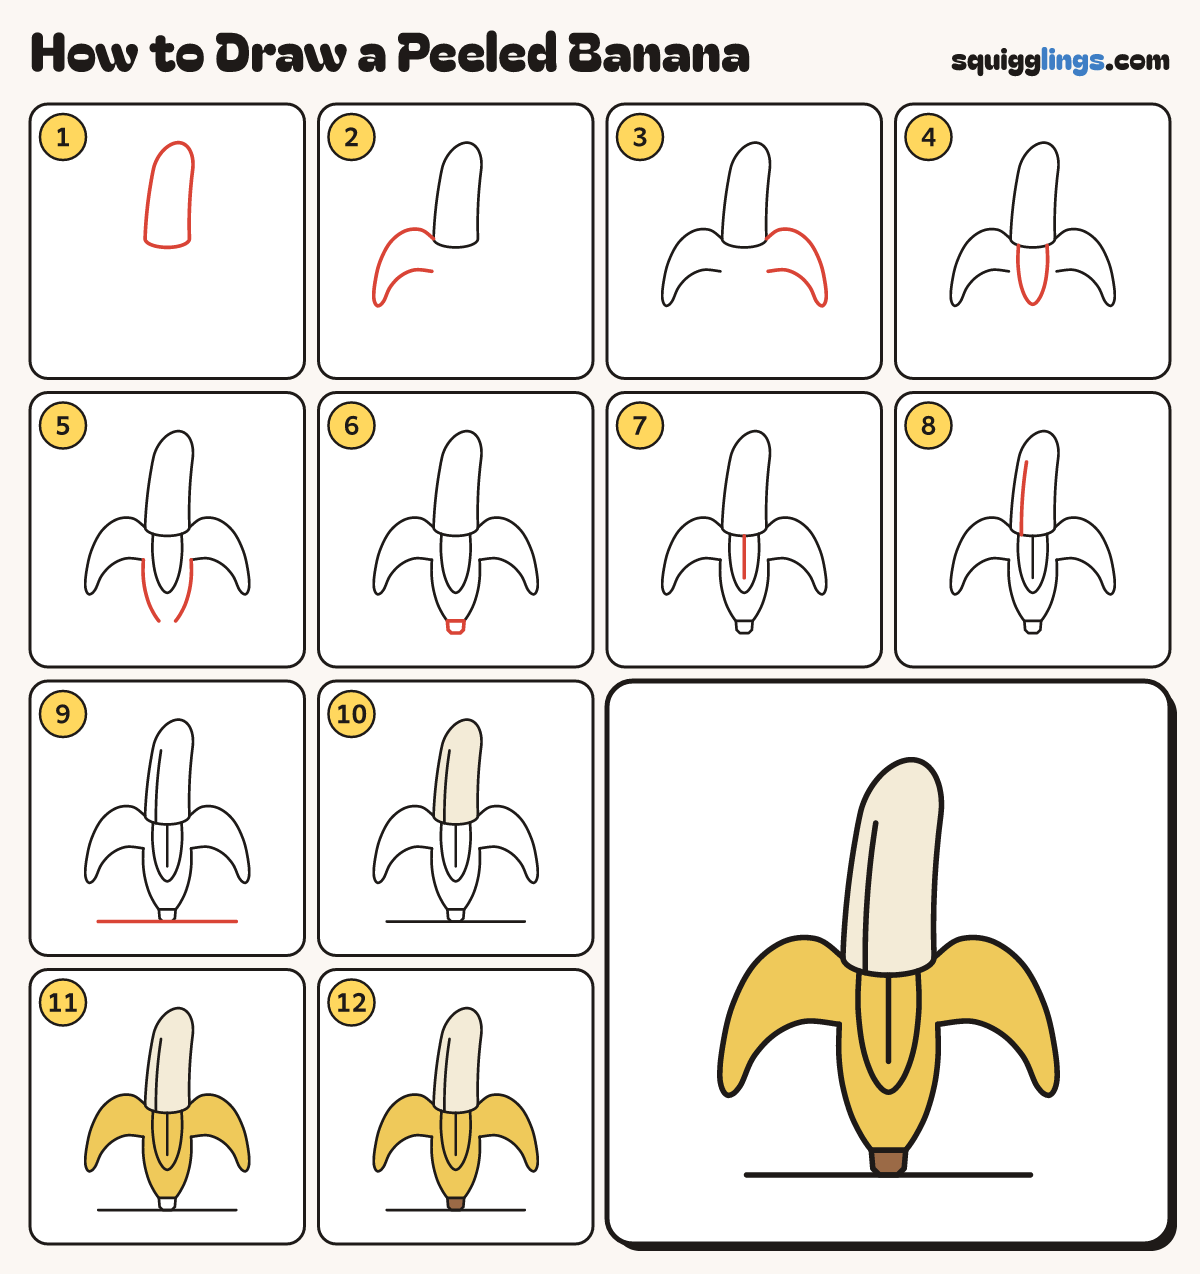
Each picture adds one red line. Draw that line, then scroll to the next picture. Rub out any dashed helper lines at the end. First up: the fruit.
Step 1: The fruit
Draw a tall thin finger, round at the top and leaning a little right. Close its bottom with a smile.
Tip Leave room below it: the peel hangs down from here.
Step 2: Left peel flap
Start at the fruit's bottom left corner. Draw a floppy flap out, down to a soft point and back in.
Step 3: Right peel flap
Start at the bottom right corner. Draw the same floppy flap on this side and stop under it.
Tip Make the 2 flaps match, like a pair of droopy ears.
Step 4: Front flap
Start on the smile line. Draw a long U tongue hanging down the middle and stop back on the smile.
Tip This flap hangs in front, so it hides the middle of the skin.
Step 5: The skin
Start under each side flap. Draw a line down, leaning in, and stop a finger apart.
Tip The skin gets thinner towards the stem.
Step 6: The stem
Join the 2 lines with a small stubby stem at the bottom.
Step 7: A fold line
Start on the smile line. Draw one line down the middle of the front flap and stop before its end.
Step 8: A fruit line
Start on the smile line. Draw one long soft line up the fruit, following its bend. Stop near the top.
Step 9: The ground
Draw a straight ground line under the stem, from left to right.
Step 10: Cream fruit
Go over your lines, then colour the fruit a pale cream.
Step 11: Yellow peel
Colour the 3 flaps and the skin yellow.
Tip The flaps and the skin are all one peel, so they are all yellow.
Step 12: Brown stem
Colour the stem brown. Your peeled banana is ready to eat!
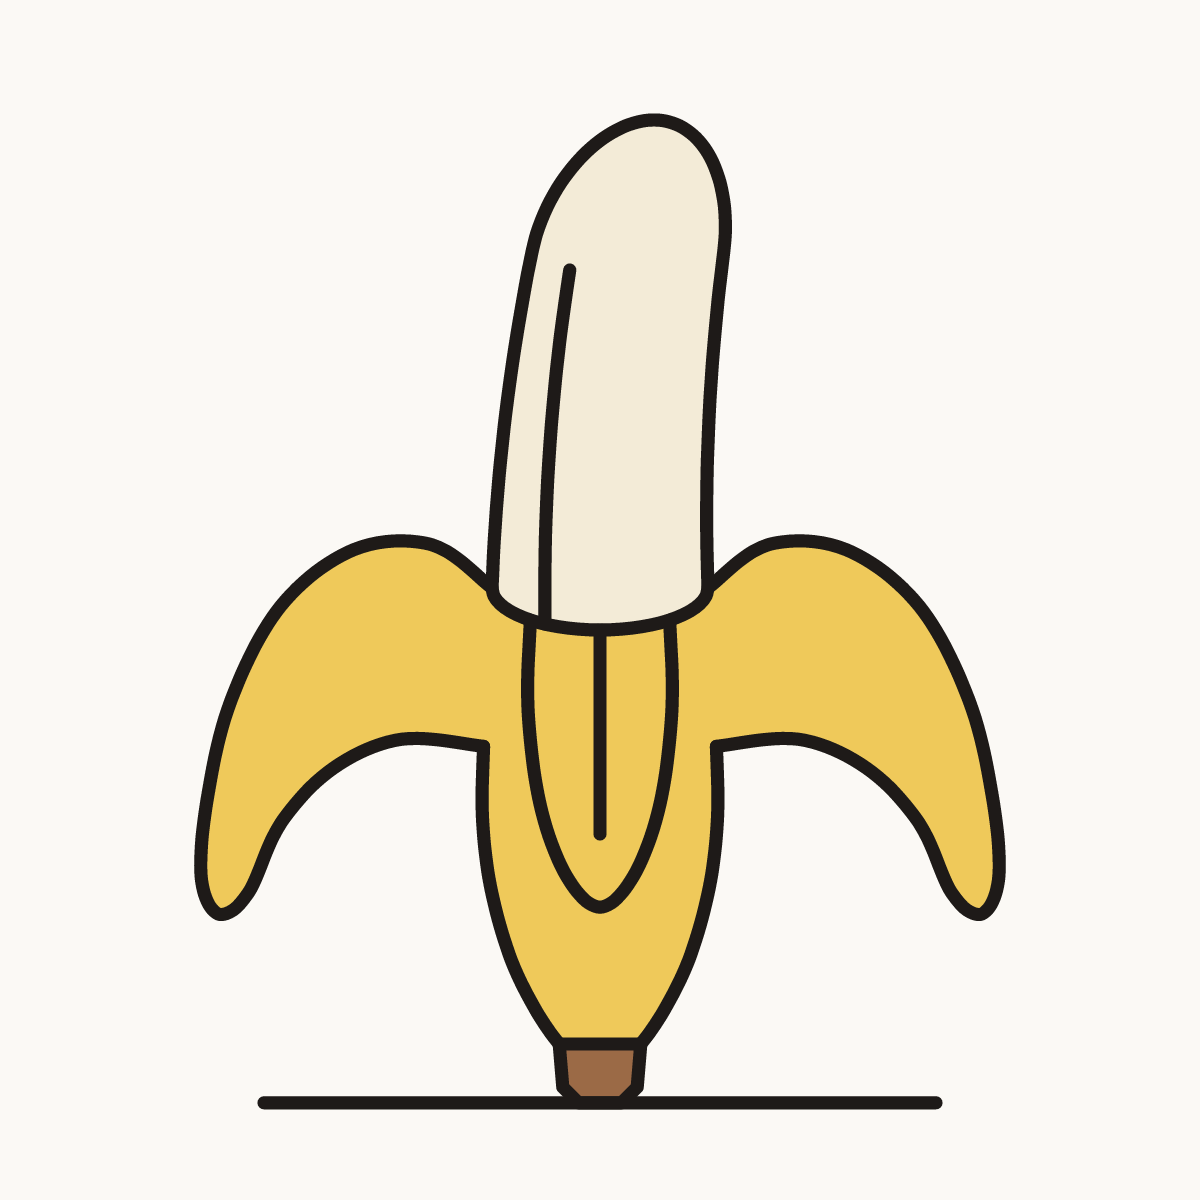
Your finished drawing
Follow the steps above and this is where you end up: a peeled banana, drawn by you.
Every step in one picture