Watch it draw itself · tap to replay
How to Draw a Sandwich
Draw a sandwich in 12 easy steps, about 9 minutes. Free, with a printable worksheet.
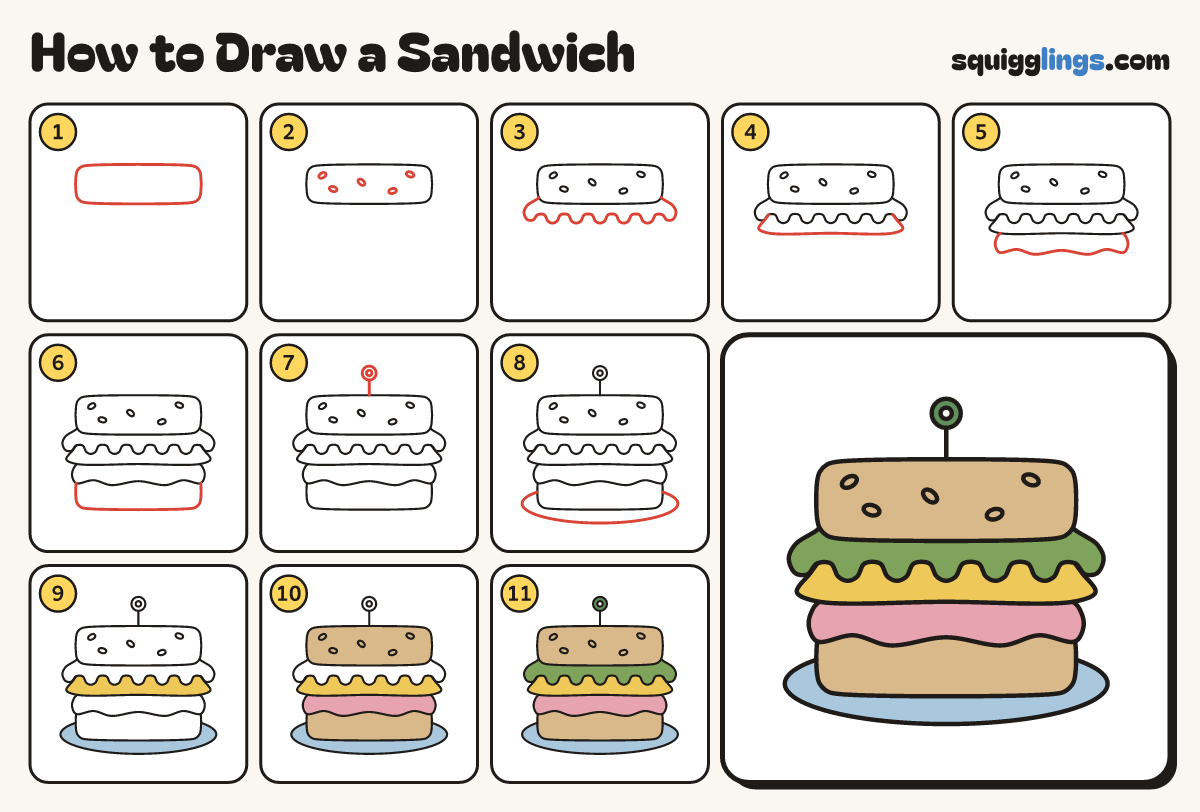
Each picture adds one red line. Draw that line, then scroll to the next picture. Rub out any dashed helper lines at the end. First up: the top bread.
Step 1: The top bread
Above the middle of your paper draw a wide flat slice of bread with soft corners, narrower at the back.
Tip Like a table top seen from above.
Step 2: Crust edge
Start at the left front corner. Draw down, along under the bread and up to the right front corner.
Step 3: Frilly lettuce
Start at the bottom left corner. Draw 5 round hills hanging under the bread. Stop at the bottom right corner.
Step 4: Cheese slice
Under the lettuce draw a flat cheese slice. Its pointy corners poke out past the bread on both sides.
Step 5: Ham
Under the cheese draw a slab of ham with a wavy bottom edge, like a ribbon.
Step 6: The bottom bread
Under the ham draw a long flat box with soft corners, the same width as the top slice.
Step 7: Pick and olive
Draw a tiny oval in the bread's middle. Start there, draw a stick up and stop. Add a round olive.
Tip The oval is the hole in the top slice where the pick pokes in.
Step 8: The plate
Start at the left of the bottom bread. Draw a wide flat oval around under it, back to the right.
Step 9: Cream bread, yellow cheese
Go over your lines. Colour the top of the bread cream and the cheese slice yellow.
Step 10: Sky plate, pink ham
Colour the plate sky blue and the ham pink.
Step 11: Tan crusts
Colour the front edge of the top slice and all of the bottom slice tan.
Step 12: Green lettuce and olive
Colour the frilly lettuce leaf green and the olive green, leaving its little dot white.
Your finished drawing
Follow the steps above and this is where you end up: a sandwich, drawn by you.
Every step in one picture