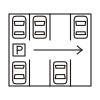
Watch it draw itself · tap to replay
How to Draw a Parking Lot
Draw a parking lot in 12 easy steps, about 9 minutes. Free, with a printable worksheet.
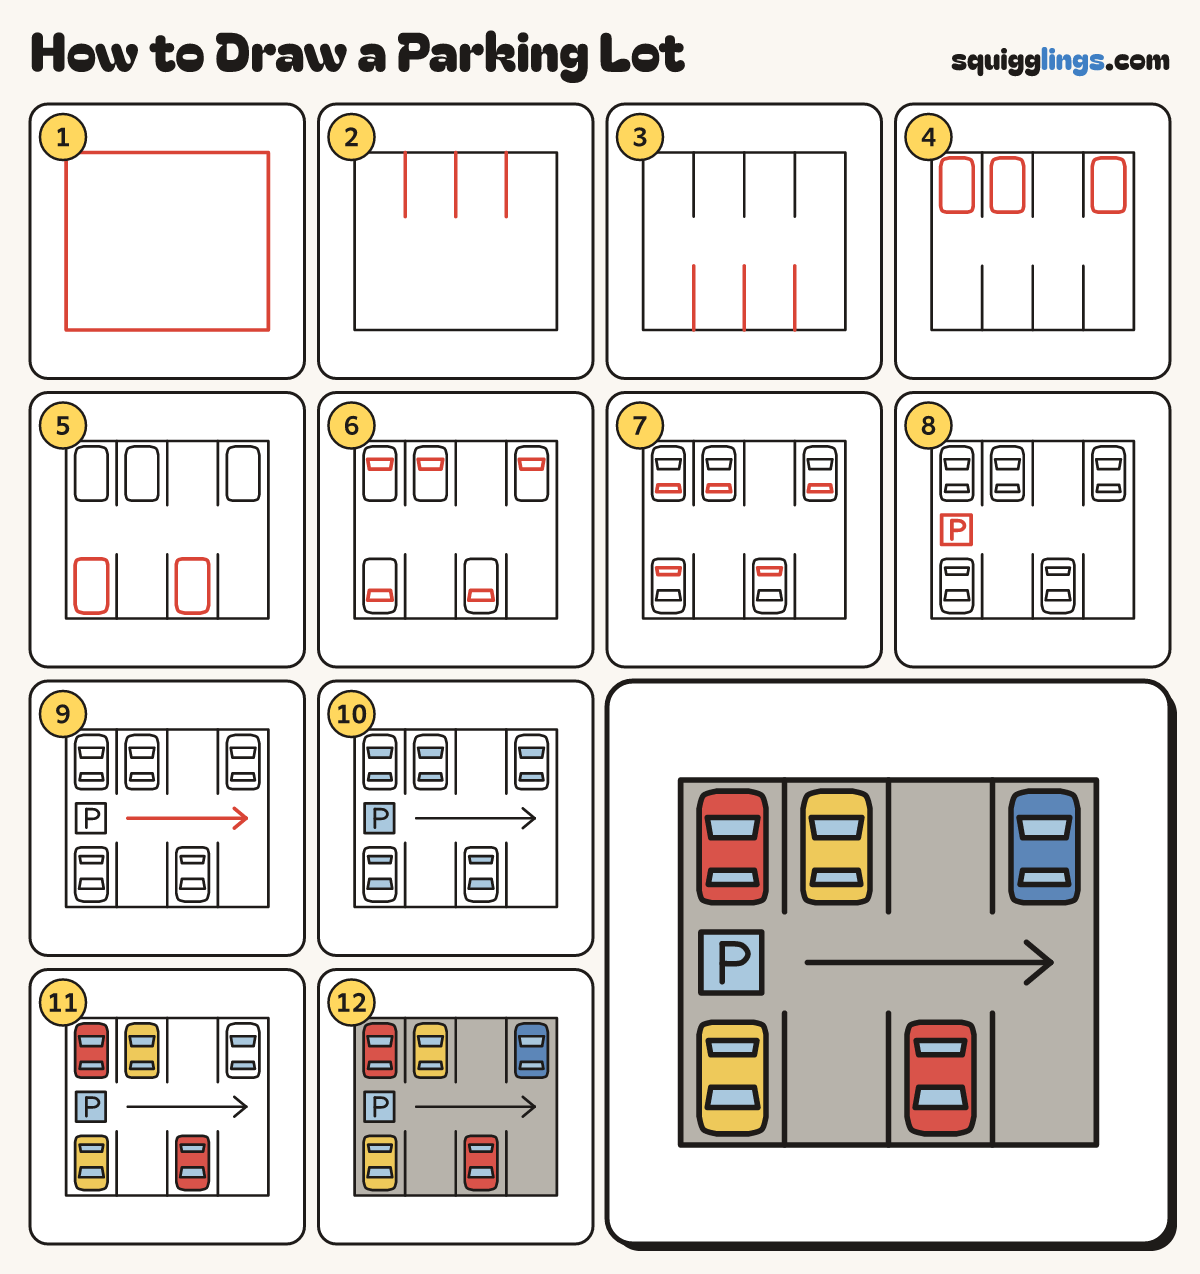
Each picture adds one red line. Draw that line, then scroll to the next picture. Rub out any dashed helper lines at the end. First up: the lot.
Step 1: The lot
Draw a big box that nearly fills your paper. This is the parking lot, seen from above.
Tip Use a ruler if you like: a parking lot is all straight lines.
Step 2: Top parking lines
Start on the top edge. Draw 3 lines straight down, evenly spaced, and stop them all level.
Tip The lines make 4 parking spaces, each wide enough for a car.
Step 3: Bottom parking lines
Start on the bottom edge. Draw 3 lines straight up, under the top ones, and stop them level.
Tip Leave a wide road between the 2 rows.
Step 4: Top row cars
In the top row draw a long rounded box in the first, second and last spaces. These are cars.
Step 5: Bottom row cars
In the bottom row draw a long rounded box in the first space and the third space.
Step 6: Windscreens
Across each car draw a wide window near the end closest to the lot's edge.
Tip The cars park nose first, so the big front window is by the edge.
Step 7: Back windows
Across each car draw a thinner window near its other end. Leave a roof between the windows.
Step 8: The P sign
On the road between the rows, at the left, draw a square. Write a big P inside.
Tip P is for parking.
Step 9: An arrow
Next to the sign draw a long arrow along the road, pointing right, to show cars the way.
Step 10: Sky blue glass
Go over your lines. Colour every window and the P sign sky blue.
Step 11: Yellow and red cars
Colour 2 cars yellow and 2 cars red, going around the windows.
Step 12: Blue car, grey ground
Colour the last car blue. Colour the ground grey, going around the cars and the sign.
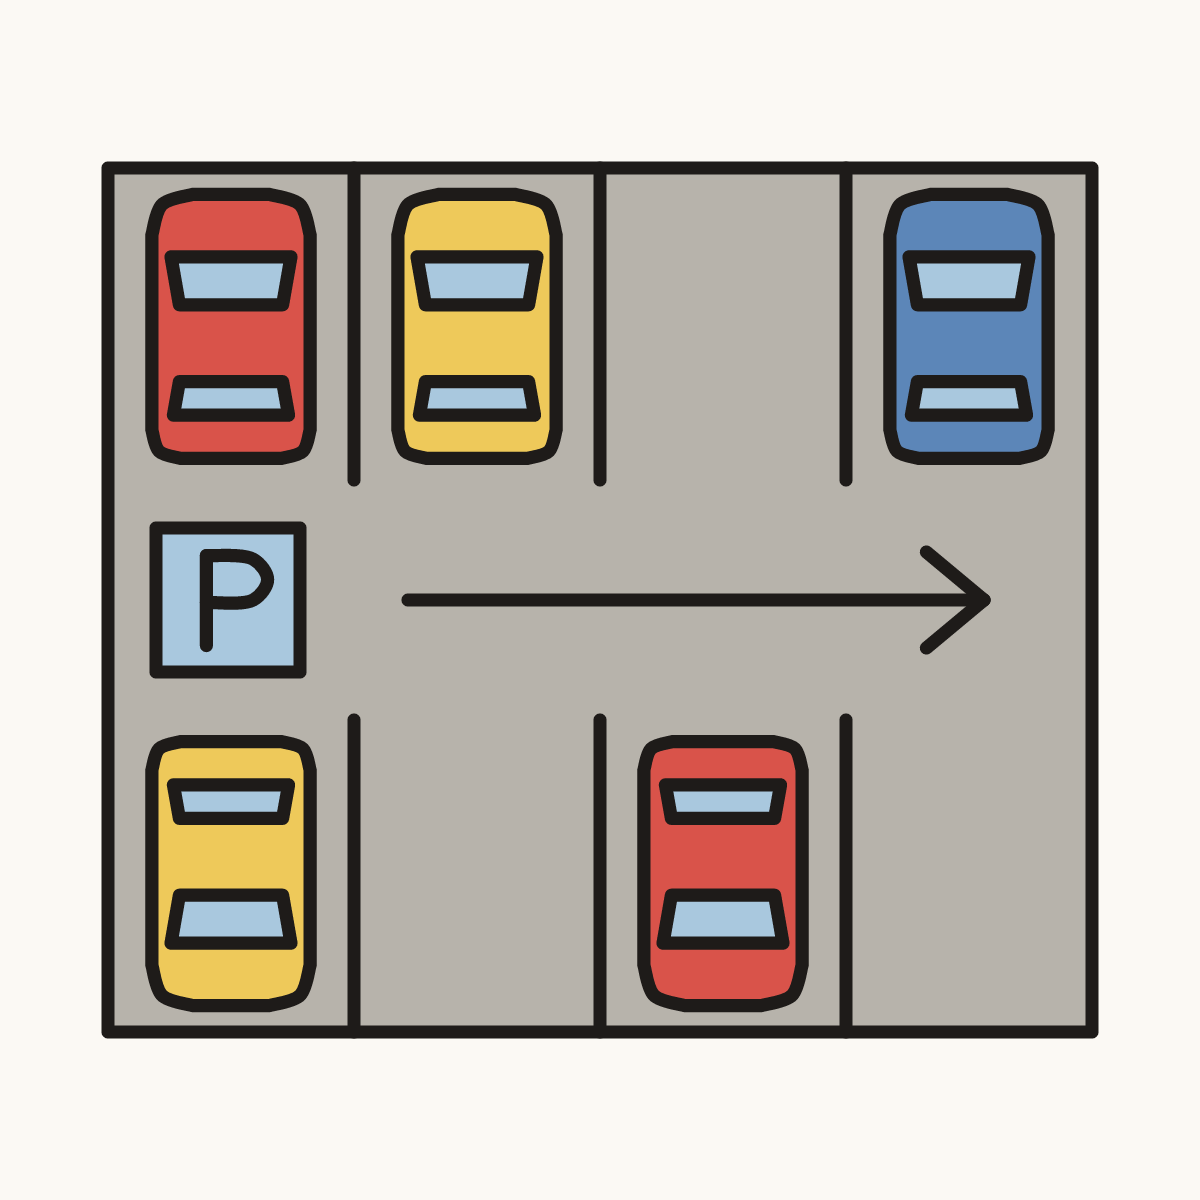
Your finished drawing
Follow the steps above and this is where you end up: a parking lot, drawn by you.
Every step in one picture