Watch it draw itself · tap to replay
How to Draw an Otter Swimming
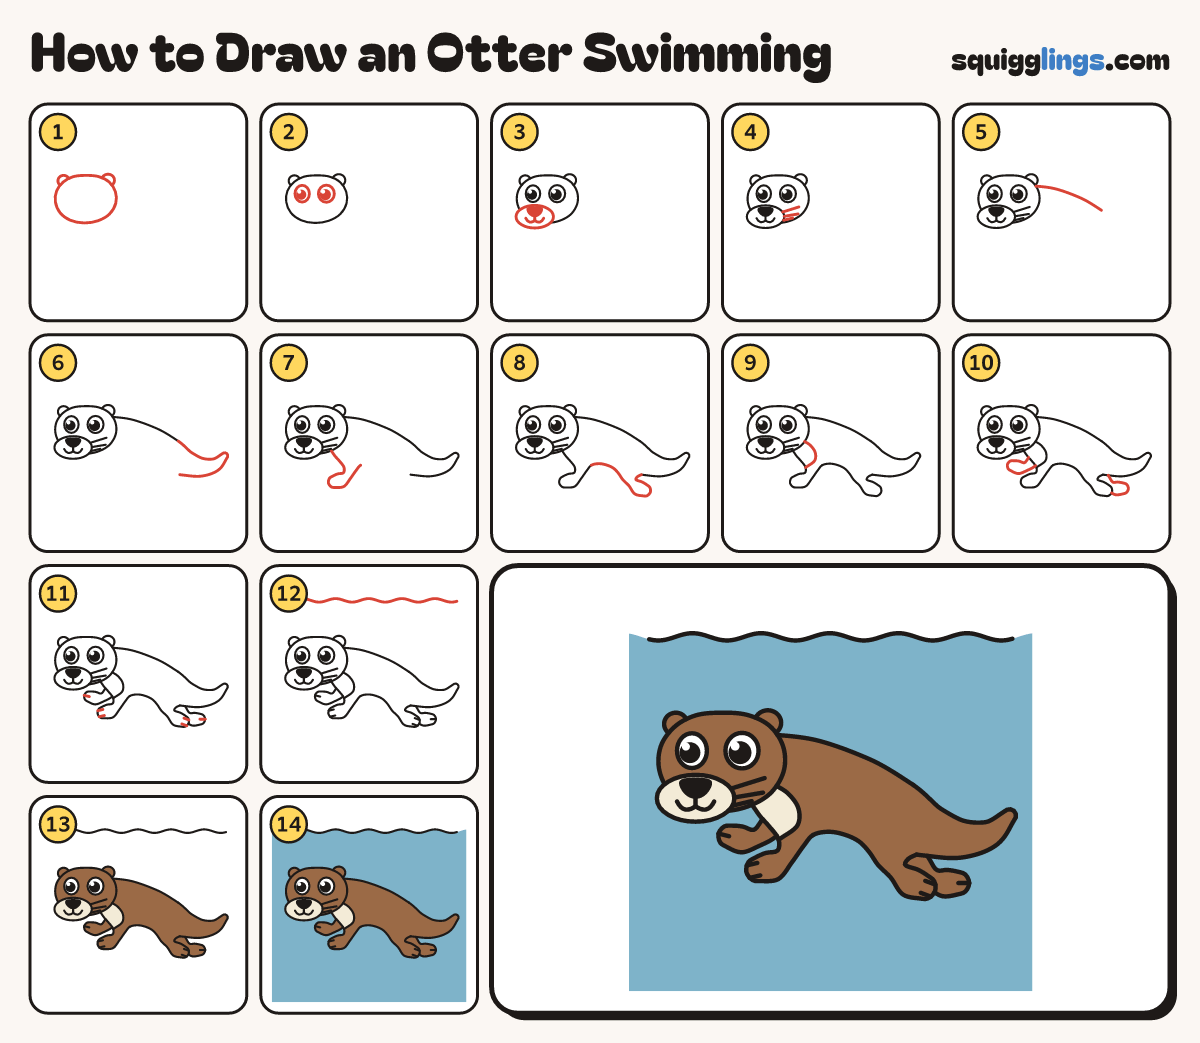
Draw an otter swimming in 14 easy steps, about 11 minutes. Free, with a printable worksheet.
Each picture adds one red line. Draw that line, then scroll to the next picture. Rub out any dashed helper lines at the end. First up: head and ears.
Step 1: Head and ears
On the left, draw a wide head with a flat top. Add a tiny round ear on each top corner.
Tip Otter ears are very small. Leave lots of room on the right for the long body.
Step 2: Two big eyes
On the middle of the head, a little to the left, draw 2 oval eyes with black dots.
Tip Leave a tiny white shine in each eye.
Step 3: Snout and smile
Under the eyes draw an oval snout poking out past the head. Add a black nose and a smile.
Tip Rub out the head line inside the snout.
Step 4: Cheek whiskers
Start on the side of the snout. Draw 3 short whiskers across the cheek. Stop inside the head.
Step 5: Long back
Start behind the head, under the ear. Draw a long line along the back. Stop at the rump.
Tip The back dips gently down to the right.
Step 6: Long thick tail
Start at the rump. Draw a long tail that gets thinner to a round tip, then stop under the rump.
Tip The tail is thick where it joins and curls up a little at the end.
Step 7: Chest and front leg
Start under the chin. Draw the chest, then a short leg with a wide round paw. Stop at the tummy.
Tip Otter legs are short. The paw reaches forward, like a paddle.
Step 8: Tummy and back leg
Start behind the front leg. Draw the smooth tummy, then a short back leg kicking back. Stop at the tail.
Tip The back paw is wide and round too.
Step 9: Pale throat
Start on the cheek. Draw a curved line down to the top of the front leg, for the throat.
Step 10: Far legs
Start on the chest and behind the back leg. Draw 2 more paws peeking out. Stop at the body.
Tip Only draw the parts you can see.
Step 11: Webbed toes
On the end of each paw, draw short toe lines: 2 on the near paws, 1 on the far paws.
Step 12: Wavy surface
Start at the top left. Draw a wavy line across the top of your paper. Stop at the right.
Tip The otter swims under the water.
Step 13: Cream and brown
Colour the snout and the throat cream. Colour the rest of the otter brown. Leave the eyes white.
Step 14: Blue water
Colour the water blue under the wavy line, all around the otter.
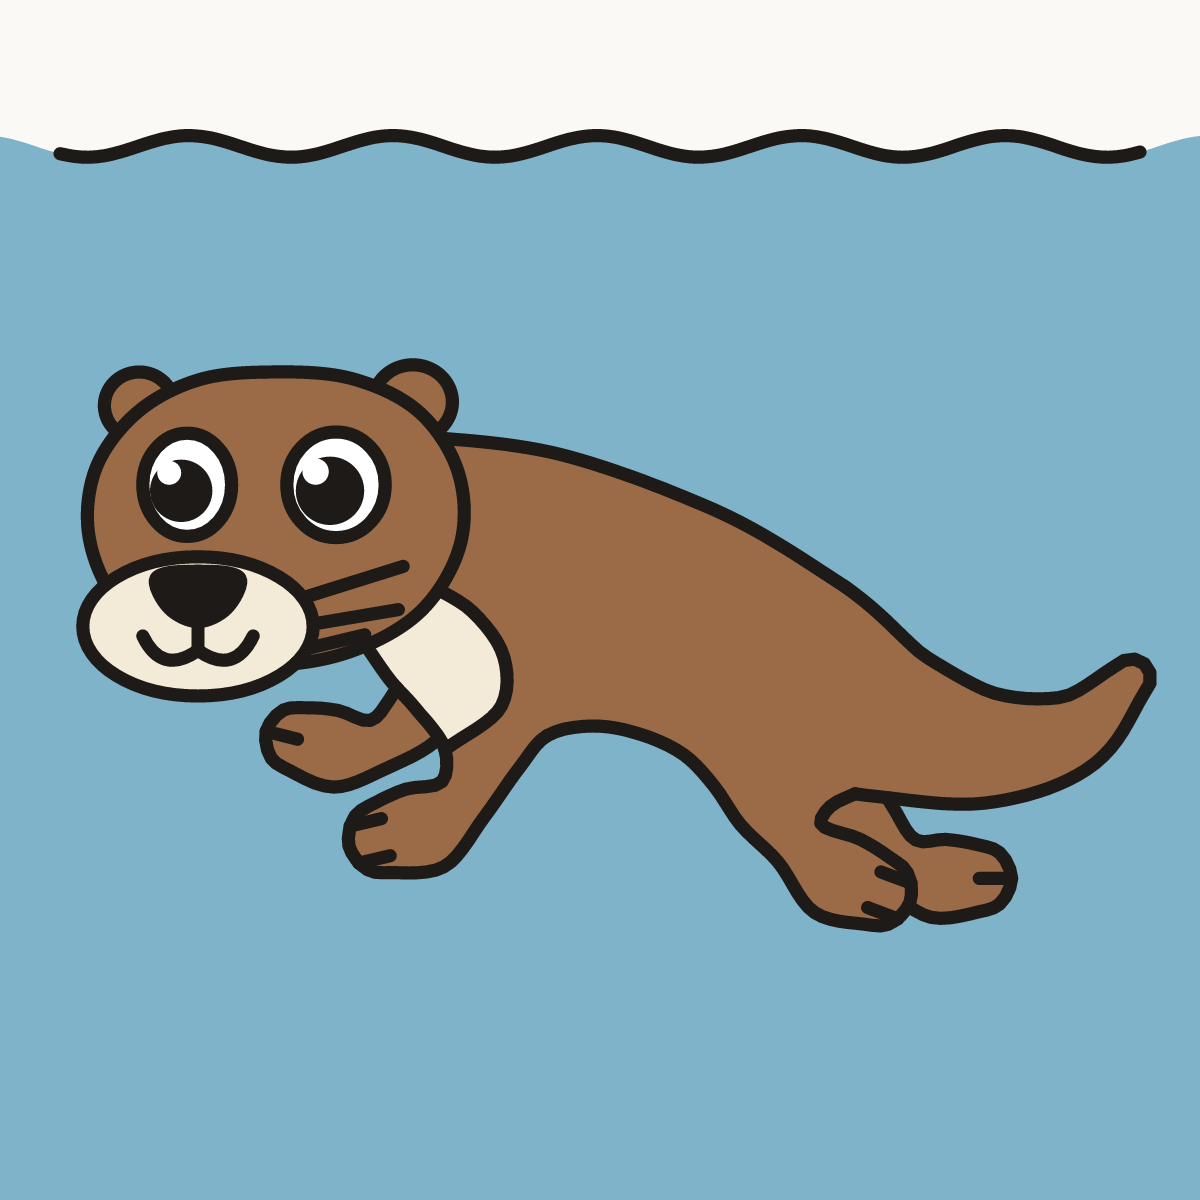
Your finished drawing
Follow the steps above and this is where you end up: an otter swimming, drawn by you.
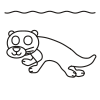
Every step in one picture