Watch it draw itself · tap to replay
How to Draw an Open Suitcase
Draw an open suitcase in 11 easy steps, about 8 minutes. Free, with a printable worksheet.
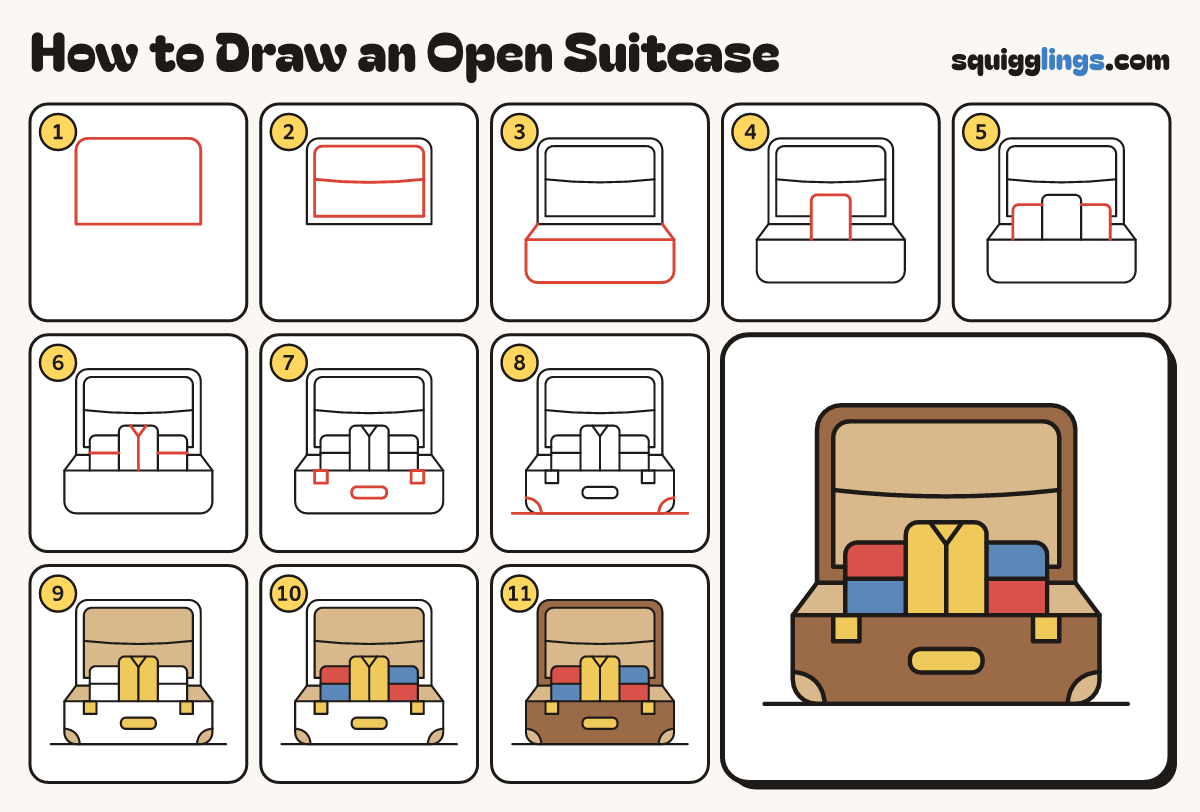
Each picture adds one red line. Draw that line, then scroll to the next picture. Rub out any dashed helper lines at the end. First up: the lid.
Step 1: The lid
Near the top draw a big wide box with soft top corners. This is the lid, standing up.
Tip Leave room underneath for the rest of the case.
Step 2: Inside the lid
Inside the lid draw a smaller box. Draw a pocket line across it, from side to side.
Step 3: The open case
Below the lid draw a wider, shorter box. Start at each top corner, draw a line up to the lid.
Tip Give the box soft bottom corners, and leave a small gap under the lid.
Step 4: Folded shirt
In the middle draw a tall hump coming up out of the case. Rub out the lid lines inside it.
Step 5: Two more piles
On each side of the shirt draw a lower hump. Start at the case, stop on the shirt.
Tip Leave a gap between each pile and the side of the case.
Step 6: Collar and folds
On the shirt draw a V collar and a line down. Draw a line across each side pile.
Step 7: Handle and clasps
On the front draw a sausage handle in the middle and a small box clasp near each end.
Step 8: Corners and ground
In each bottom corner draw a curve from the side to the bottom. Draw the ground line.
Step 9: Tan and yellow
Colour inside the lid, inside the case and the corners tan. Colour the shirt, handle and clasps yellow.
Step 10: Red and blue
Colour the top of the left pile red and its bottom blue. Swap them on the right pile.
Step 11: Brown case
Colour the edge of the lid and the front of the case brown, around the handle, clasps and corners.
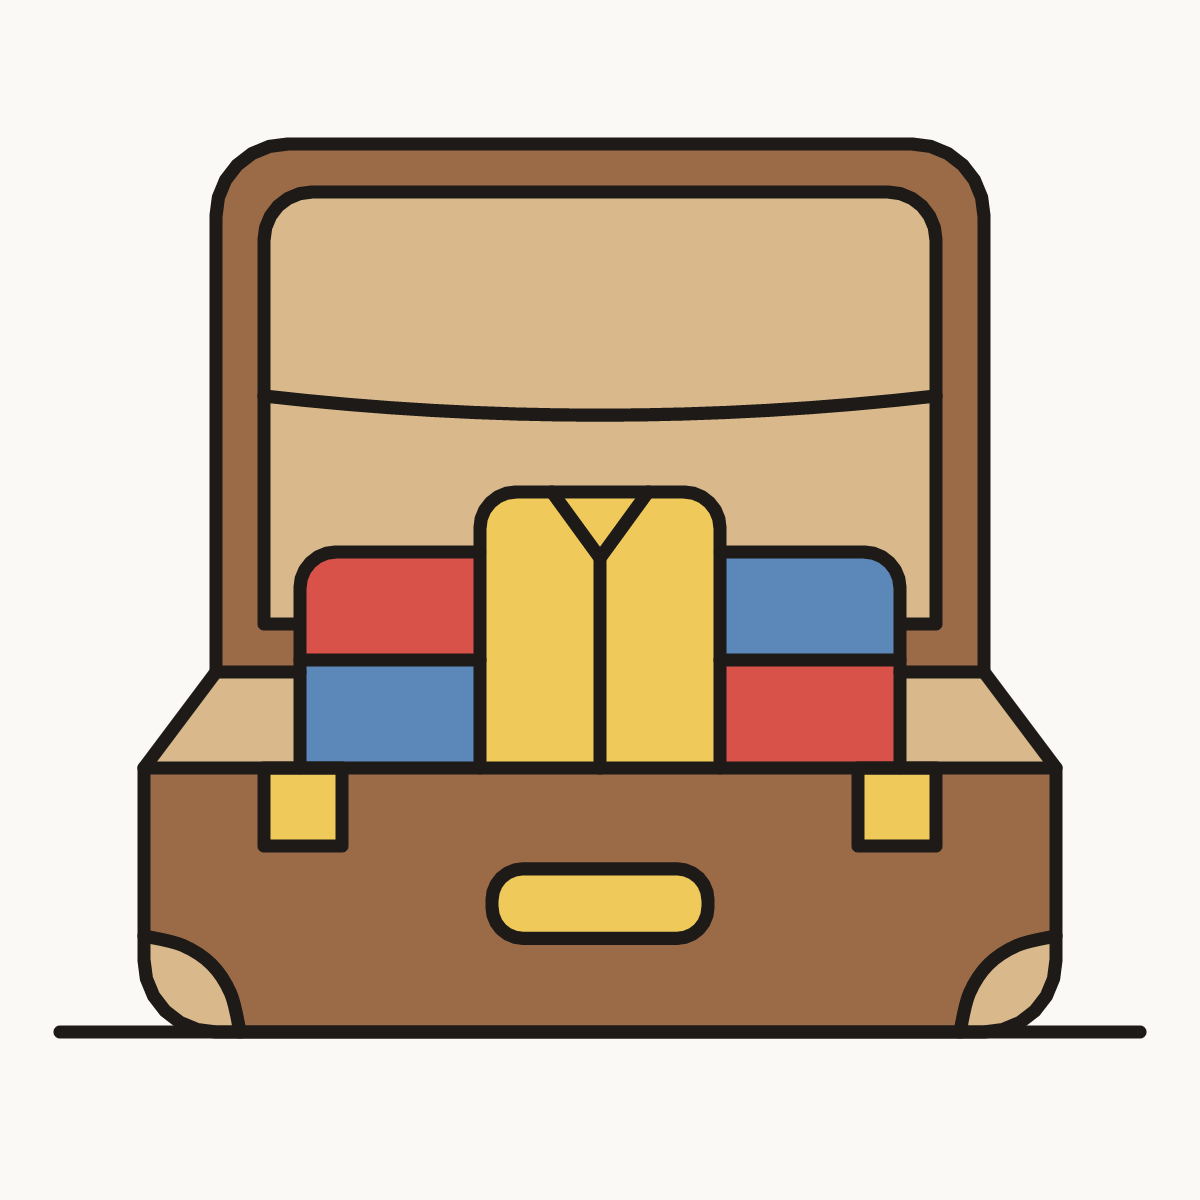
Your finished drawing
Follow the steps above and this is where you end up: an open suitcase, drawn by you.
Every step in one picture