Watch it draw itself · tap to replay
How to Draw an Anemometer
Draw an anemometer in 11 easy steps, about 8 minutes. Free, with a printable worksheet.
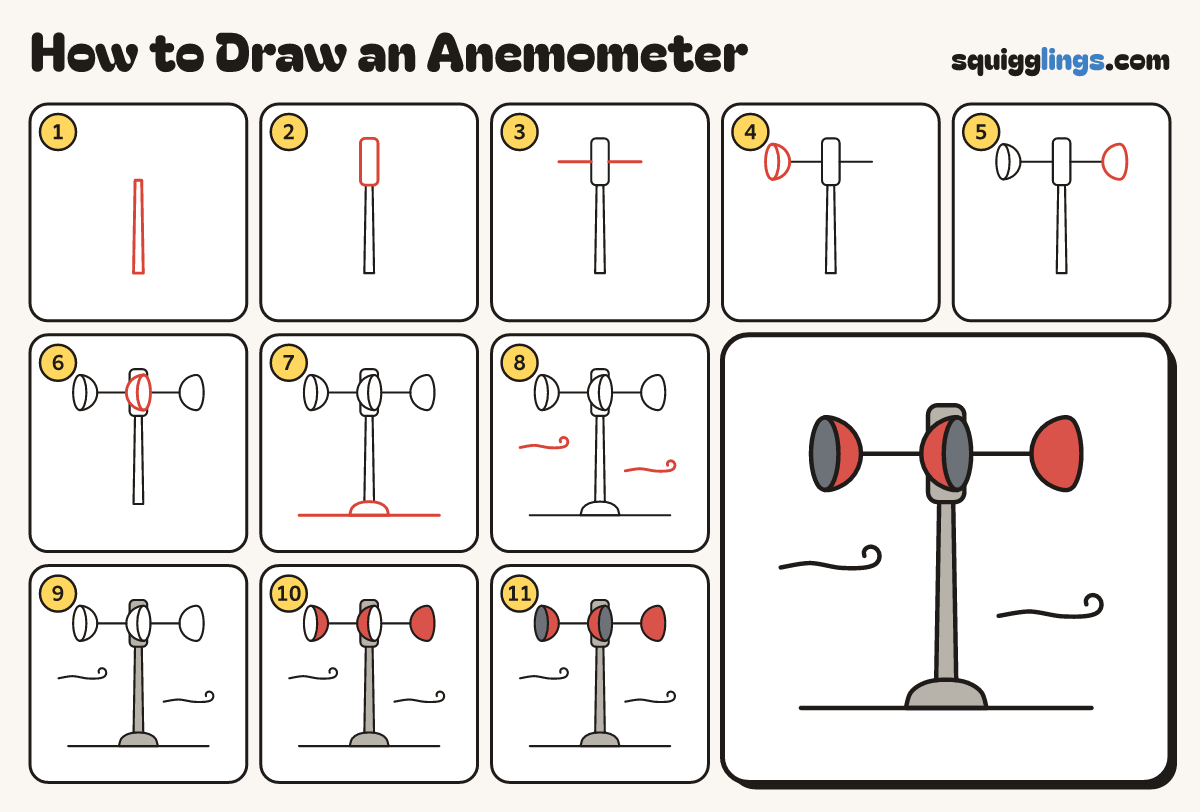
Each picture adds one red line. Draw that line, then scroll to the next picture. Rub out any dashed helper lines at the end. First up: tall pole.
Step 1: Tall pole
In the middle draw a tall thin pole, a little wider at the bottom.
Step 2: Hub
On top of the pole draw a tall box with round corners. This is the hub, the part that spins.
Step 3: Two arms
Start at the middle of each side of the hub. Draw an arm straight out. Stop both the same length.
Step 4: Left cup
On the left arm's end draw a half ball, round side to the arm. Close it with a thin oval.
Tip The cup lies on its side, like a bowl catching the wind.
Step 5: Right cup
On the right arm's end draw the same half ball the other way round. This cup shows its back.
Tip Make it the same size as the left cup.
Step 6: Front cup
Over the middle of the hub draw a third half ball. Close its right side with a thin oval.
Tip Rub out the hub and arm lines inside this cup.
Step 7: Base and ground
At the foot of the pole draw a low dome for the base. Rule a ground line under it.
Step 8: Blowing wind
Draw 2 long wind lines from left to right. Stop each one with a little curl.
Tip The faster the wind blows, the faster the cups spin.
Step 9: Light grey parts
Go over your lines. Colour the pole, the hub and the base light grey.
Step 10: Red cups
Colour the round outside of all 3 cups red. Leave the 2 thin ovals white for now.
Step 11: Dark insides
Colour inside the 2 thin ovals dark grey. Your anemometer is done!
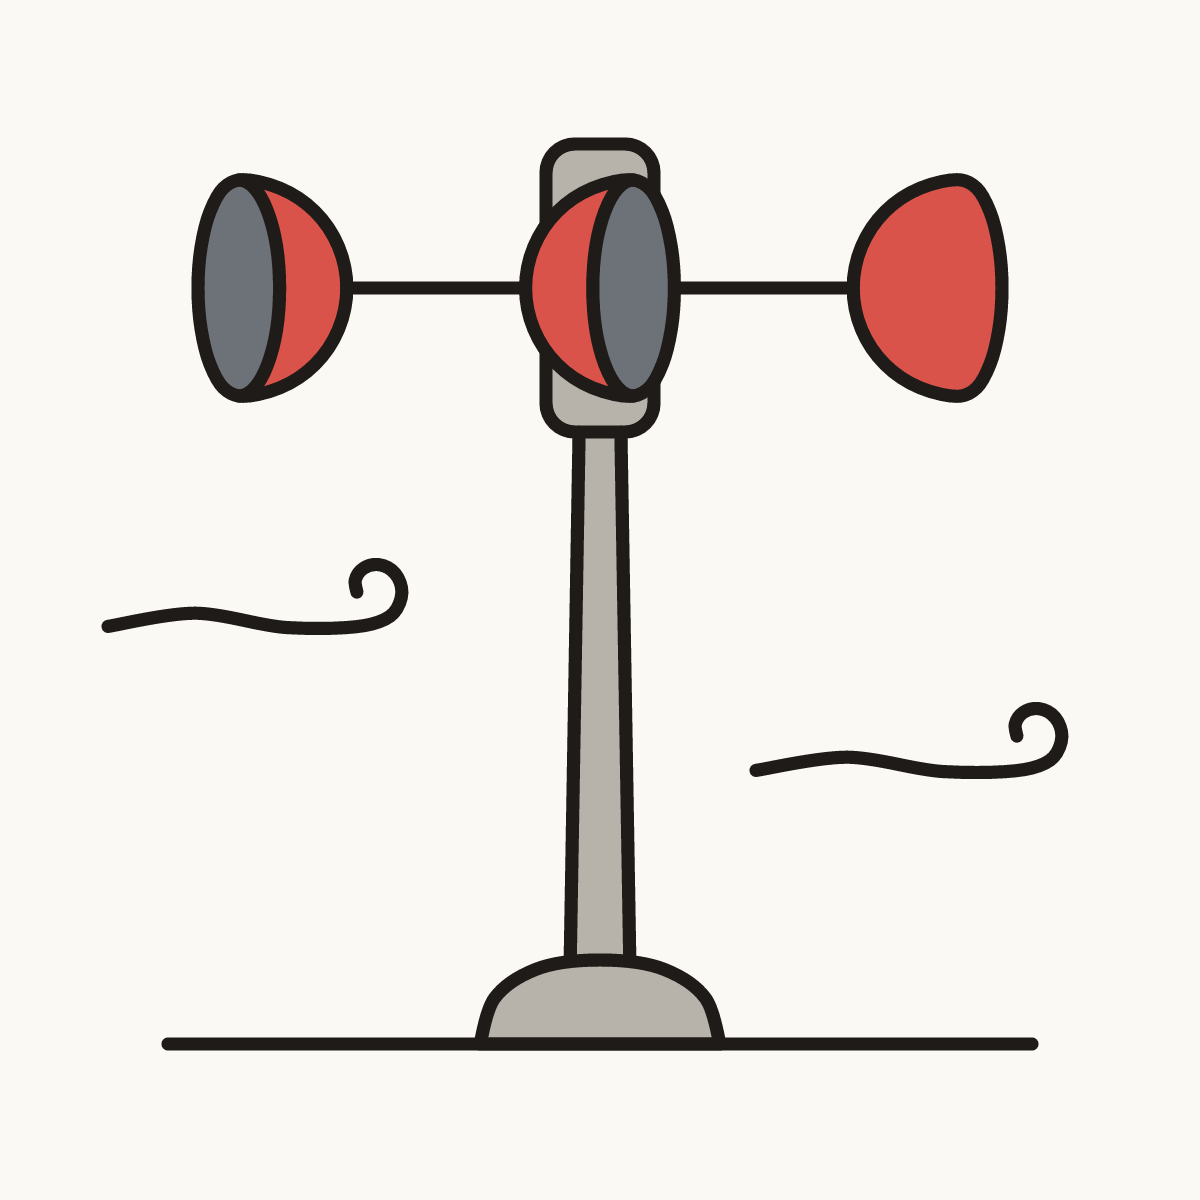
Your finished drawing
Follow the steps above and this is where you end up: an anemometer, drawn by you.
Every step in one picture