Watch it draw itself · tap to replay
How to Draw a Mount Rushmore
Draw a mount rushmore in 13 easy steps, about 10 minutes. Free, with a printable worksheet.
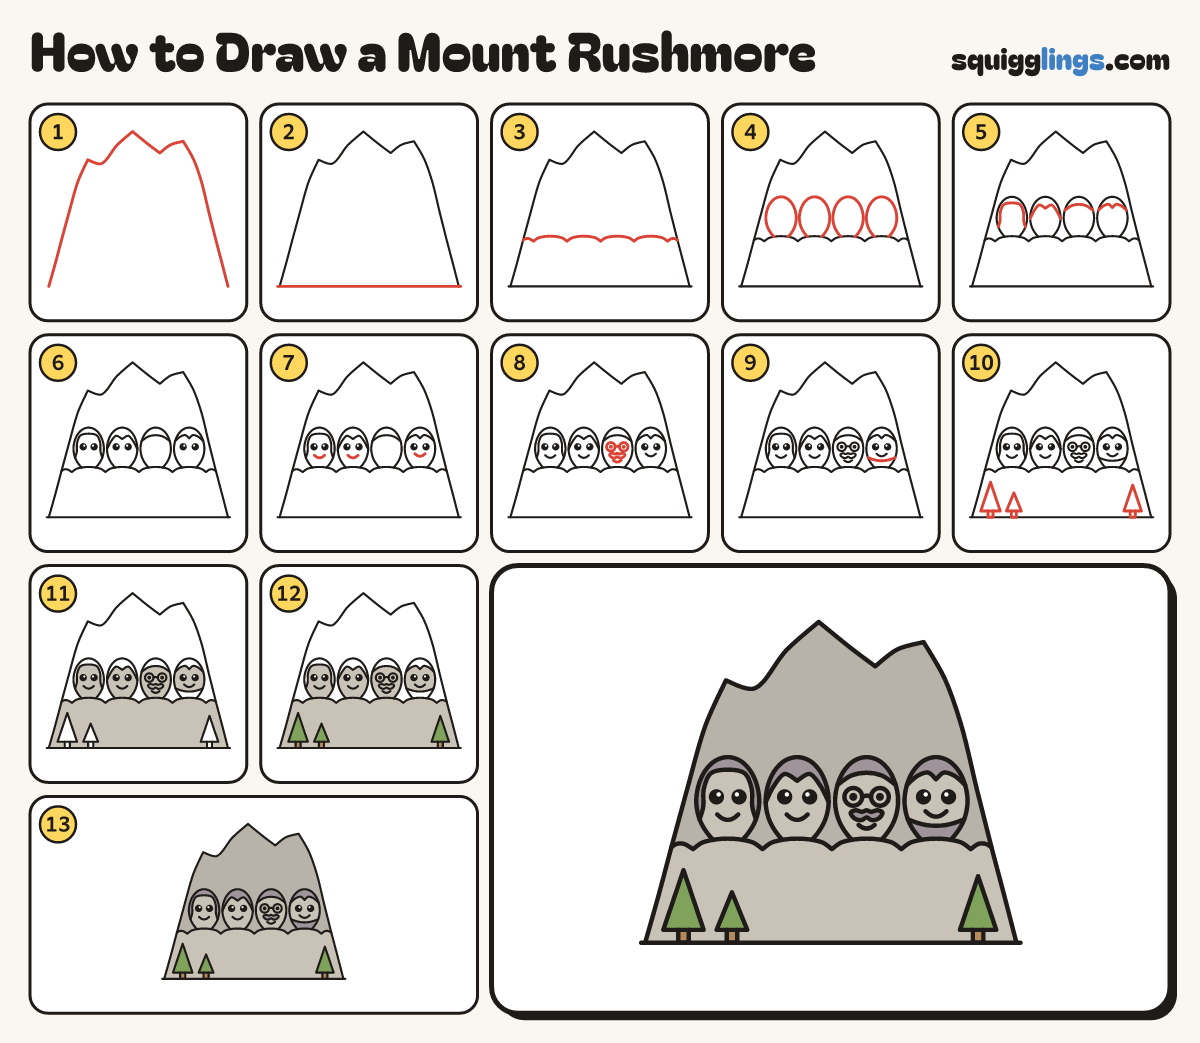
Each picture adds one red line. Draw that line, then scroll to the next picture. Rub out any dashed helper lines at the end. First up: the mountain.
Step 1: The mountain
Start low on the left. Draw a mountain with sloping sides and a pointed top. Stop low on the right.
Tip Lean both sides in, like a big tent, with a lower bump each side of the point.
Step 2: Ground line
Draw a long flat ground line along the bottom of the mountain, from edge to edge.
Step 3: Rocky shoulders
Start on the left side. Draw bumps across: 1 small, 4 big, 1 small. Stop on the right side.
Tip Each big bump is a rocky shoulder for one head.
Step 4: Four heads
Start on a big bump. Draw a tall egg head up and round, back down to the bump. Make 4.
Tip Make all 4 heads the same size, with a small gap between them.
Step 5: Hair
Start on one side of each head. Draw a hairline over the forehead. Stop on the other side.
Tip The first head's hair comes right down its sides. The second and last have a parting.
Step 6: Big eyes
On the first, second and last heads colour in 2 round black eyes, half way down.
Tip Leave a tiny white shine in each eye.
Step 7: Smiles
Under the eyes of those 3 heads draw a small U smile.
Step 8: Glasses and moustache
On the third head draw 2 round glasses with dot eyes. Join them. Add a moustache and a small smile.
Step 9: Chin beard
On the last head, start low on the left side. Draw a U inside the chin. Stop on the right.
Tip Start below the cheek, so the beard does not join the hair.
Step 10: Pine trees
On the ground draw 3 pointy triangle trees. Start under each and draw a short trunk down to the ground.
Tip Keep the trees small. That makes the heads look giant.
Step 11: Pale faces, pale rocks
Colour the 4 faces pale grey, below the hairlines and above the beard. Colour the rocks underneath pale grey too.
Tip Colour around the trees. Press lightly, so the faces stay paler than the mountain.
Step 12: Green trees
Colour the 3 trees green and their short trunks brown.
Step 13: Grey mountain, dark hair
Colour the mountain grey, around the heads. Colour the hair, moustache and beard darker grey.
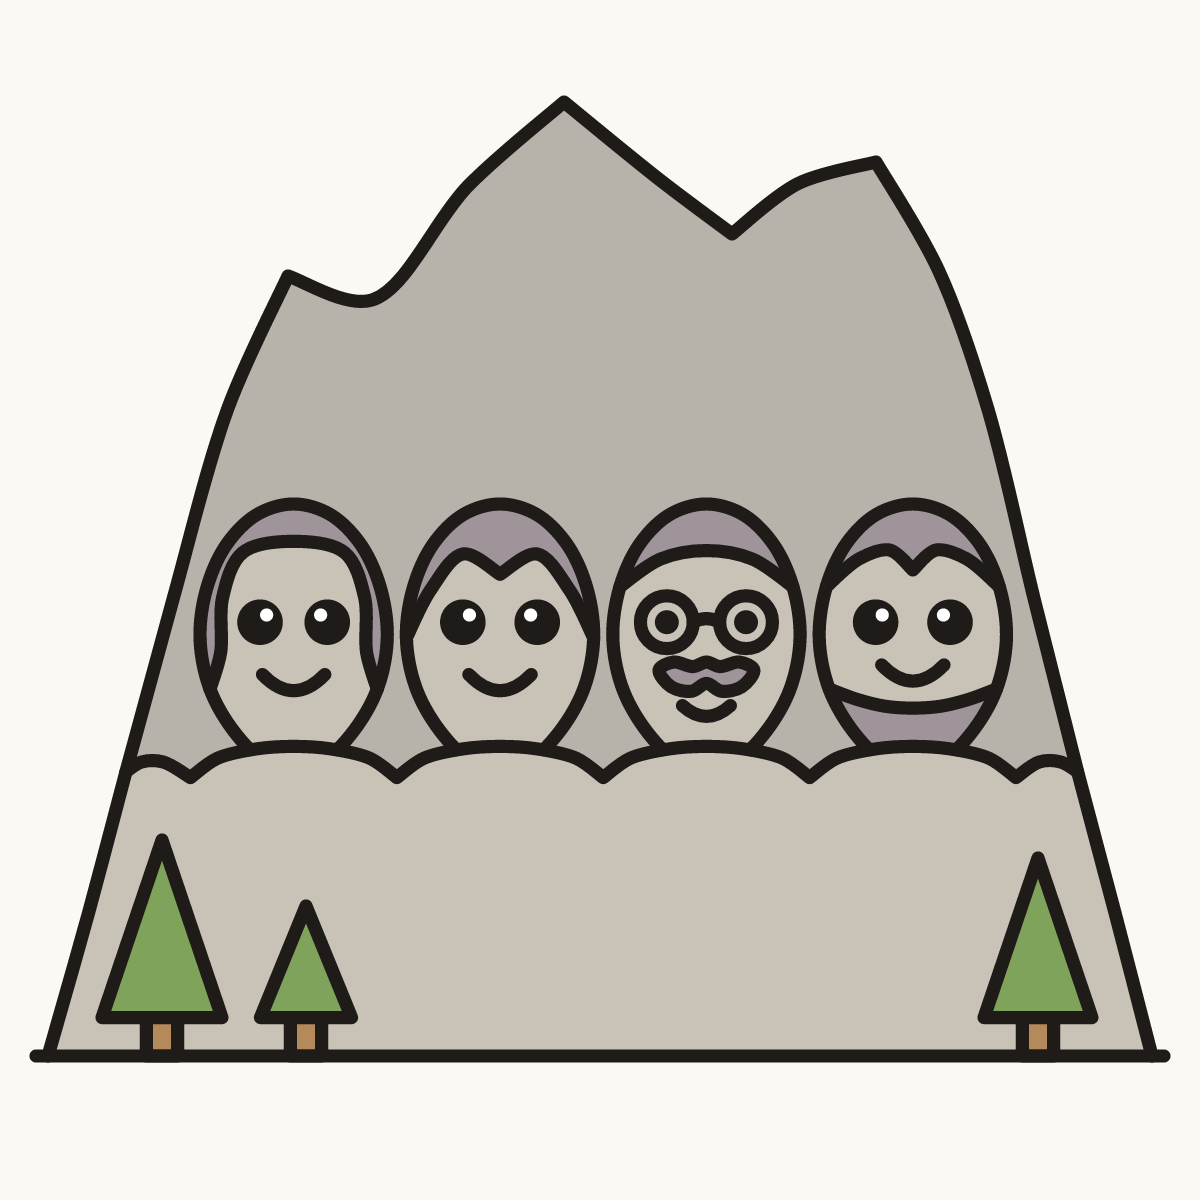
Your finished drawing
Follow the steps above and this is where you end up: a mount rushmore, drawn by you.
Every step in one picture