Watch it draw itself · tap to replay
How to Draw a Mother’s Day Card
Draw a Mother’s Day card in 10 easy steps, about 8 minutes. Free, with a printable worksheet.
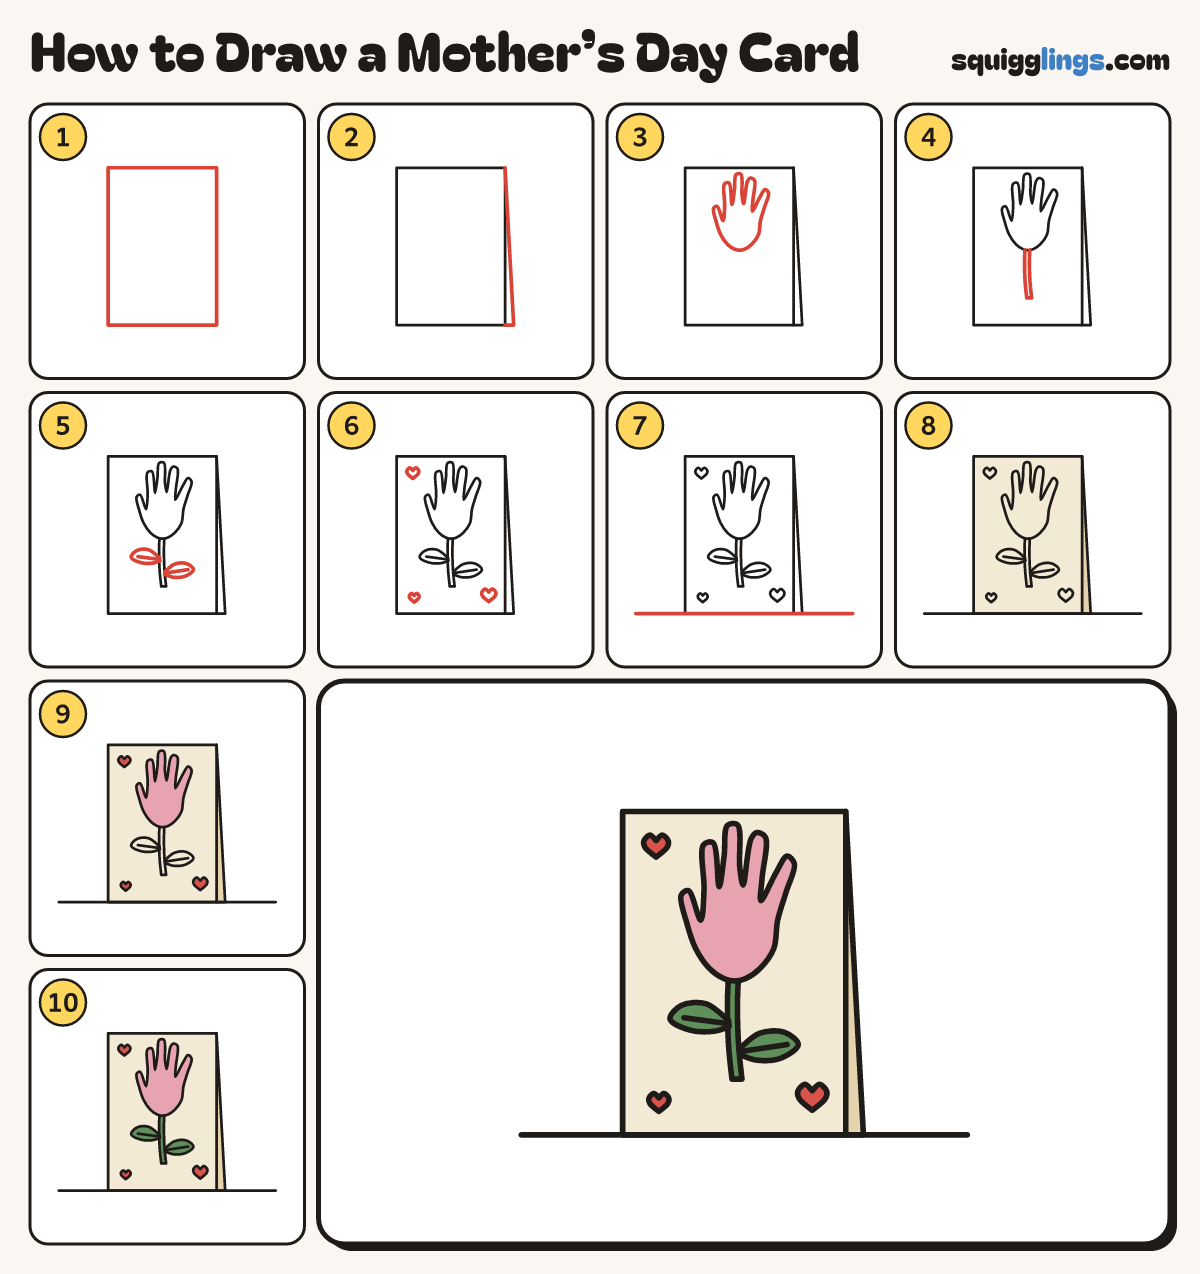
Each picture adds one red line. Draw that line, then scroll to the next picture. Rub out any dashed helper lines at the end. First up: the card front.
Step 1: The card front
In the middle of your paper draw a tall box standing up for the front of the card.
Step 2: The folded back
Start at the top right corner. Slant a line down just outside the card, then back to the bottom corner.
Tip Now the card looks folded open a little.
Step 3: The handprint flower
In the top half of the card draw a hand, fingers pointing up: a thumb, 4 fingers and a palm.
Tip The hand is the flower head. Make the middle finger a little longer.
Step 4: The stem
From the palm draw a stem straight down: 2 lines close together, stopping near the bottom of the card.
Step 5: Two leaves
On the stem draw 2 fat leaves: one pointing left, a lower one pointing right. Add a line down each.
Step 6: Hearts
Draw 3 little hearts on the card: top left, a bigger one bottom right, and a tiny one bottom left.
Step 7: The ground
Draw a long ground line under the card, from the left of your paper to the right.
Step 8: Cream card
Go over your lines. Colour the card front cream, going round the flower and hearts. Colour the folded back sand.
Step 9: Pink handprint, red hearts
Colour the handprint flower pink and the hearts red.
Step 10: Green stem and leaves
Colour the stem and the leaves green. Your Mother's Day card is done!
Your finished drawing
Follow the steps above and this is where you end up: a Mother’s Day card, drawn by you.
Every step in one picture