Watch it draw itself · tap to replay
How to Draw a Monster Hand
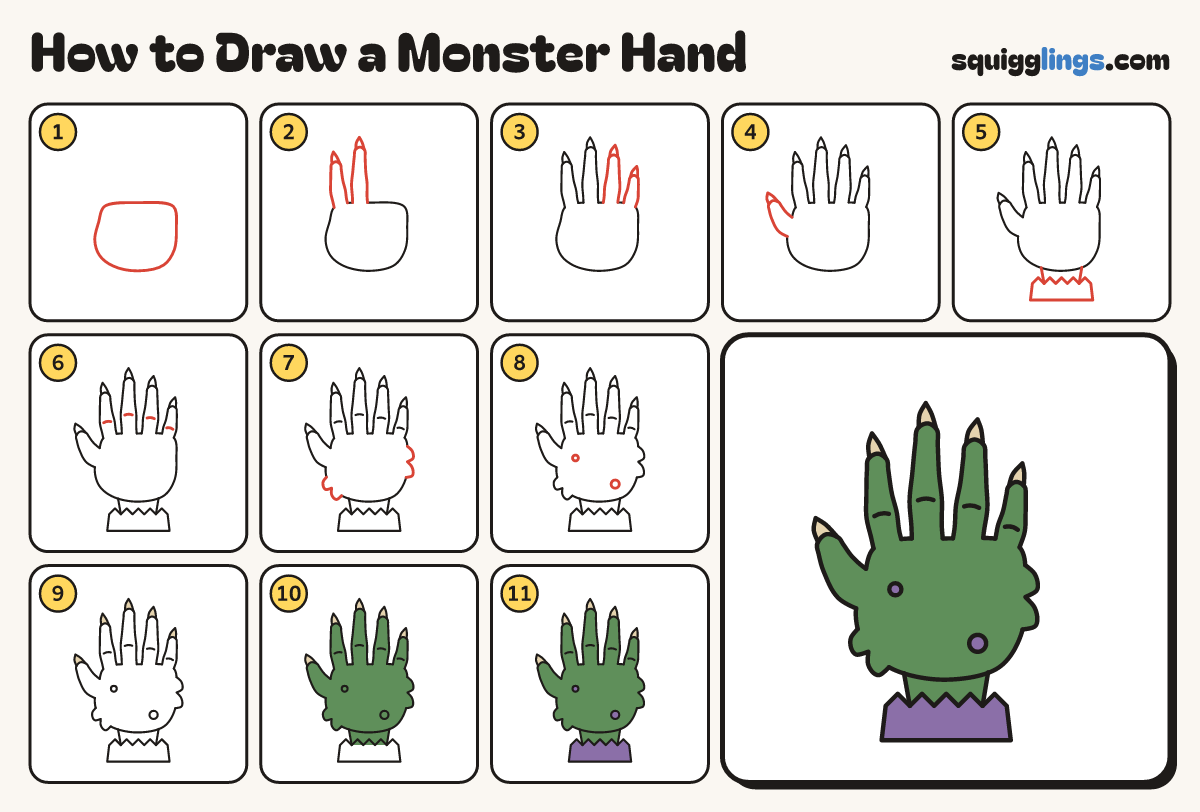
Draw a monster hand in 11 easy steps, about 8 minutes. Free, with a printable worksheet.
Each picture adds one red line. Draw that line, then scroll to the next picture. Rub out any dashed helper lines at the end. First up: the palm.
Step 1: The palm
In the middle of your paper, draw a big rounded palm like a fat egg with a flatter top.
Tip Leave room above for the fingers and left for the thumb.
Step 2: Pointing and middle fingers
From the top of the palm, draw 2 tall fingers side by side, each ending in a curved pointy claw.
Tip The middle finger is tallest, and each finger gets narrower toward the tip.
Step 3: Ring and little fingers
Next to the middle finger, draw a shorter ring finger, then the shortest little finger, each with a claw.
Step 4: The thumb
High on the palm's left, draw a short fat thumb bending out and up, ending in a curved claw.
Step 5: Wrist and torn sleeve
Draw 2 wrist lines from the palm down. Join them with a torn sleeve: zigzag top, straight sides, flat bottom.
Step 6: Knuckle creases
A little way up each finger, draw a short gentle crease line.
Step 7: Fur tufts
On each side of the palm, draw 2 soft round fur bumps growing out of the edge.
Tip Rub out the palm line inside the bumps, so the fur grows out of the hand.
Step 8: Warts
Dot 2 round warts on the hand: a small one near the thumb, a bigger one low on the right.
Step 9: Pale yellow claws
Go over your lines. Colour the 5 claws pale yellow.
Step 10: Green monster skin
Colour the palm, fingers, thumb, fur and wrist green, going round the warts.
Step 11: Purple sleeve and warts
Colour the torn sleeve and the 2 warts purple, and your monster hand is done.
Your finished drawing
Follow the steps above and this is where you end up: a monster hand, drawn by you.
Every step in one picture